
| ▲ Computer |
In the background of lots of our jewellery designs, I use either a linear or radial "clearout" toolpath. See, for example, this pendant:
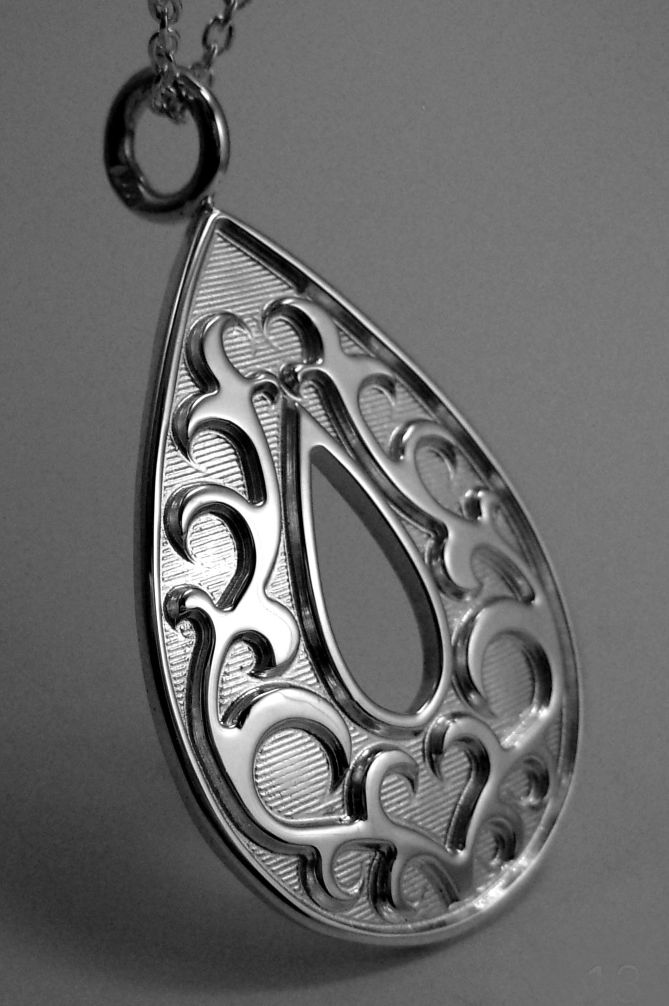 |
The background shading in that design was done with lines 0.25mm apart using a 0.5mm ball-nose cutter. The linear shading pattern than results is very nice, but I realised that some pieces might benefit from a more random texture.
All our design work is done in Rhino. This comes with a very powerful scripting language called Rhinoscript, which is based on VBScript. I haven't used it much, but it can automate any of the tasks which are normally performed by the user. For example, I used it to do some basic animation.
I whipped up a little script to create a series of control point curves through sets of points which had a slight random variation added to them - this resulted in nice lines which were predominantly parallel and straight, but with slight random wiggles. Here's the code (you can download the script here):
' 20/11/13: for 0.5mm ballnose

Sub drawWavy()

  ' Definitions
  Dim arrPoints(50)

  ' Delete everything
  allobj=Rhino.allobjects
  If IsArray(allobj) Then Rhino.deleteobjects allobj

  ' Draw lines
  For y=0 To 50

    ' Load point array with data
    For x=0 To 50
      arrPoints(x)=Array((x+((Rnd()-0.5)*.5))/3,(y+((Rnd()-0.5)*1))/3,0)
    Next

    ' Draw the control points
    Rhino.currentlayer("Layer 01")
    Rhino.addpoints arrpoints
    Rhino.currentlayer("Default")

    ' Draw control point curve
    Rhino.addcurve arrpoints

    ' Slow things down so user can see it drawing
    Rhino.sleep 100

  Next
End Sub

' Run the sub
drawWavy()
For each Y position from 0 to 50, it creates an array of 50 points in the horizontal direction with random variations in both their X " Y coordinates and then draws a control point curve through them.
By simply varying how the program calculates the points, it's possible to create some interesting effects. For example, by using
arrPoints(x)=Array((x+((Rnd()-0.5)*.5))/3,((y+((Rnd()-0.5)*1))/3)+(0.5*Sin((x/3)-(Sin(y/5)))),0)
instead, it will create a very effective wavy ripple pattern. Download wavy script here.
Here's a quick video showing the creation of the lines. I've added a small delay between each line so you can see the progression.
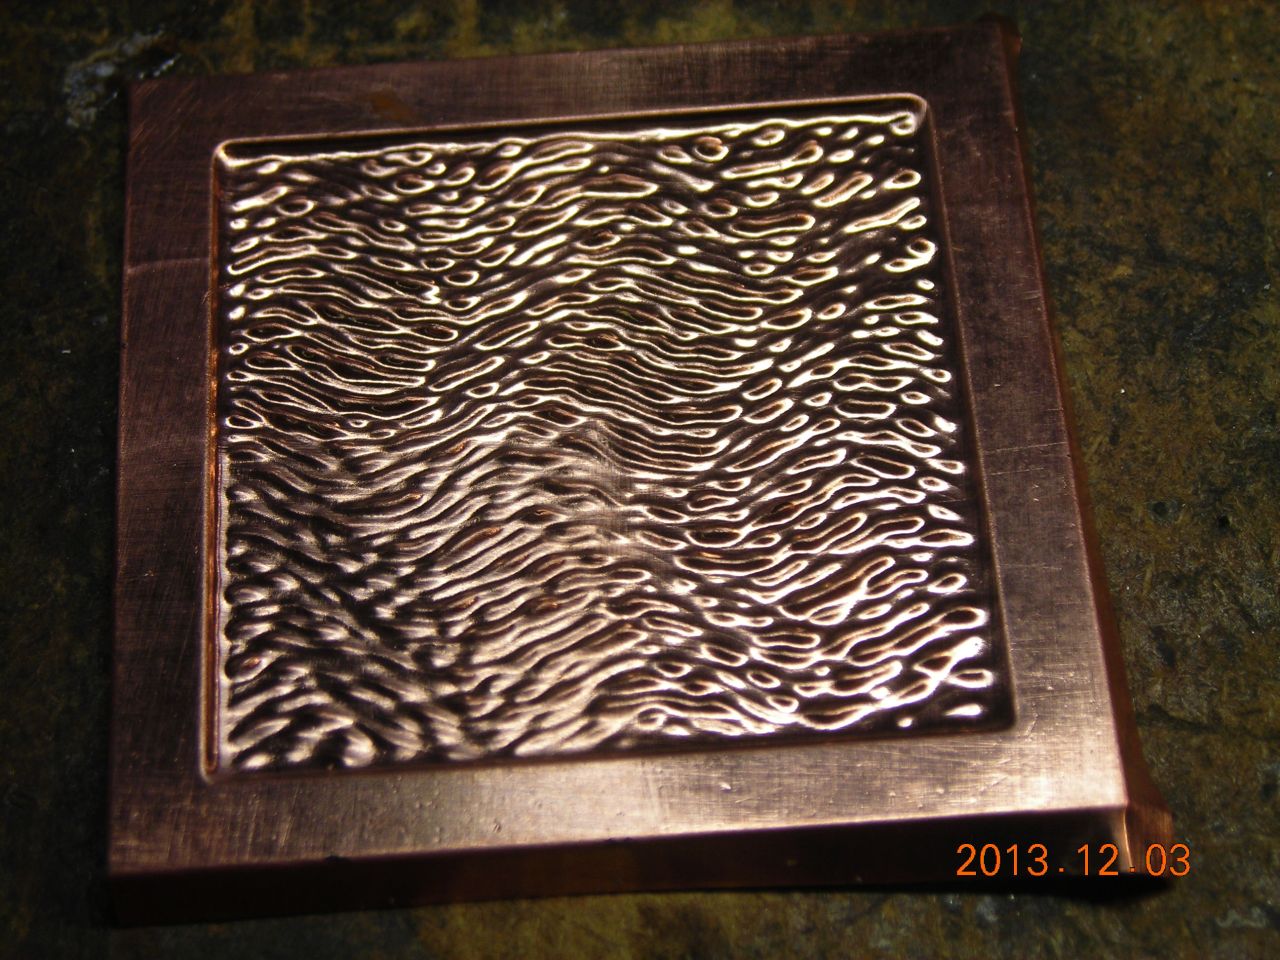
Lastly, here's some actual examples of the shading produced. The green stuff is modelling wax. I also tried one in acrylic, and then embossed some thin (0.1mm) copper foil in the hydraulic press - it worked pretty well.
 "Straight" lines |
 Wavy lines |
 Straight lines in modelling wax |
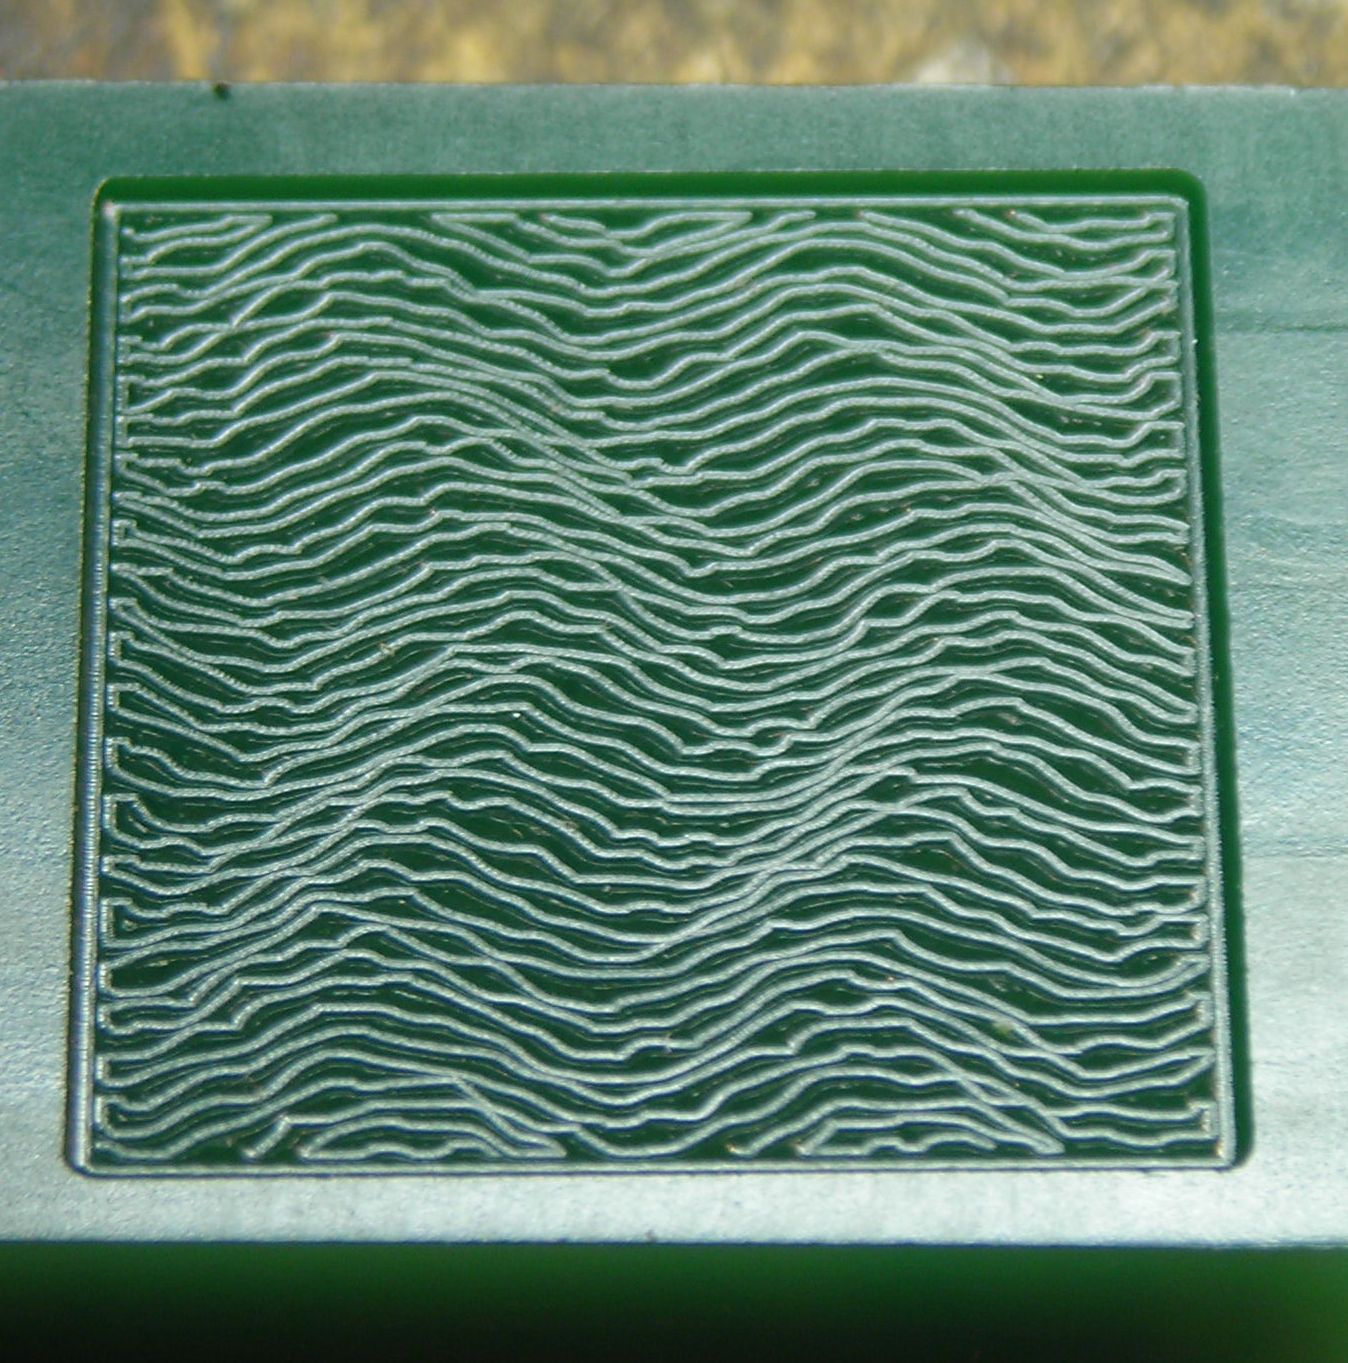 Wavy lines in modelling wax |
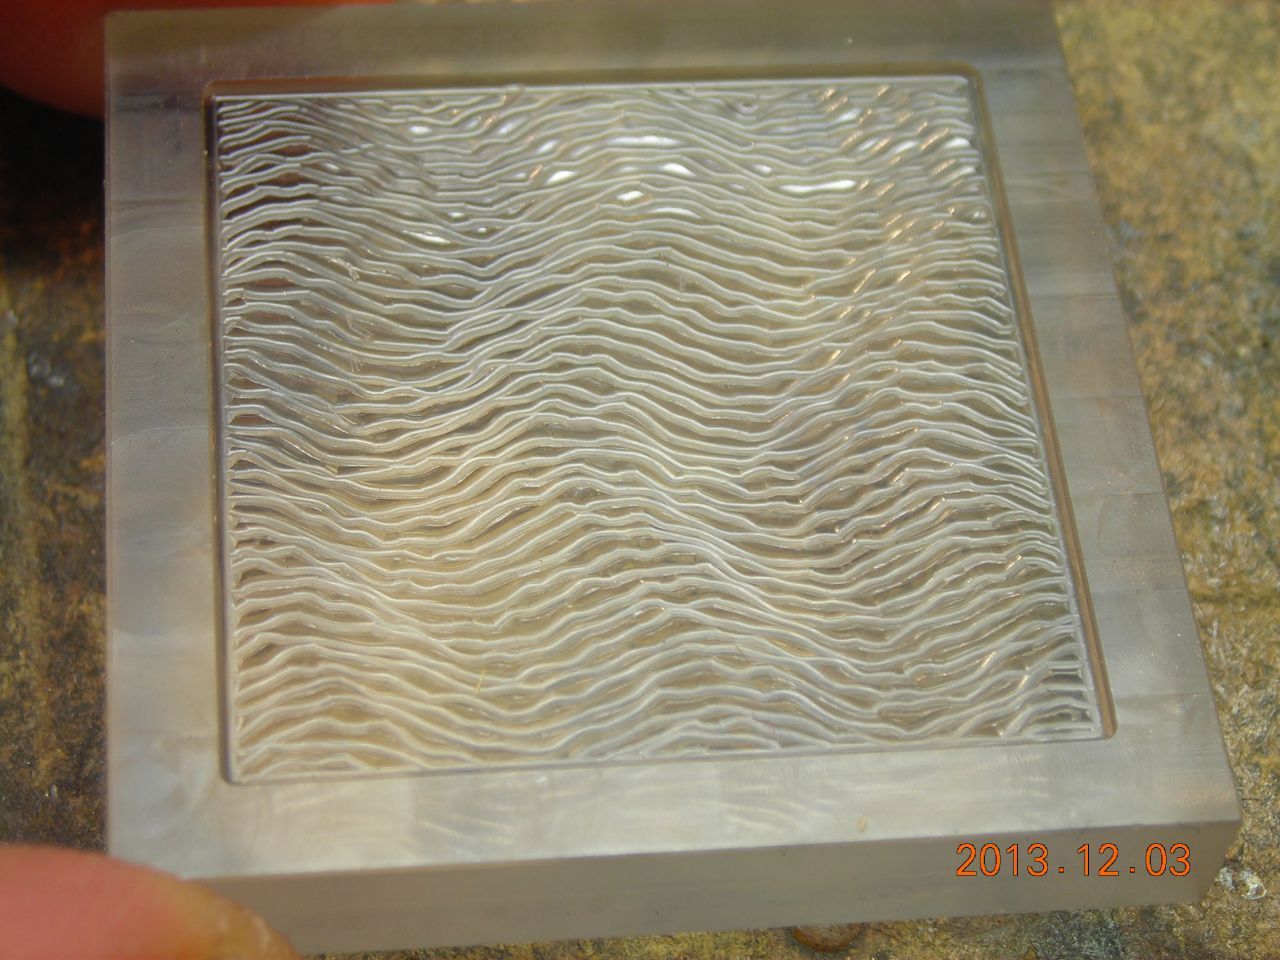 Wavy lines in acrylic |
 Copper foil pressed into pattern |
 Reverse side |
Here's a quick video overview of the different samples I tried:
| ▲ Computer |