
| ▲ Electronics |
The high-voltage supply for the tube is around 200V with a small smoothing capacitor across the rails. This stores sufficient charge to give a decent kick (I know) so leave the circuit for several minutes after running it before touching anything.
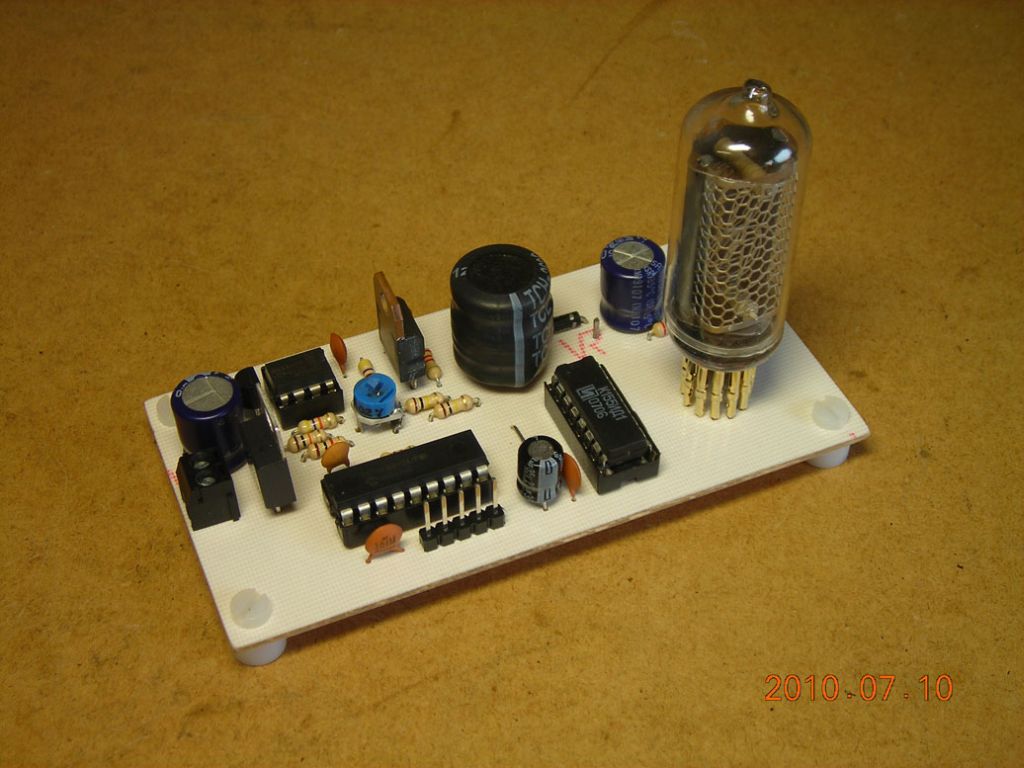
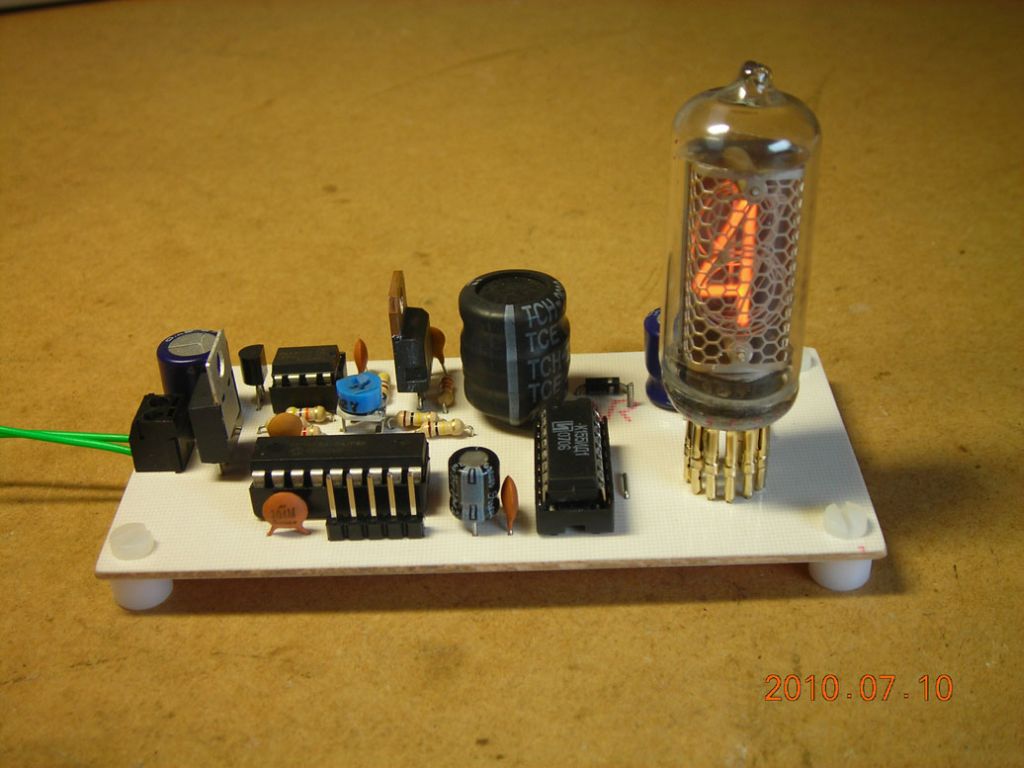
Nixie indicator tubes are small neon-filled discharge tubes with a single mesh anode and multiple wire cathodes in the shape of the digits to display. The particular tube I'm using here is the Russian IN-8. This has several nice features. It's the smallest vertical tube I could find easily which has properly-formed "2" and "5" digits. Quite a few other tubes use the same electrode pattern for the "5" as the "2" but just turn it upside down, which doesn't result in a nice-looking "5".
The circuit comprises a HV power supply based on a 555 running a boost converter, a PIC to generate a binary signal, and a driver chip to convert the binary code into decimal for the Nixie tube. The driver chip is rather nice, a now-obsolete Russian K155ID1. It's basically a binary-to-decimal converter with HV output transistors suitable for driving the cathodes of the Nixie. I found an anode current of around 1mA to be satisfactory.
Both the tube and driver chip are widely used in Nixie clocks and are available on EBay.
A ZIP file (500KB) is available here which contains the PCB artwork and PIC source code. The PIC code was written in MikroBasic but can easily be adapted. Photo of PCB shown below. Note that the artwork does not contain a space for the extra header that was added later so the telephone dial could be connected - this was bodged on to the board manually.
 |
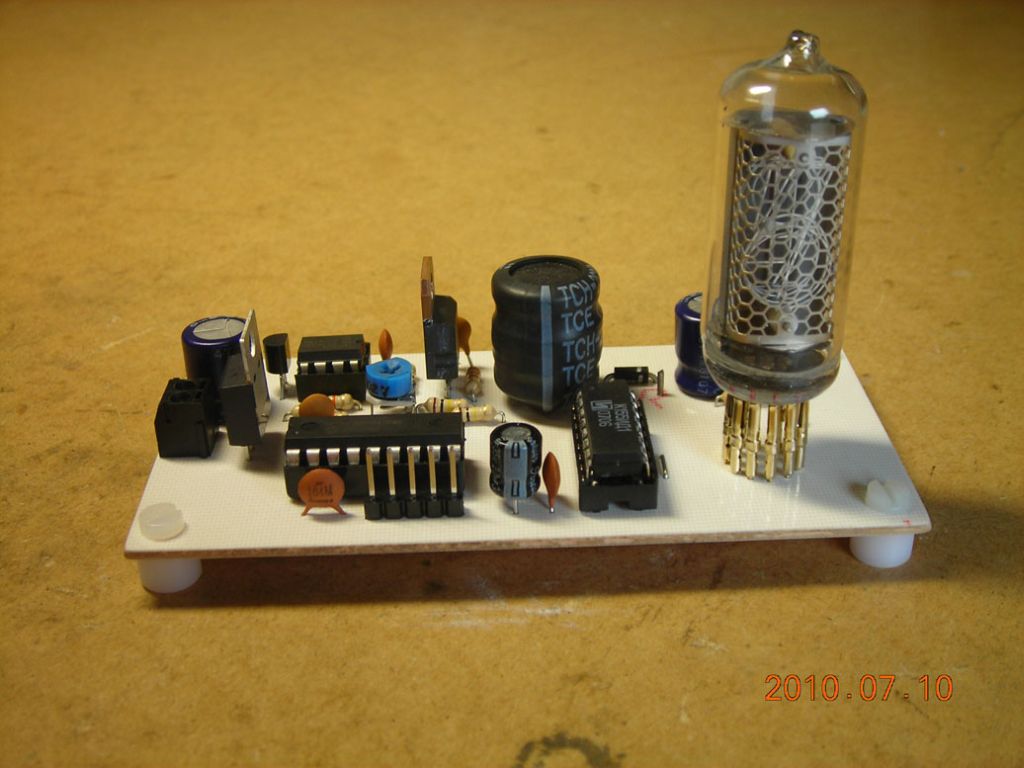
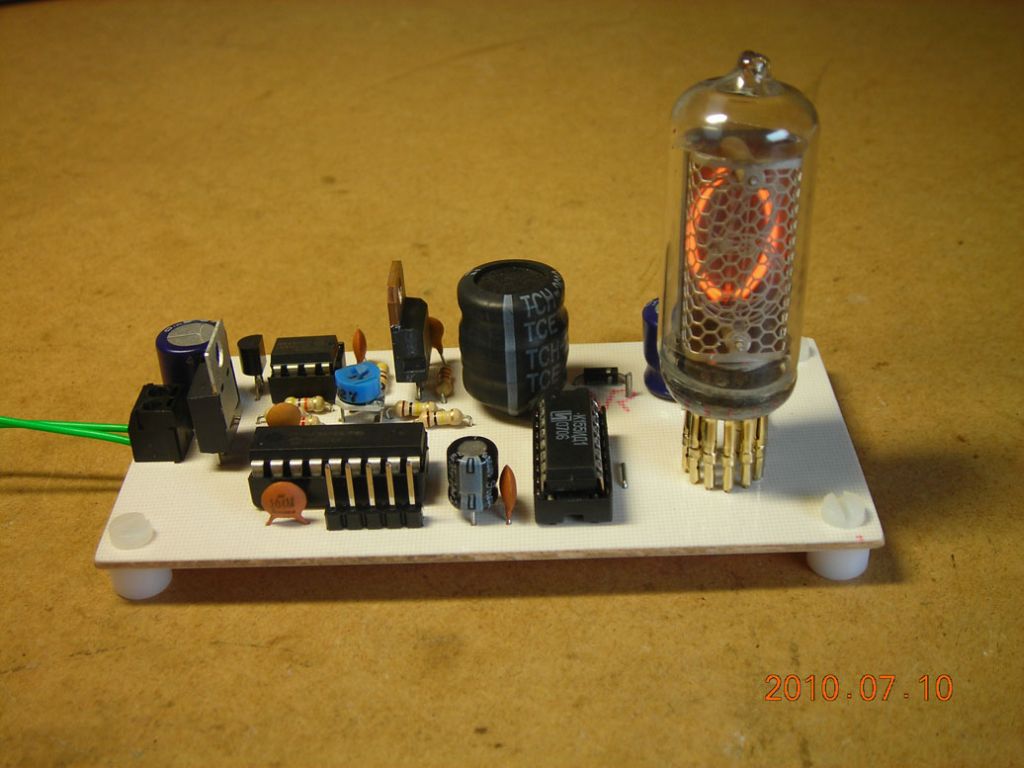
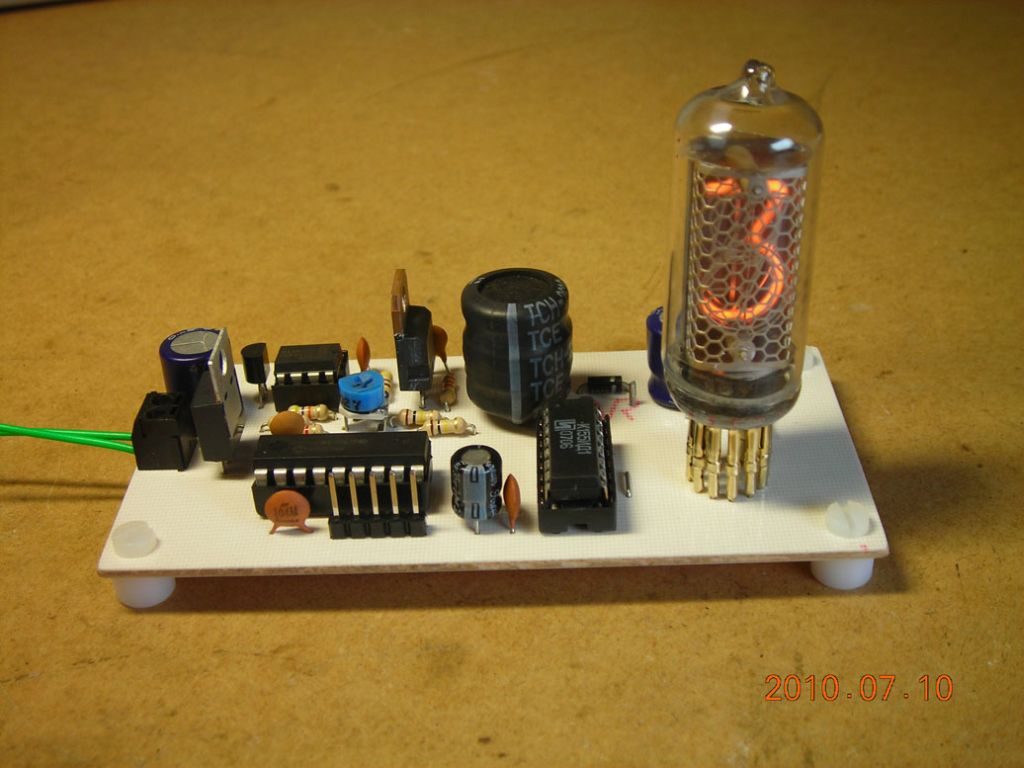
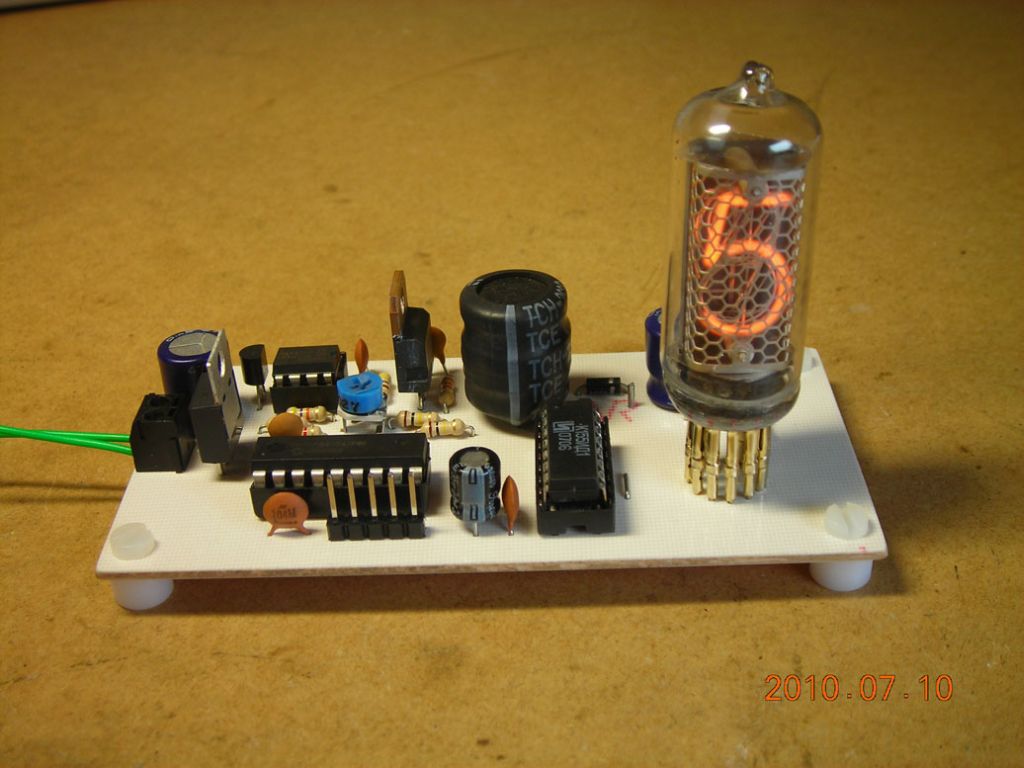
When power is first applied, the Nixie starts counting the digits 0-9 at a rate of about 2Hz. Pictures below show the different states of the counter.
 |
 |
 |
 |
 |
 |
 |
 |
 |
 |
 |
 |
Here is a video of the counting:
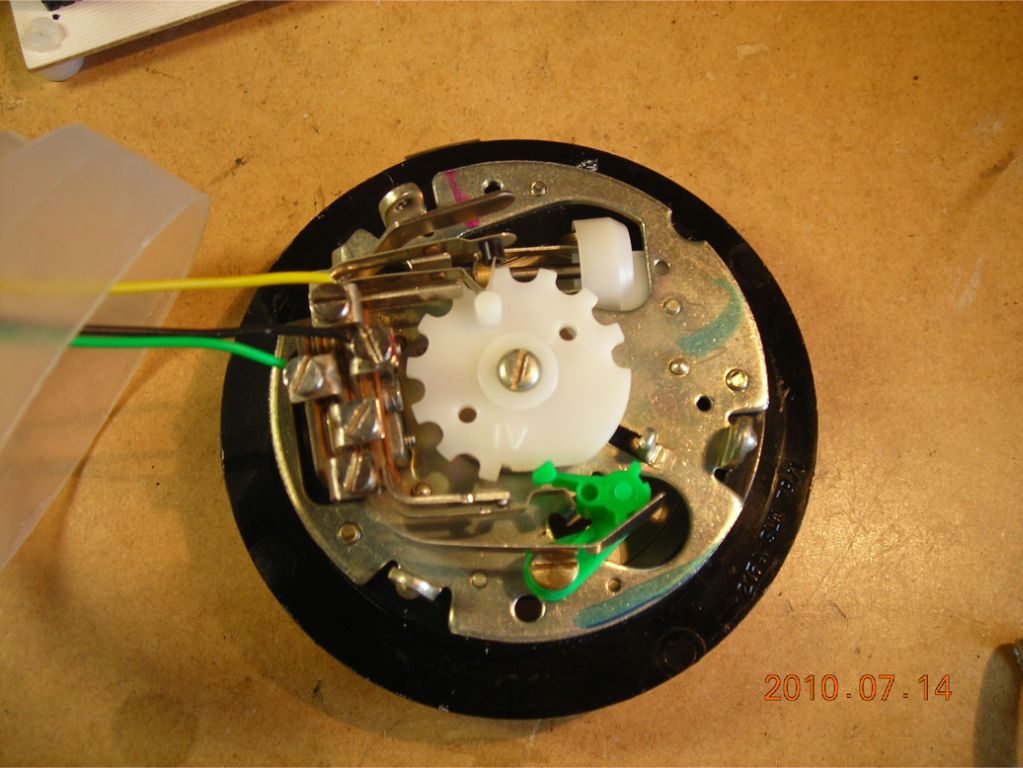
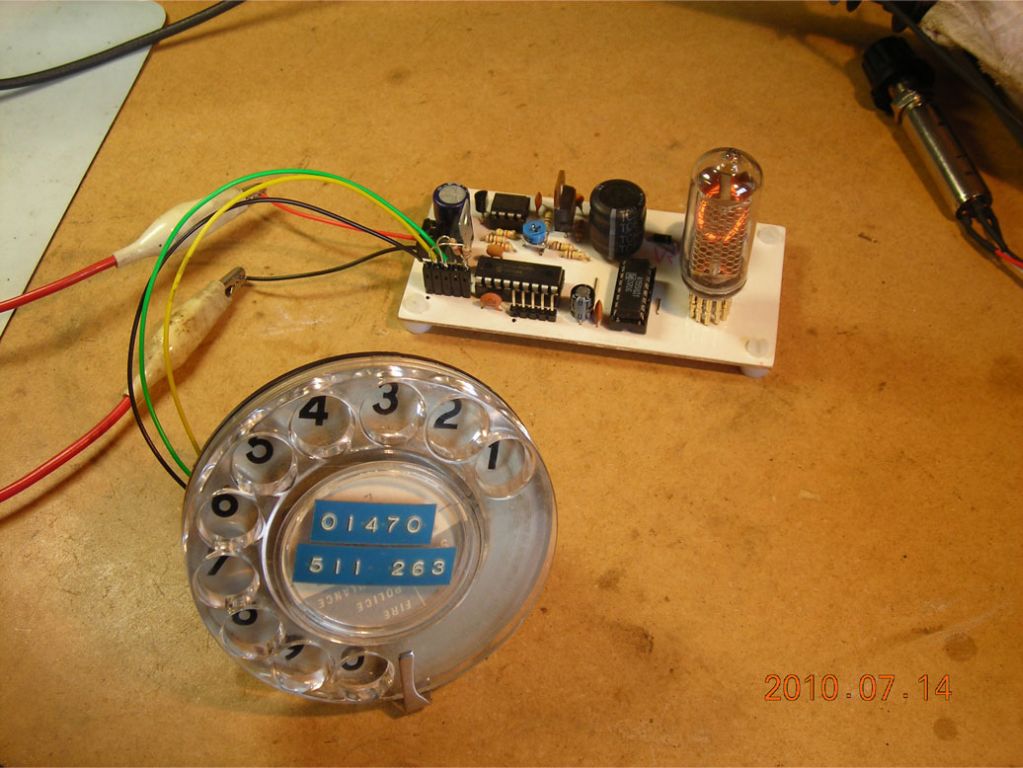
I then modified the board to accept an old telephone rotary dial so numbers could be dialled into the Nixie tube. The rotary dial contains several contacts - the two I used were the pulse contact and the "home" position contact.
 |
 |
And a video:
| ▲ Electronics |