
| ▲ Mechanical |
You can buy "proper" bicycle sprockets (i.e. those with a mounting hub and grubscrew, ready for shaft mounting) from the likes of Technobots, but they are are a wee bit expensive for the larger sizes and are rather over-engineered (machined from solid). On this page are some examples of how to use a readily-available bicycle sprocket cassette to make sprockets which can be shaft-mounted.
It's easiest to use a cassette-type cogset, which simply consists of a stack of sprockets, rather than a freewheel-type cogset, which contains the freewheel ratched. The sprockets in the cassette are held together by three rivets which can be ground off easily and the sprockets separated. I'm using the rivet holes to attach the sprockets to hubs, but you could also weld a permanent disc in the middle of the sprocket. The rivet holes are 3mm diameter and appear to be on a 37.7mm pitch circle (120° apart). I've also used the small individual sprocket (this is normally held on top of the cassette by the splined retaining nut) by welding a hub to it.
The pictures should be pretty self-explanatory. All the welding is TIG, by the way. Note that the sprockets have a preferred driving direction (some teeth are angled), so mount them accordingly. The hubs shown here are perhaps a bit light, but they're sufficient for my application. The hubs could obviously be beefed up, if required.
 One sprocket cassette, kindly donated by the local cycle shop |
 Rivets ground off |
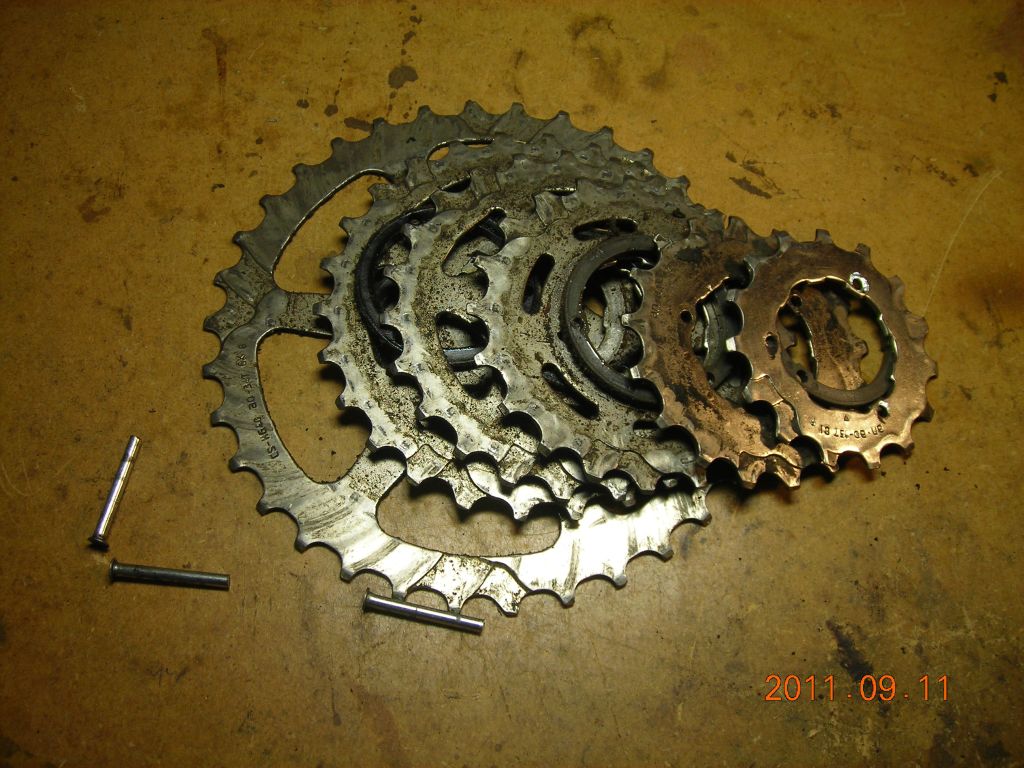 Sprockets separated. Keep hold of the plastic spacers, they're handy. |
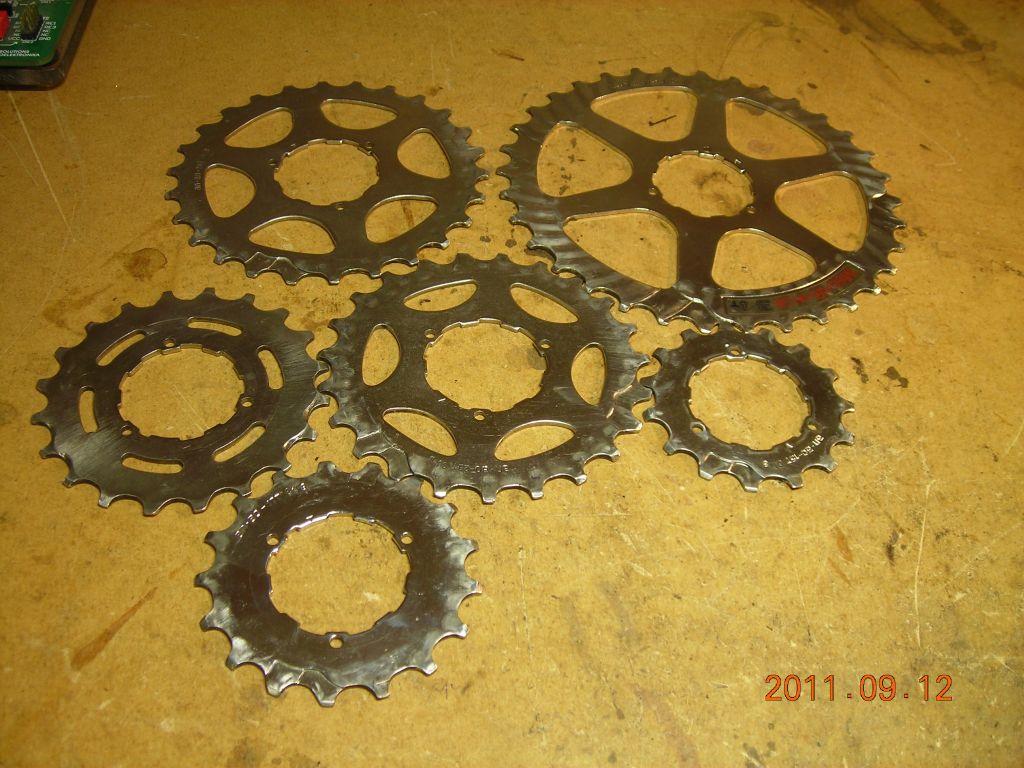 Cleaned up |
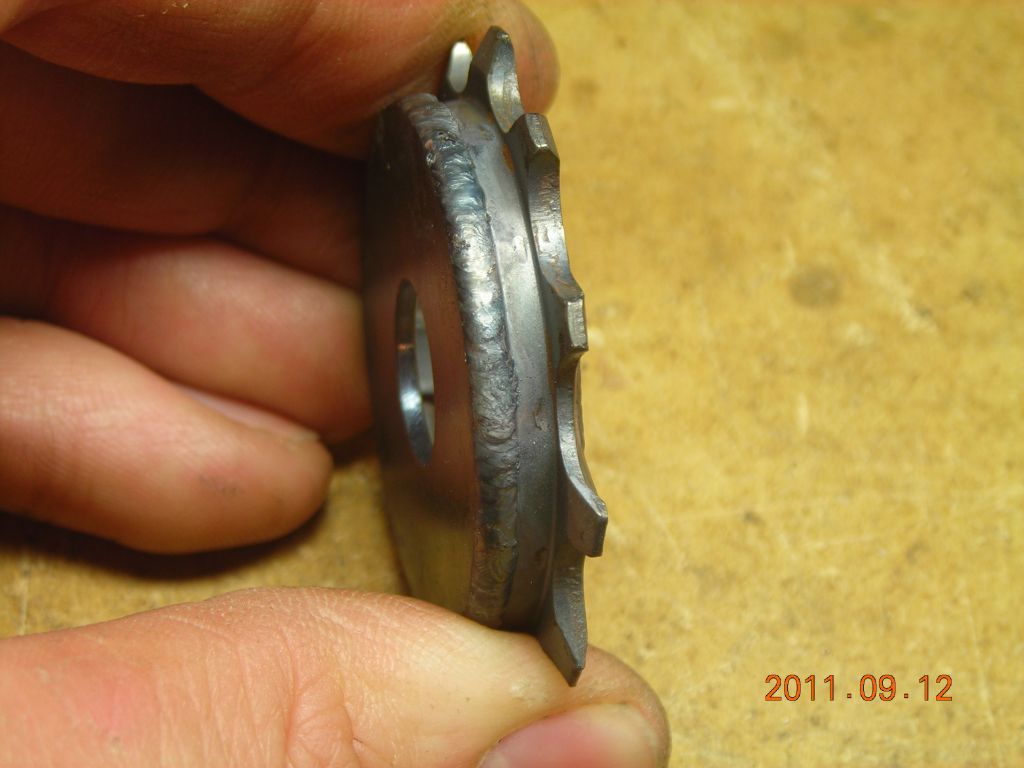
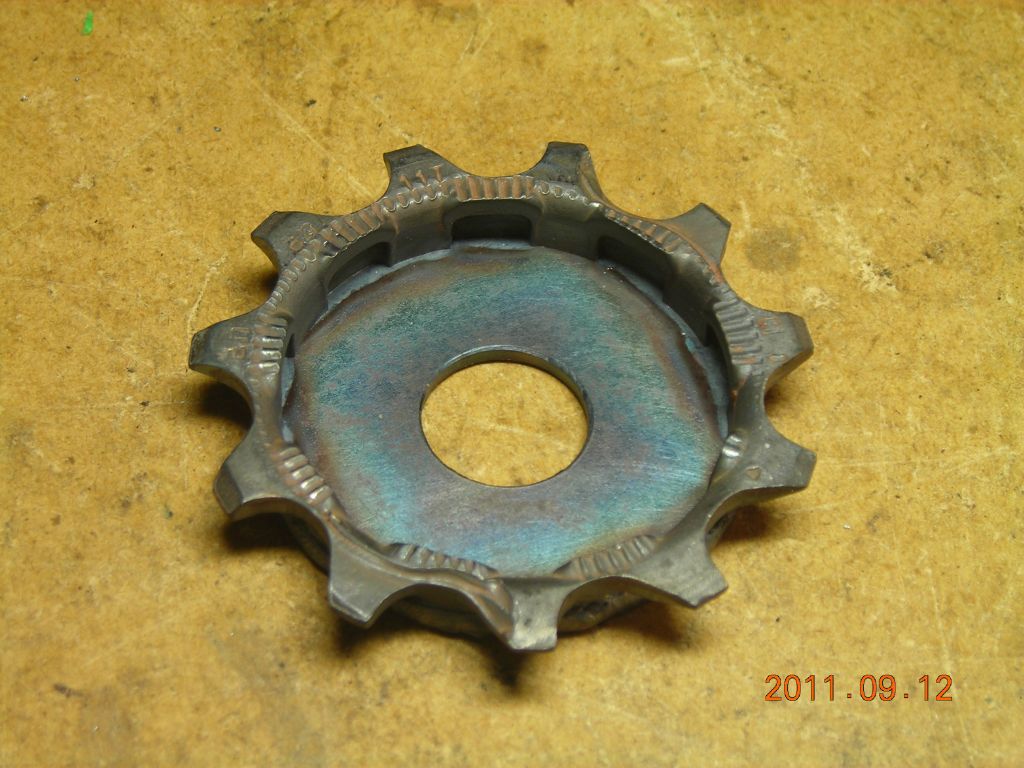
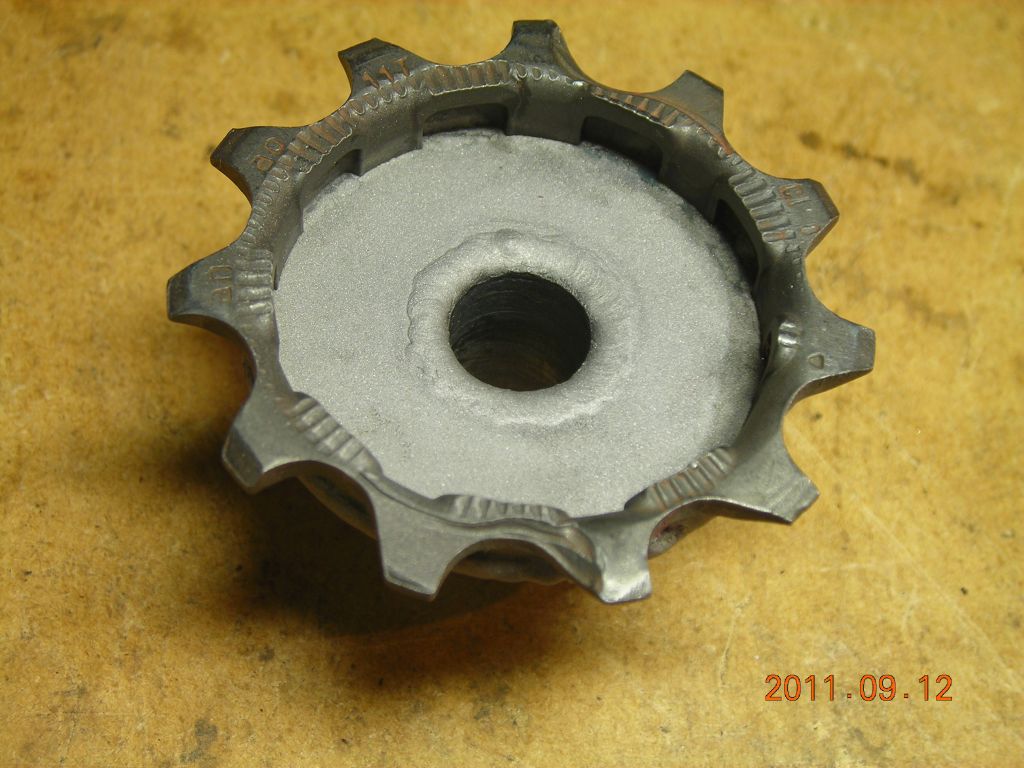
 Disc welded to smallest sprocket |
 |
 |
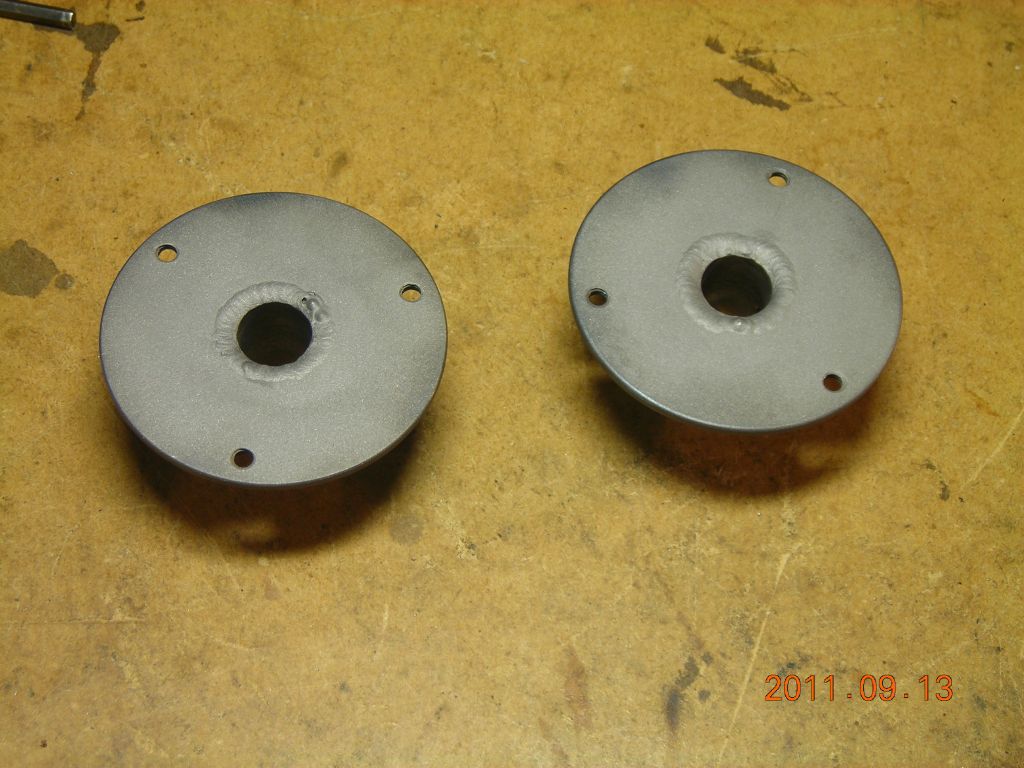
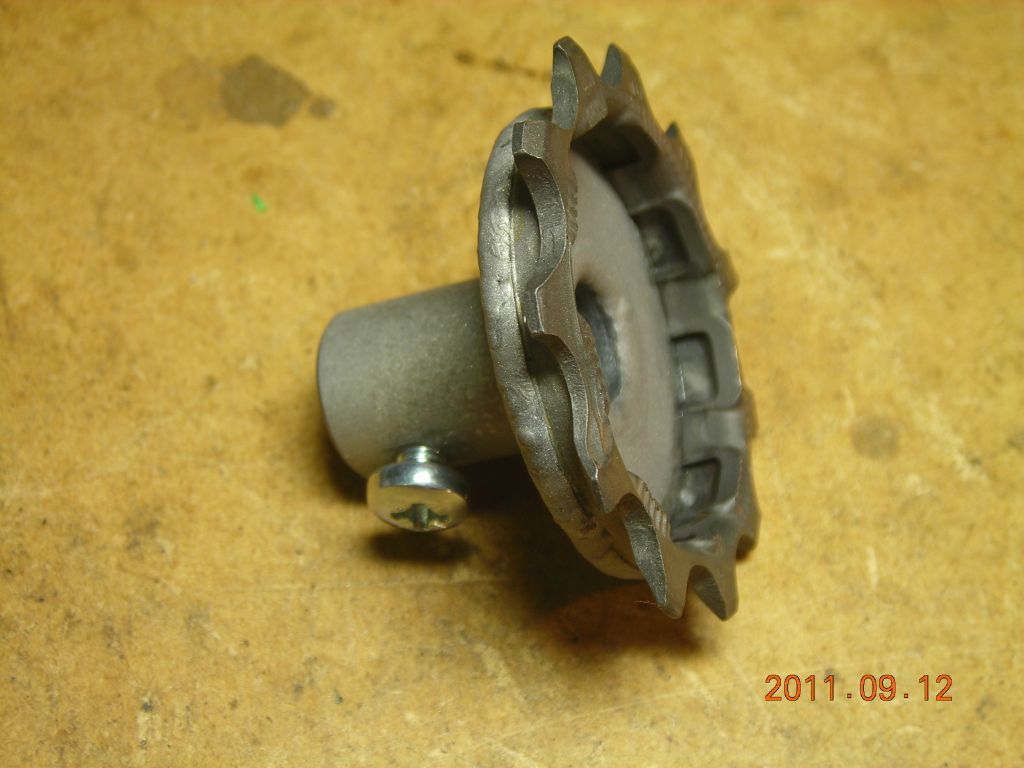 Arbor welded to disc (sandblasted to clean) |
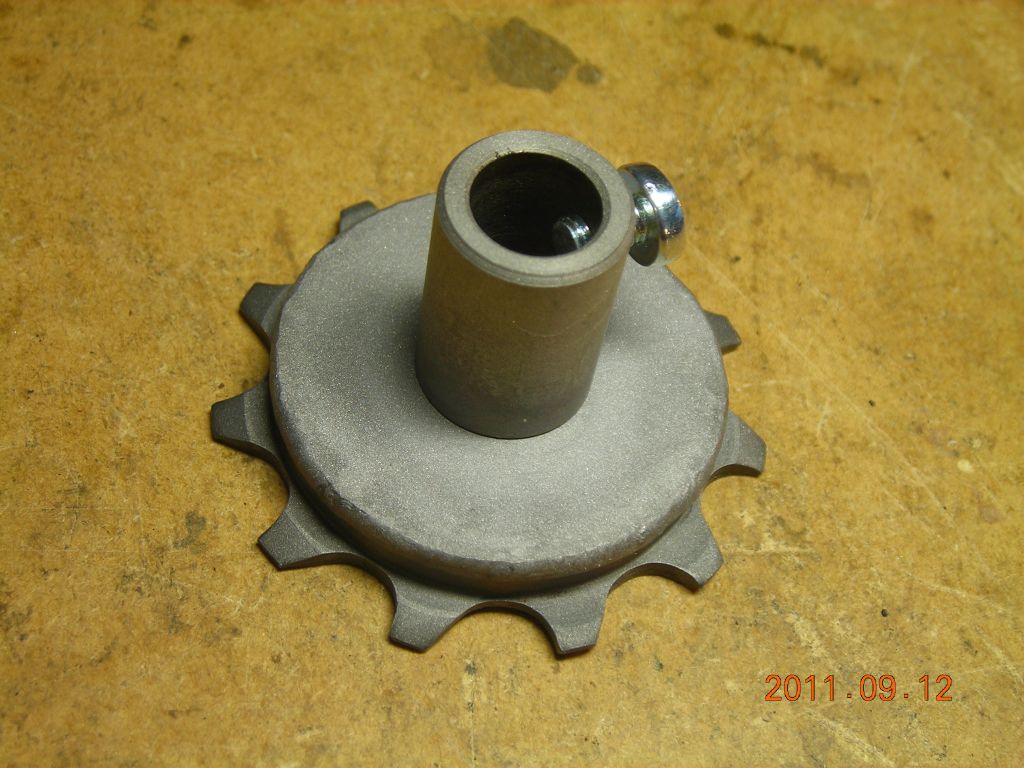 This fits a 3/8" shaft |
 |
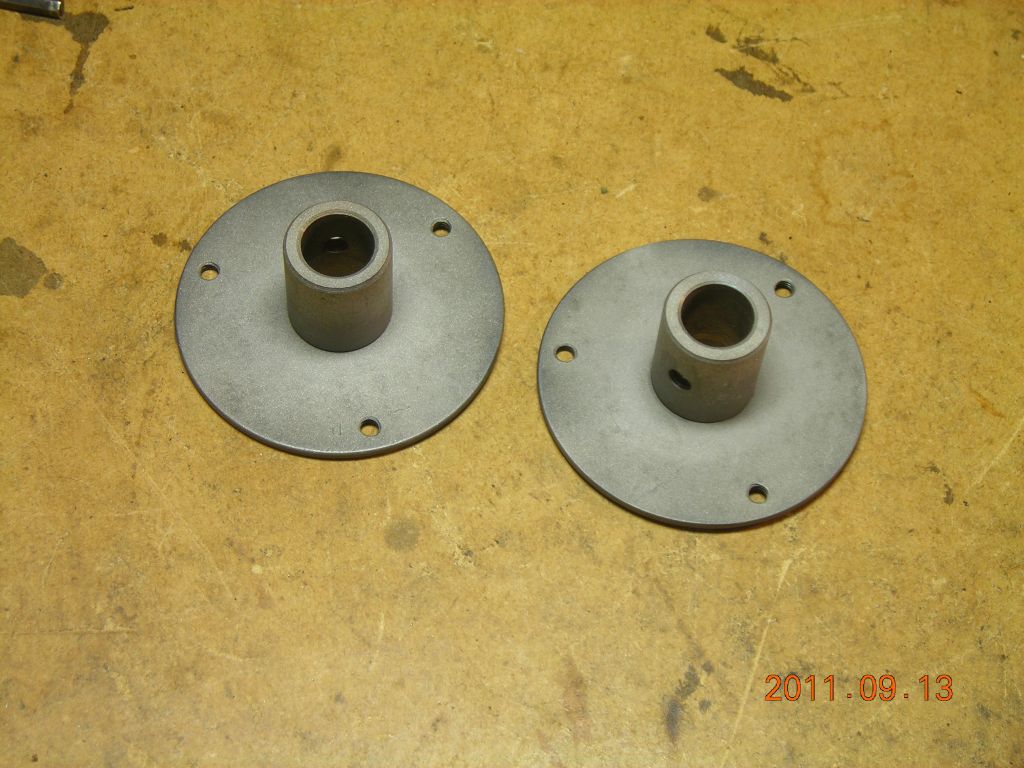
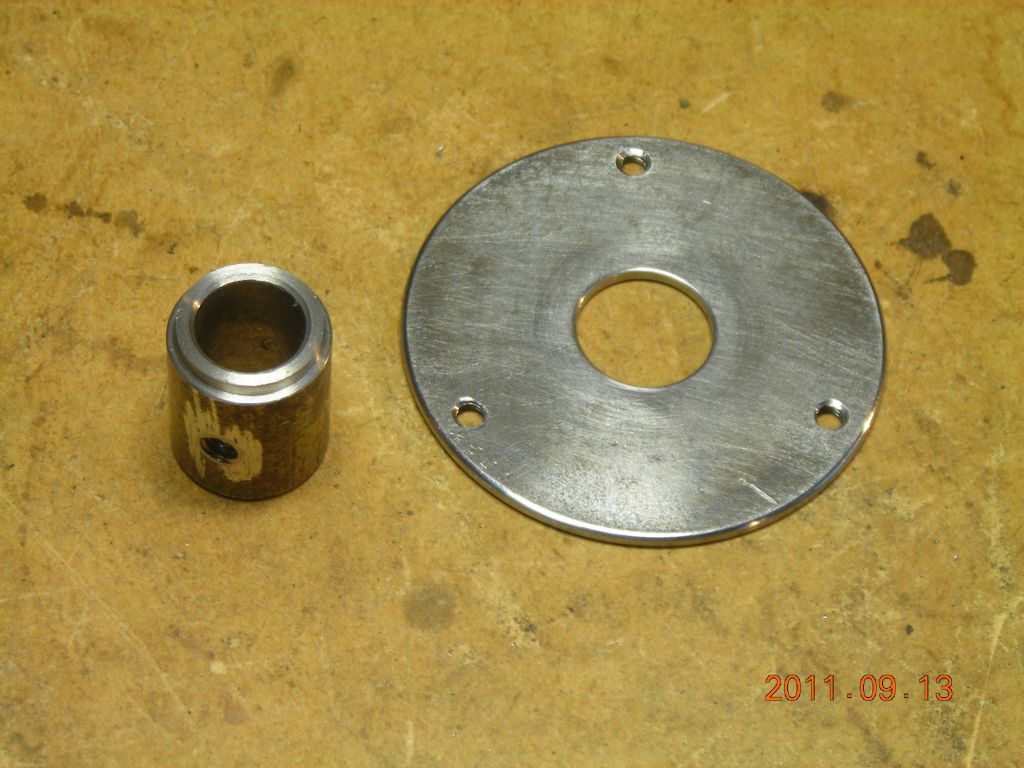 Pieces for the larger sprocket hubs |
 Welded up and cleaned |
 |
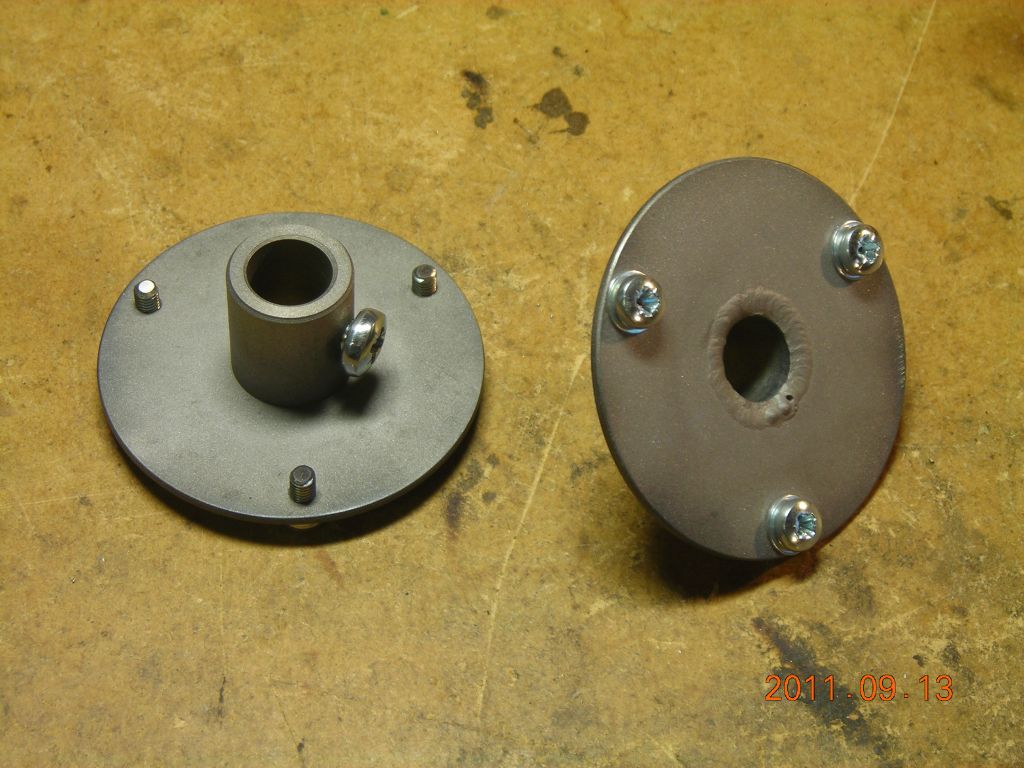 |
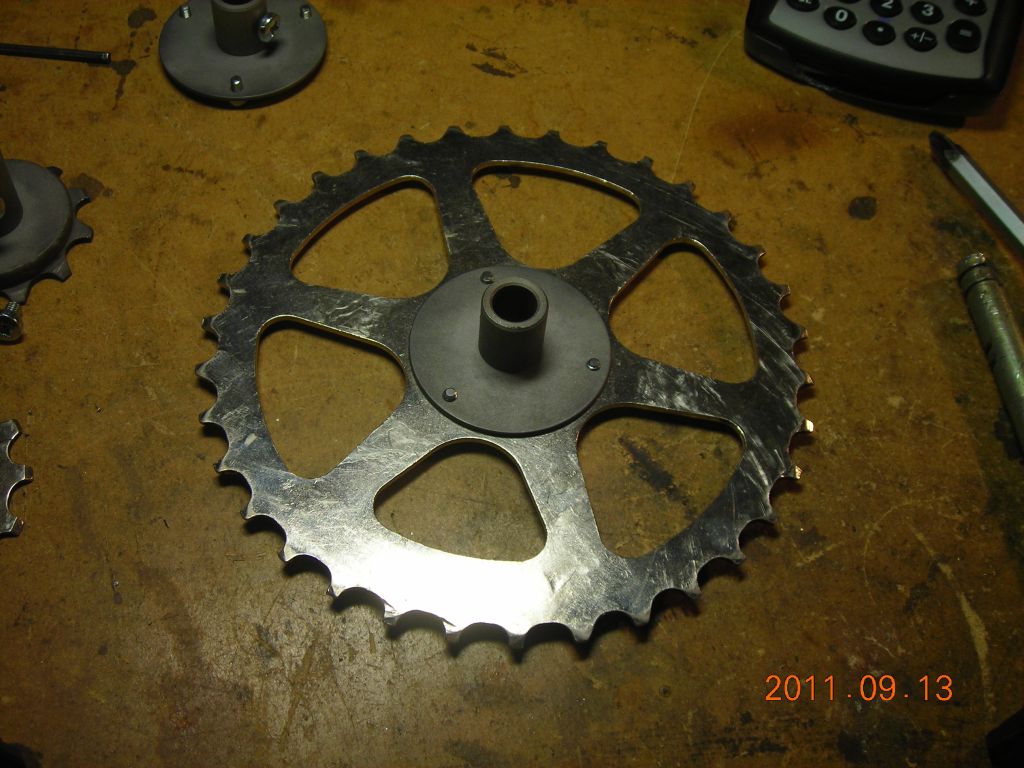
 Big sprocket mounted. It's easy to change sprockets. |
 |
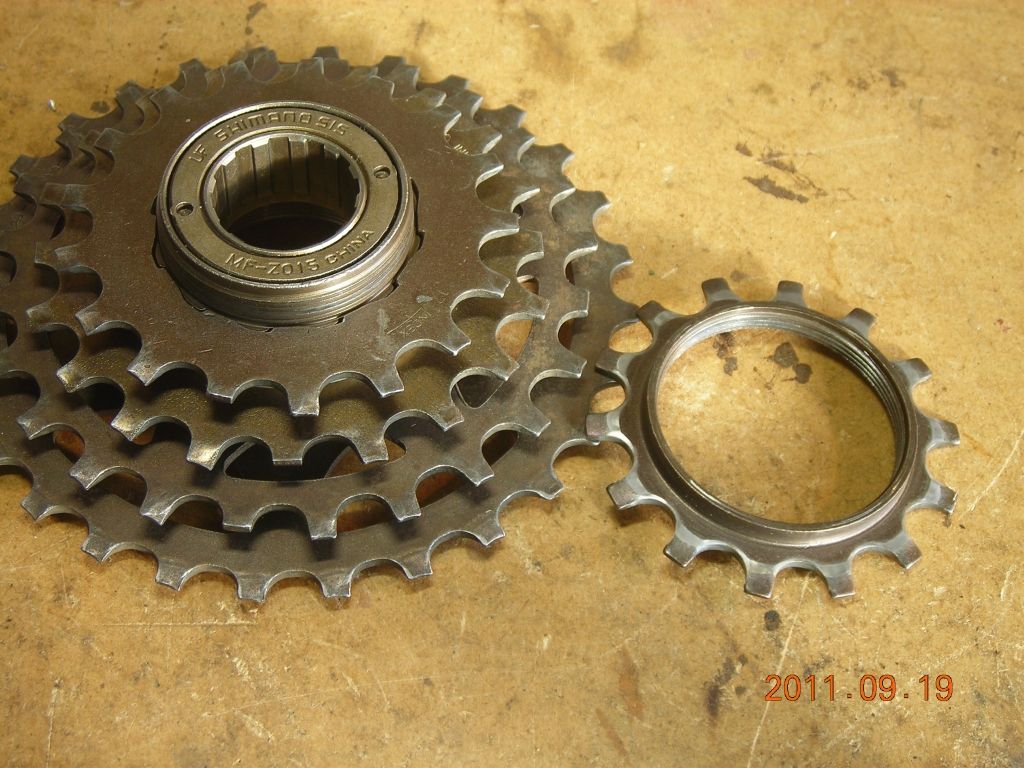
19/09/11: Here is freewheel cogset I cleaned up and dismantled, to see how easy it would be to use the sprockets from it. The stack of sprockets is held on by the smallest sprocket, which is threaded on to the outer part of the ratchet hub. Once it's removed, all the sprockets pull off easily, and could be used by welding a boss to the middle of them, or possibly drilling mounting holes (I didn't check if they were hardened or not). The ratchet hub itself is a very nice piece of work and is bound to have a use - it can dismantled and the ratchet pawls removed, resulting in a quality bearing. I don't actually have any shots of inside the ratchet mechanism, since I had already cleaned it and reassembled it, but it's a pretty basic ratchet with two pawls and two sets of loose ball bearings at either end of the hub.
 Original cogset |
 Smallest sprocket removed (right-hand thread). This involved a lot of heating and battering. |
 All the sprockets |
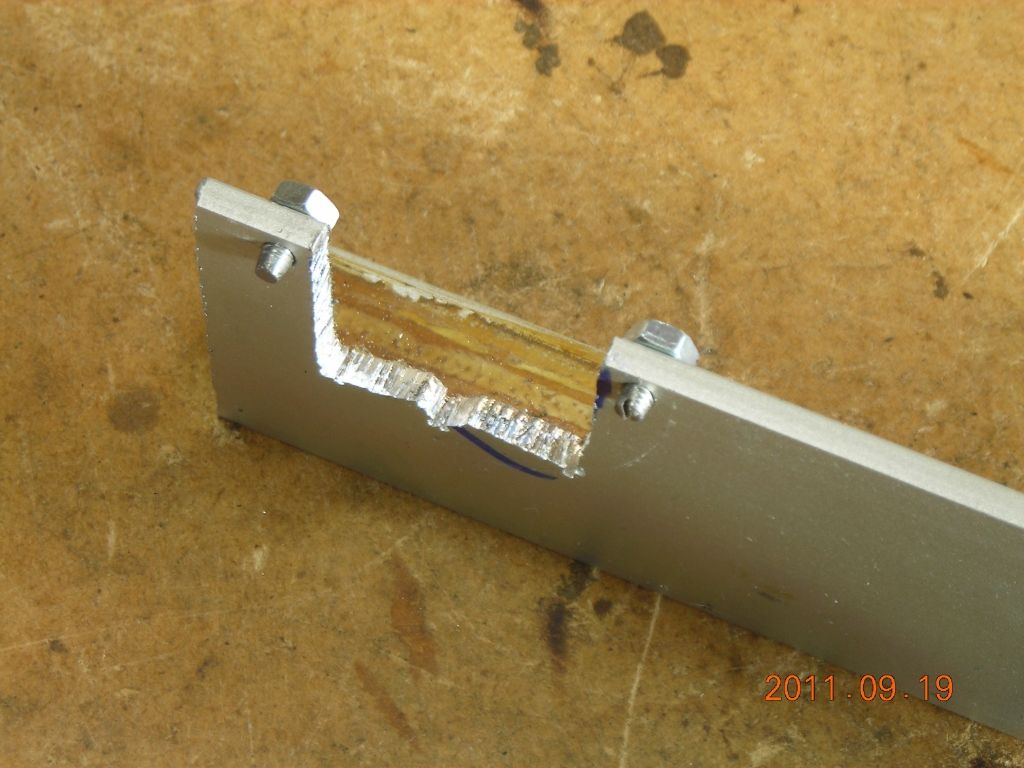
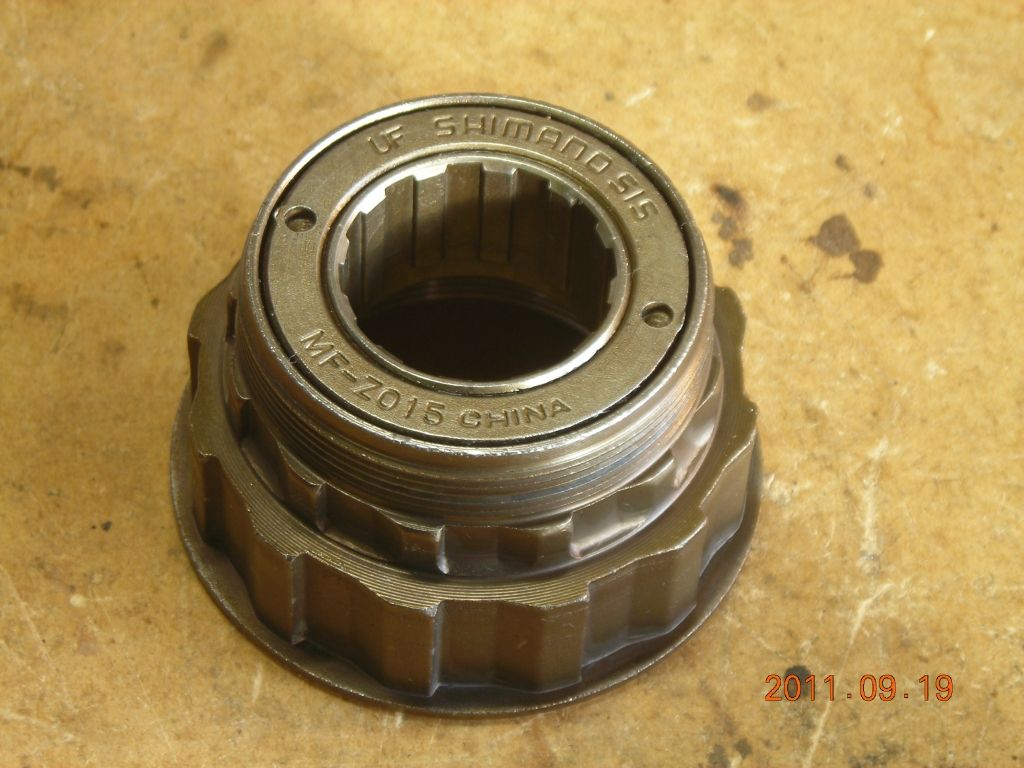 The hub itself |
 The small sprocket threads on to here. The ribs on the left are to hold the larger sprockets. |
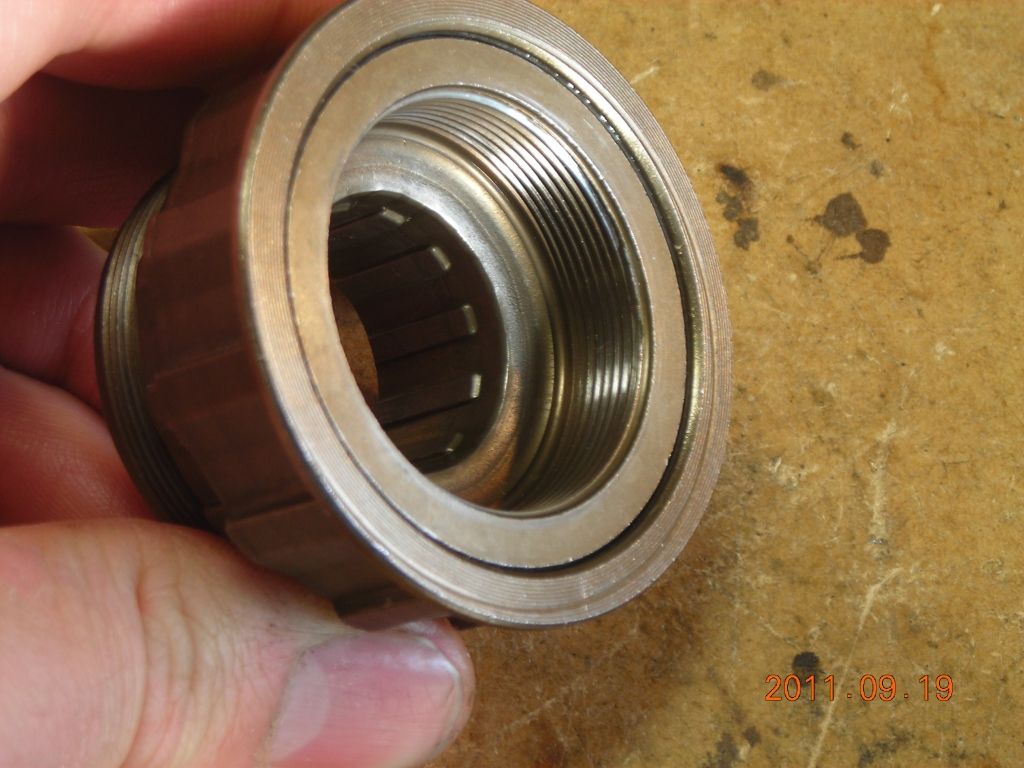 This threads on to the bicycle wheel. |
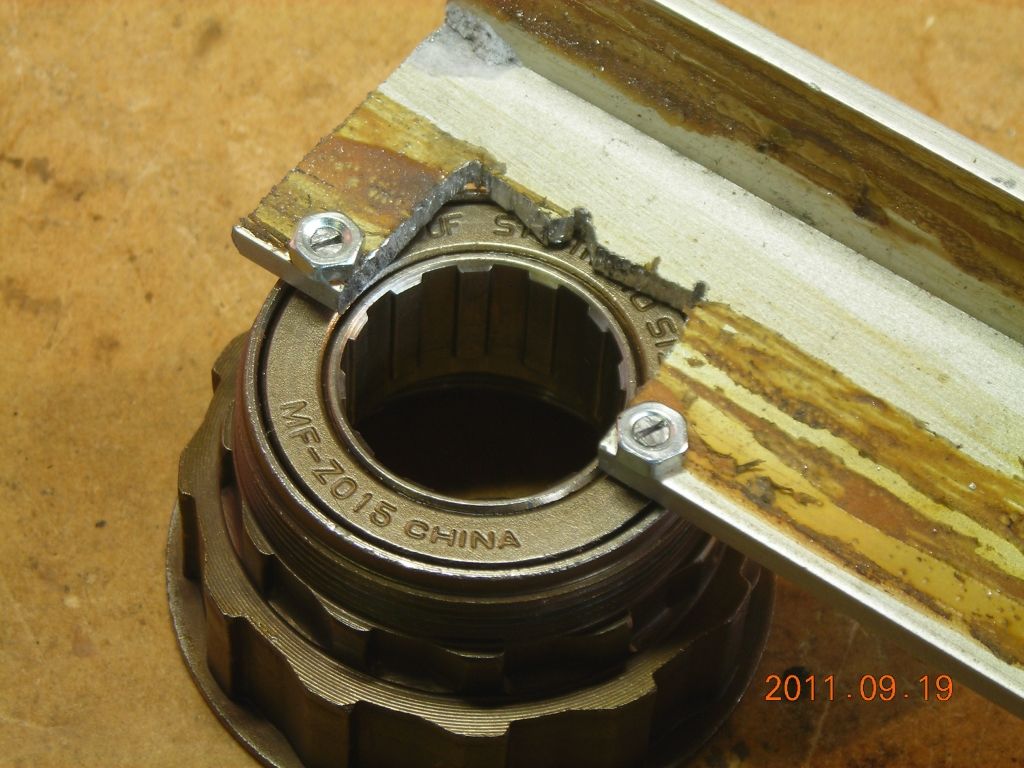 To get at the innards, hold the lockring with a pin spanner like this |
 Use a splined nut to grip the inside |
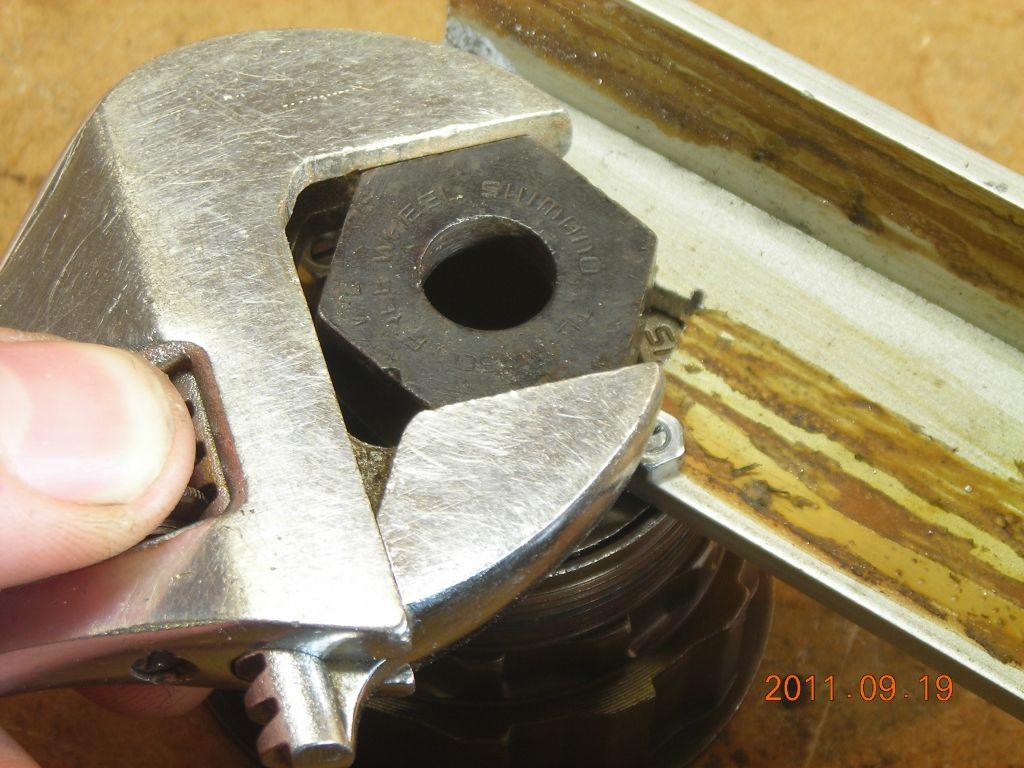 And turn with a spanner - LEFT HAND THREAD! In this photo, turn the spanner (on the left) anticlockwise, and the pin spanner (on the right) clockwise - I think. Can't remember! |
 My pin spanner lashup |
| ▲ Mechanical |