
| ▲ Workshop |
When making my little text discharge tube, I needed a way of joining small-diameter wires which didn't involve spot-welding, as I had difficulties spot-welding stainless-steel wire to lamp lead-in wires. I happened to come across "pulse arc welding" on the web - probably the best source of information is Sunstone Engineering's page on their pulse arc welders http://www.sunstonespotwelders.com/spot-welders-pulse-arc.php. A high-current pulsed arc is formed between a tungsten electrode and the work surface, in a manner similar to TIG welding, and this forms a small weld pool, joining the metals. Not having a pulsed source of power, I decided to just try the normal TIG torch, but only turning it on for a very short time by quickly pressing the foot pedal. Turns out that this works pretty well.
I had to make two modifications to my TIG welder (a generic Chinese model) for this to work. First, I had to add a foot pedal, which was a simple matter of wiring another switch in parallel with the trigger switch on the torch handle. Second, I installed a manual override switch for the gas solenoid valve. In normal TIG operation, the gas flow only starts when the trigger is pressed. However, when the torch is only pulsed on for a very short time, hardly any gas comes out to protect the weld. The manual control allows the gas to flow constantly, regardless of whether the torch is on or not. The gas solenoid inside the welder is controlled by a relay, and I simply wired a switch in parallel with the relay contacts.
The point of the tungsten is simply placed near the location of the weld, the current is turned to quite a low setting (~40A) and the foot switch is triggered briefly. The resulting pulse can melt wires together nicely into a little bead, or join thin (0.25mm) sheet steel. It's interesting to note that it's very difficult to butt-weld wires, as the ball of molten metal tends to move off to one or the other wire and break the join. A better technique is to form a little U-bend in one wire and join them that way (you can see this in the lower join in this photo of the text discharge tube). A big advantage is that there's no stress placed on the wires during joining, unlike spot welding, so the joint can be made in situ.
The photos below show various welds on sheet and wire. Incidentally, this is a neat way of making thermocouples, by using different wires!
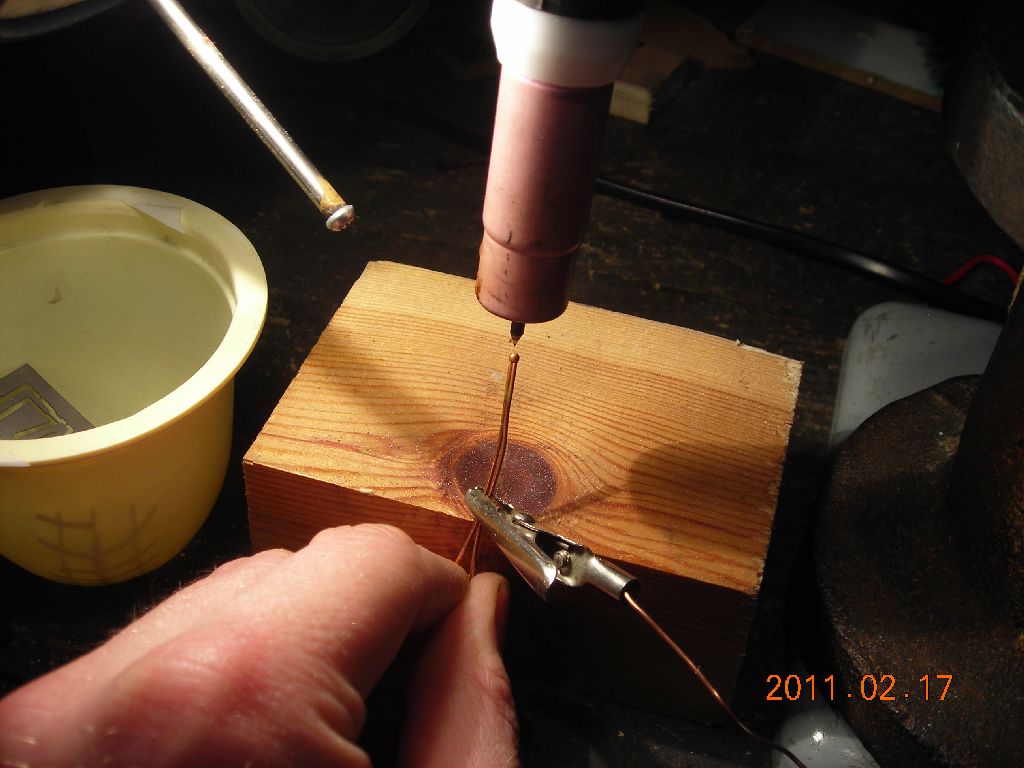 Welding arrangement - note that a heavy-duty earth connection is not needed because of the pulsed nature of the discharge |
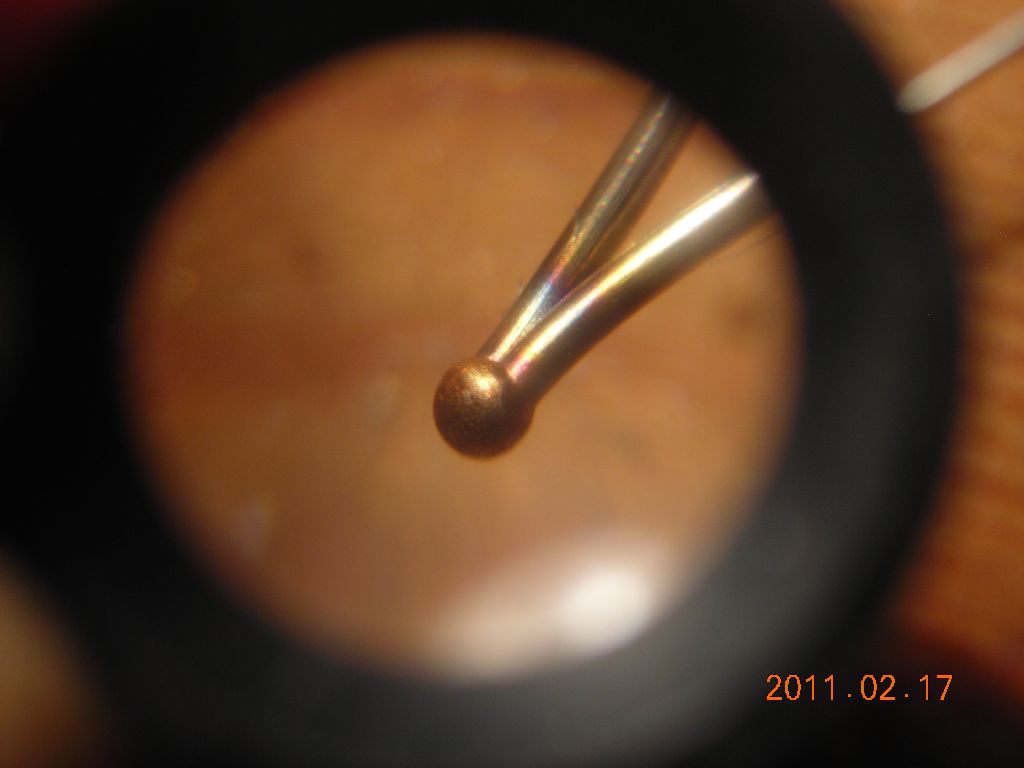 0.7mm stainless wire |
 0.7mm stainless wire |
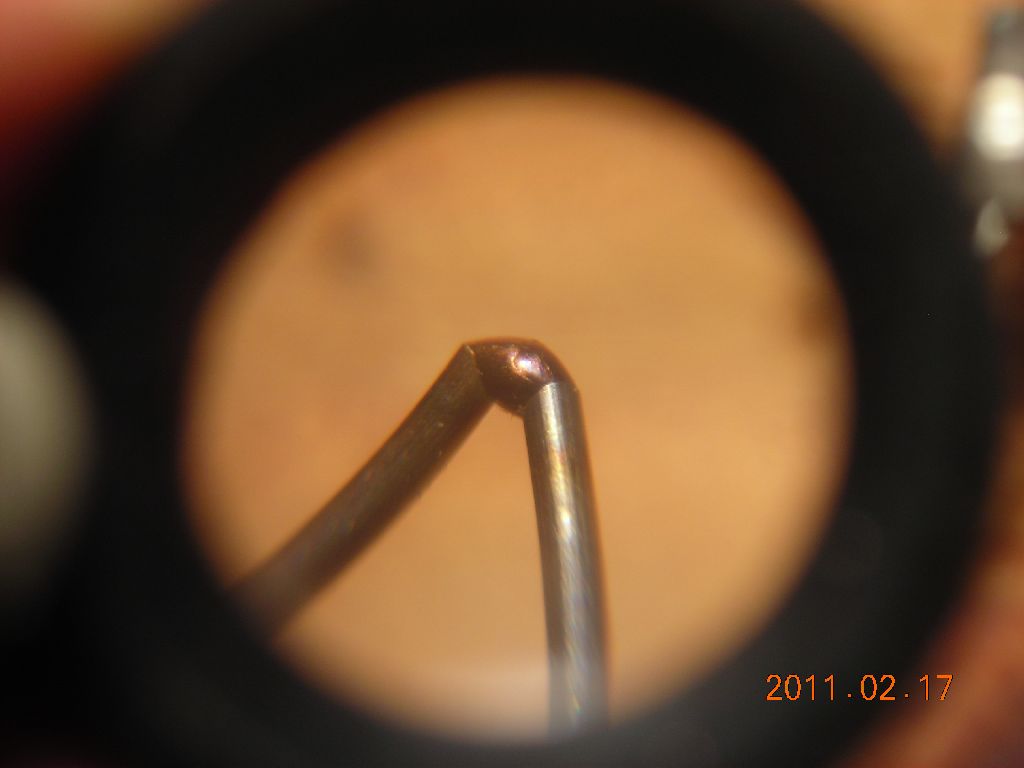
 1mm copper wire |
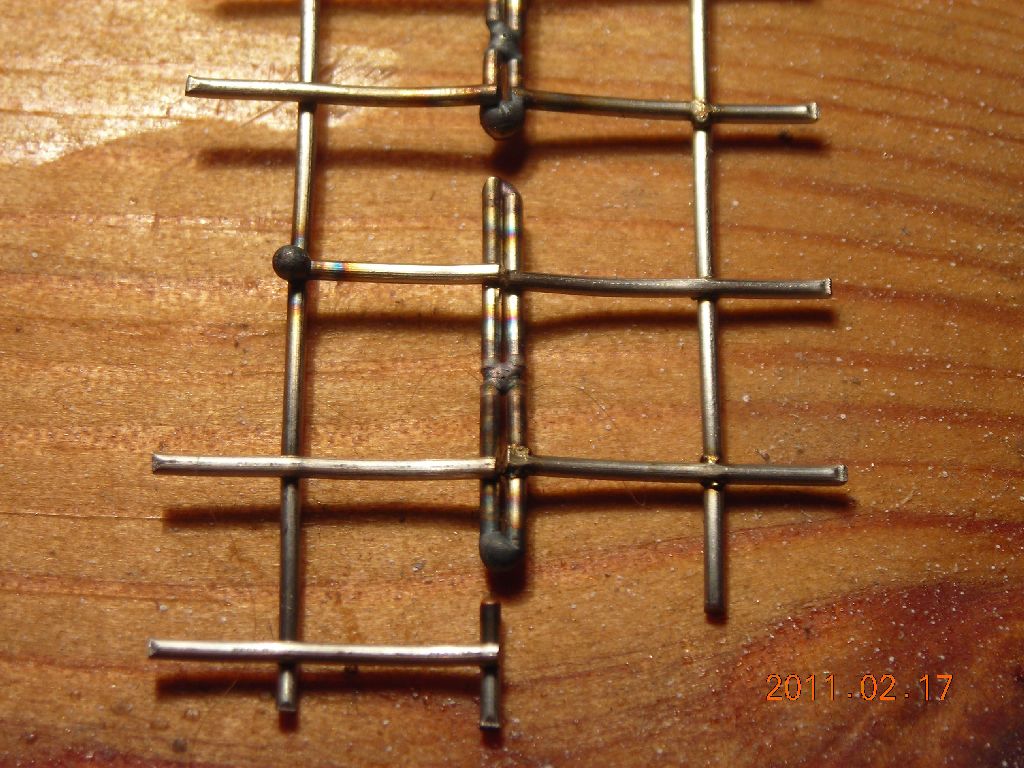 Messing around with 0.7mm stainless wire mesh |
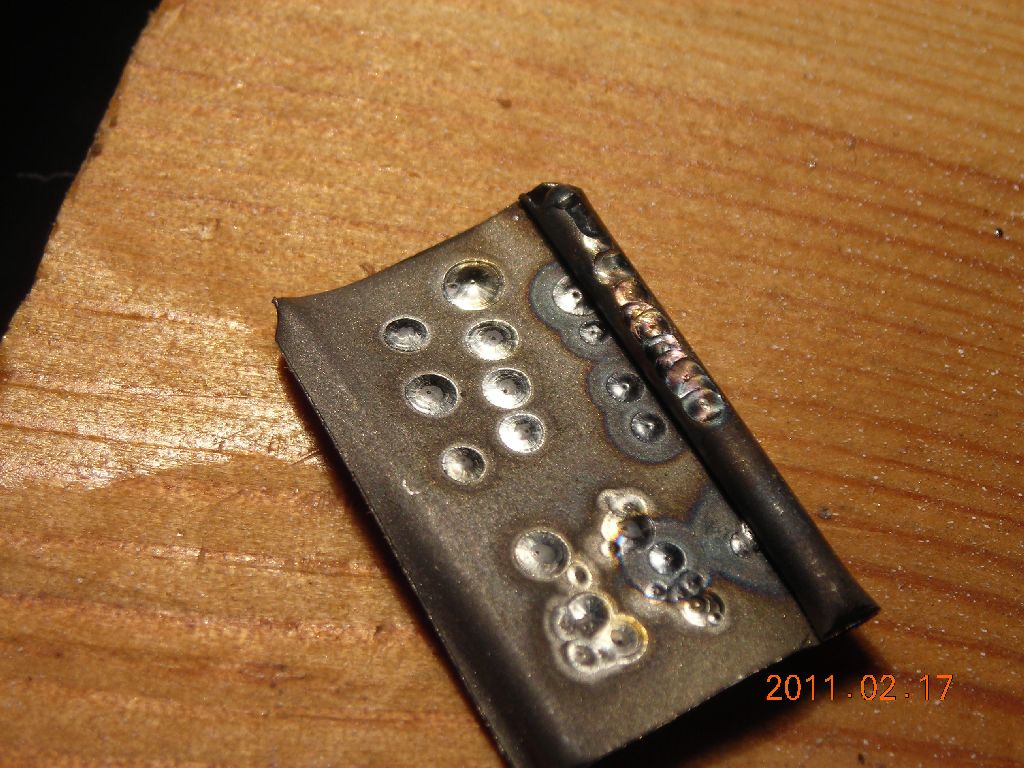 Some weld pools on 0.25mm steel sheet |
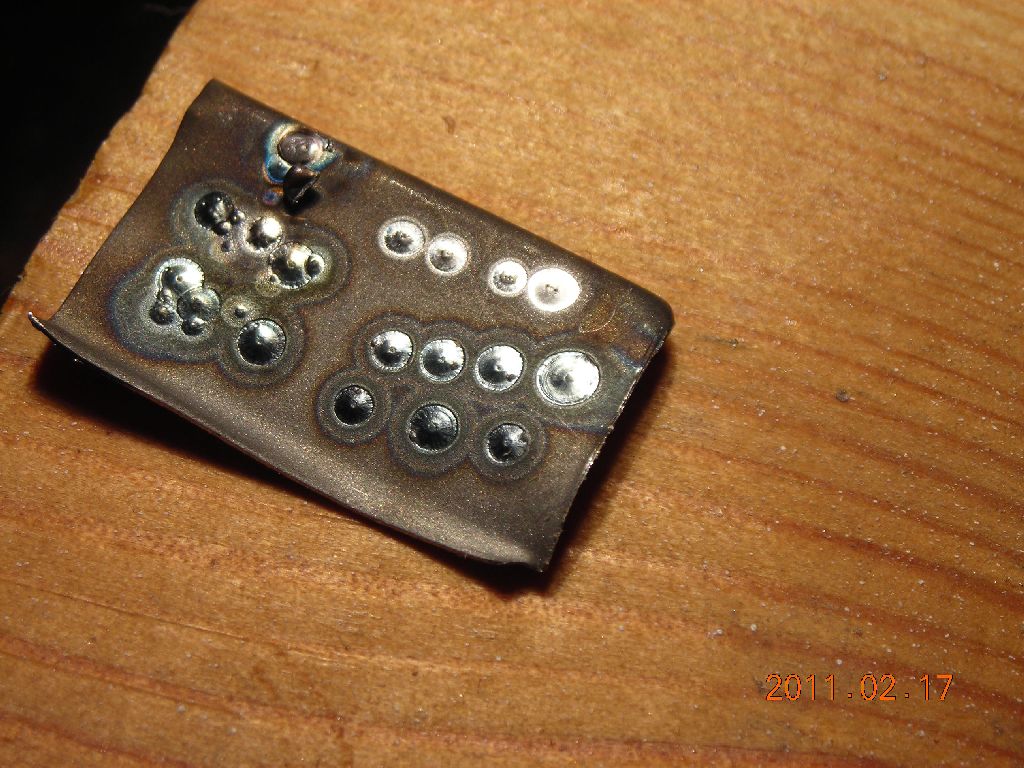 0.25mm steel sheet |
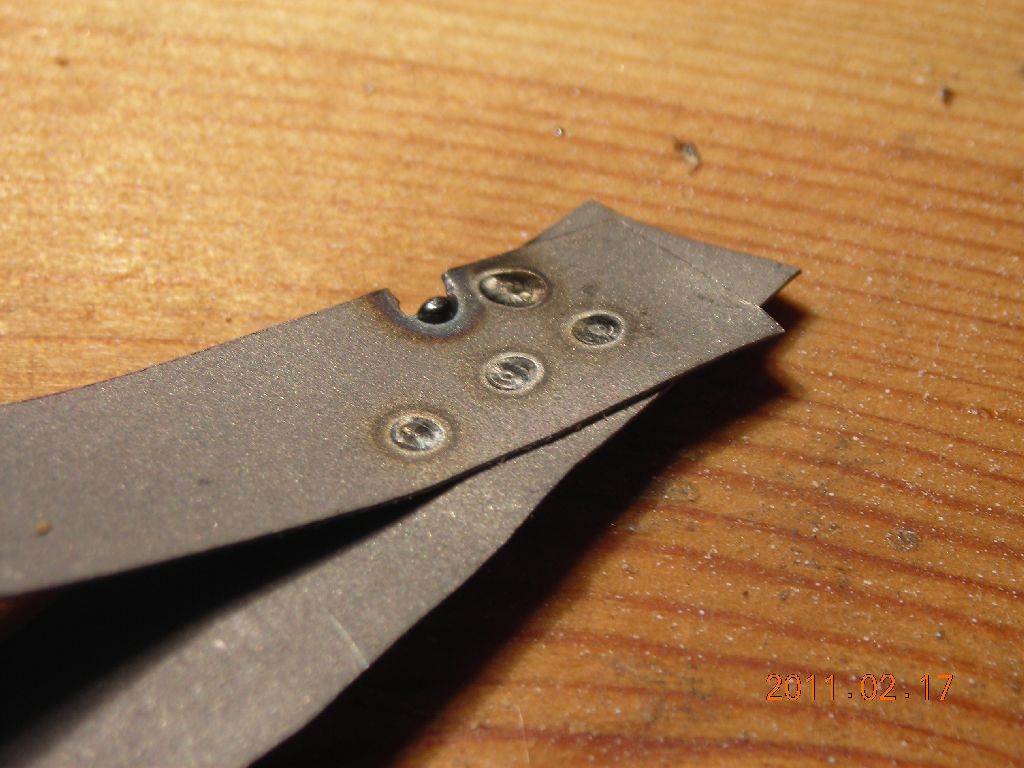 Two 0.25mm steel sheets joined |
 Reverse side - note complete penetration |
27/05/11: I built a footswitch for the welder with a built-in timer which can do nice repeatable pulse welds. Check it out here.
| ▲ Workshop |