
| ▲ Computer |
I've been having great fun drawing stuff with my AxiDraw drawing machine and wanted to see what could be done with a small laser diode - either infrared for some laser cutting, or visible/UV for light painting. The modifications are pretty simple and the results are fantastic!
The hardware/code modifications described are equally applicable to other EiBotBoard-based machines, such as the Eggbot or Watercolorbot, and can obviously be used to control things other than laser diodes.
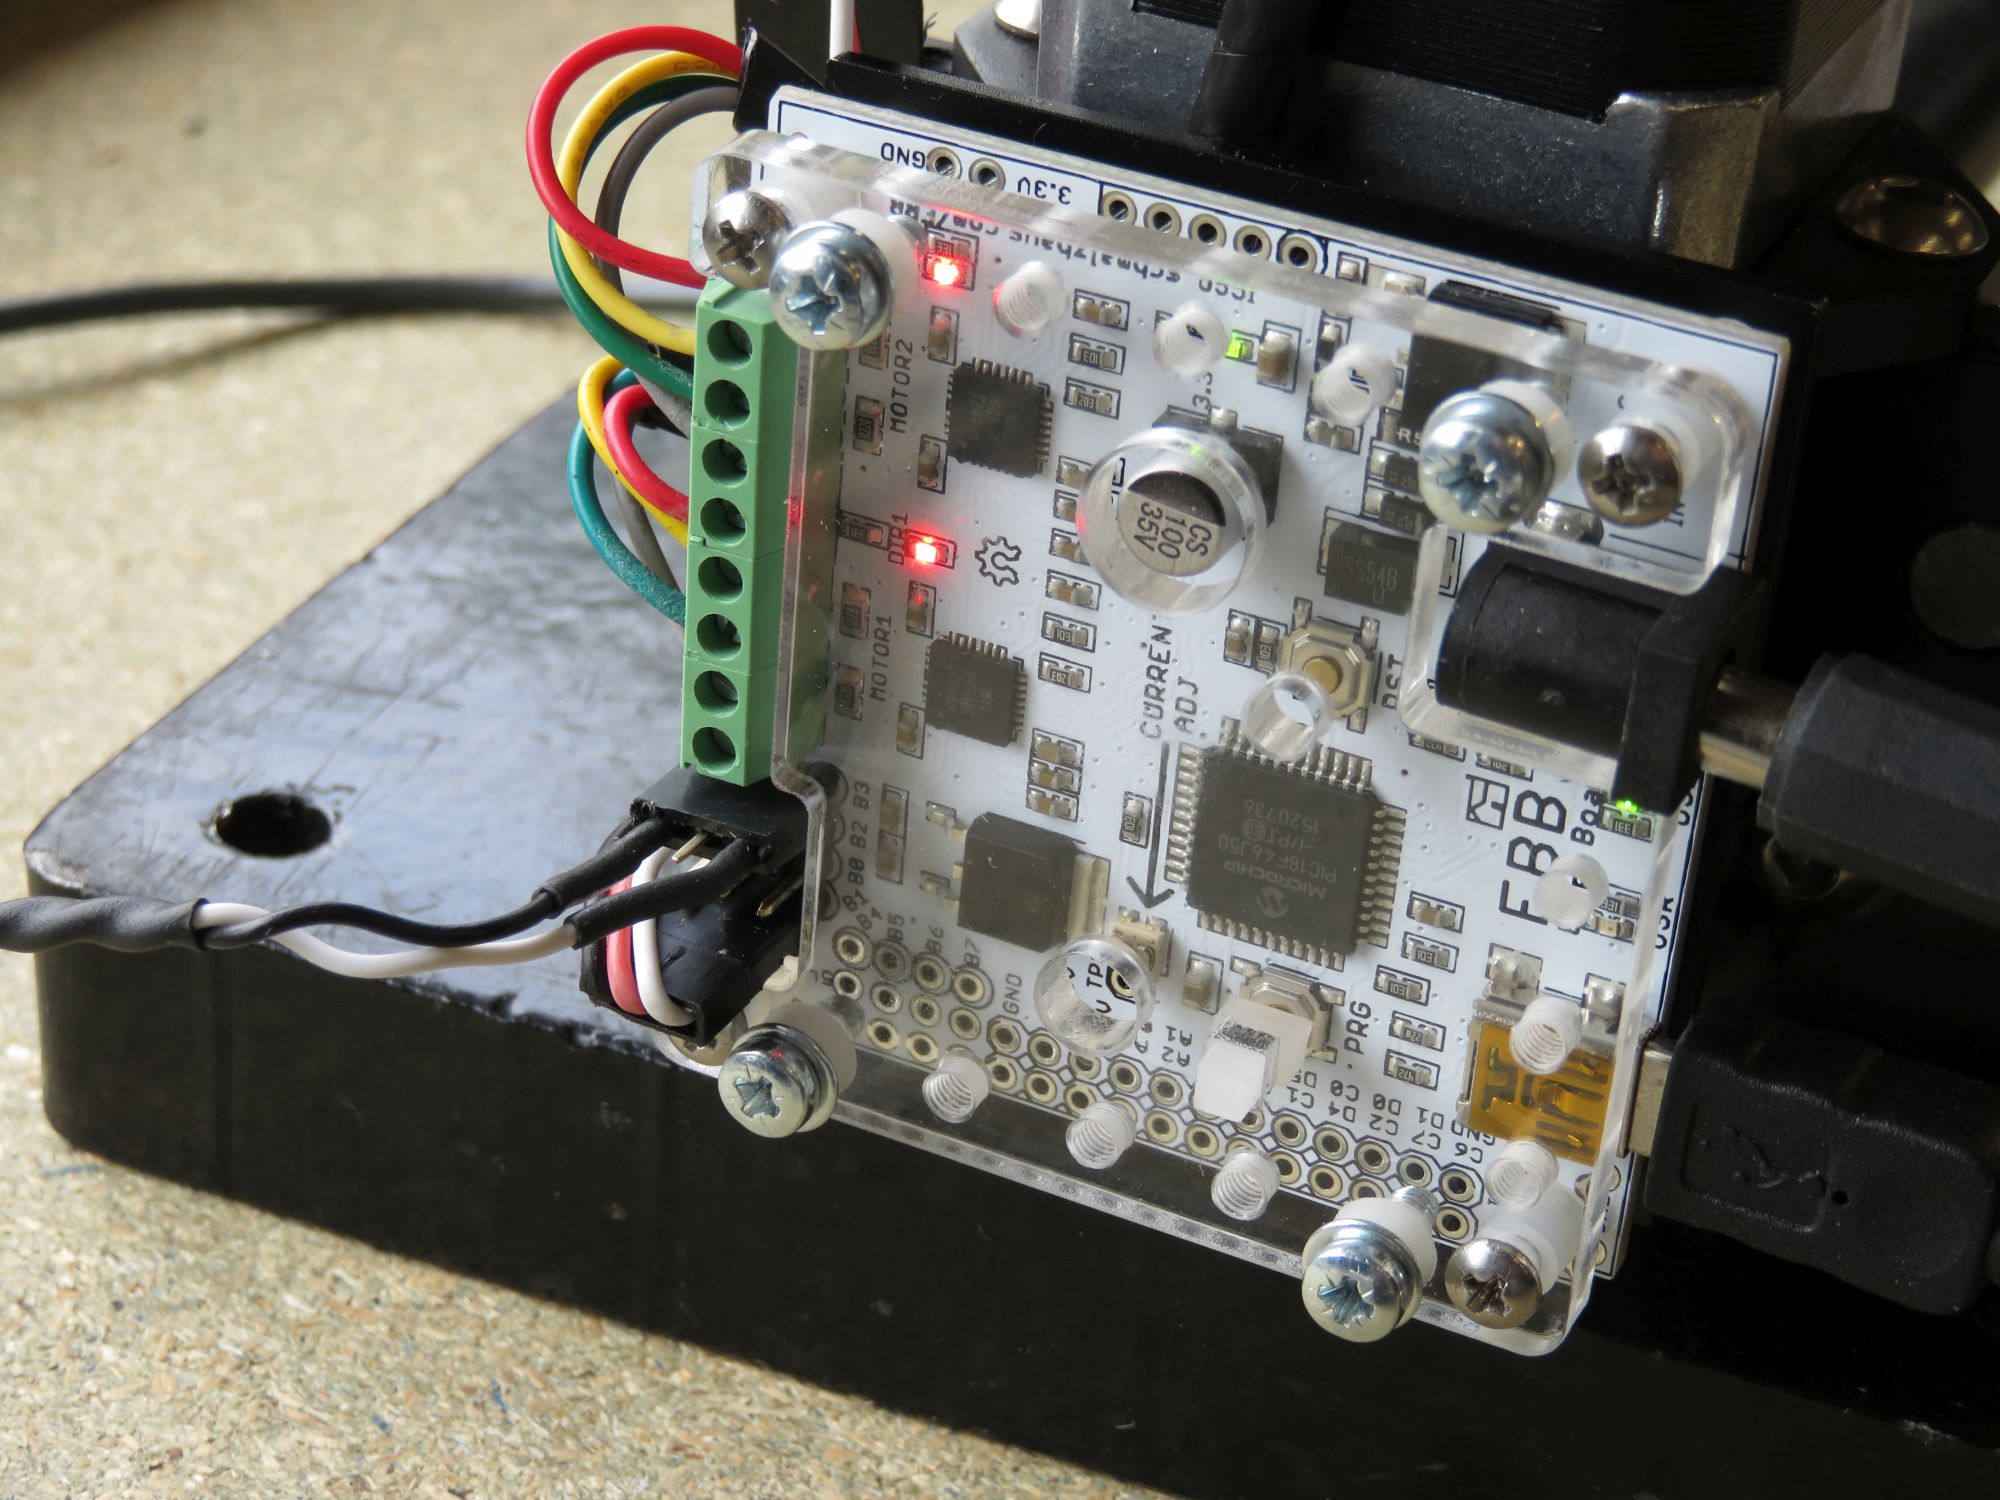
The EBB has lots of external I/O pins which can be used for both digital and analog control. On the board sold by Evilmadscientist, headers are provided for the RB0-RB3 outputs. RB0 is already used for the pen slide servo. I'm going to be using RB3 to trigger the laser diode. The actual trigger circuit depends on which laser diode I'm using - this is described in more detail further down the page. Note that the RB3 high level is 3.3V, so if you're using something like a MOSFET to switch the laser diode, make sure the gate threshold voltage is low enough.
So, I've got a pin header socket with wires going to RB3 (white) and ground (black):
RB3 has to first be defined as an output pin. This is done with the command PD,B,3,0 - that's PD for Pin Direction, B for port B, 3 for pin 3, and 0 for an output. Once defined as an output, it can then be set high or low using the command PO,B,3,x - PO for Pin Output, B for port B, 3 for pin 3, and x=0 or 1 to set the output level. Note that the PD and PO commands are from the USB Bit Whacker commands, which the EiBotBoard fully supports.
We need to add a few lines of code to the AxiDraw Inkscape extension for it to control the RB3 output.
First, open up the axidraw.py extension file (this is located in the Inkscape extension folder). Find the function plotDocument(self) - in v1.0.2 of axidraw.py, it starts at around line 480. This function is called when the user tells the machine to start drawing. Scroll down a little and find self.ServoSetup(). Immediately before this, add the following (ensuring you have correct indents to keep Python happy):
ebb_serial.command(self.serialPort,'PD,B,3,0\r')
ebb_serial.command(self.serialPort,'PO,B,3,0\r')
That sends two commands to define RB3 as an output and set it low. This is done immediately before the main servo and motor initialization routines.
Next, we need to turn RB3 on when the pen is lowered and off when it's raised. I'm a little unsure about the actual timing of this, whether the command should be issued before or after the pen up/down commands, so you might need to experiment. However, this worked for me. Find the function penUp(self). At the very end of that function, add this:
ebb_serial.command(self.serialPort,'PO,B,3,0\r')
That turns RB3 off when the pen is raised. Note that, since it's at the very end of the function, it's turned off after the pen raise delay.
Now find the function penDown(self) - it should be the next function down. This time, find the line:
ebb_motion.sendPenDown(self.serialPort, vTime)
and put this command immediately before it:
ebb_serial.command(self.serialPort,'PO,B,3,1\r')
This way, the RB3 output is turned on before the pen down command is executed. This works well for laser cutting, where you might want to pierce through the material, but it might not be ideal in all cases - experiment!
So, after those modifications, the AxiDraw extension will now toggle the RB3 output as the pen is raised and lowered. Let's now try using some actual lasers!
This is what I originally wanted to try. Here's the parts I'm using, all available from AliExpress (and probably other sources):
The actual diode is carefully pressed into the brass body of the housing. The spring holds the 5mm collimating lens inside the brass cap. I made a small plastic cylindrical sleeve which holds the 7mm focusing lens on the front of the brass cap. The whole laser diode assembly is mounted in a tubular plastic body, approximately the same diameter as the pens I'll be using, so I can swap between pen and laser without worrying about alignment problems.
I made a LM317 constant-current supply to power the laser diode and set it to 300mA. The diode is switched by a small NPN transistor (BC337-40), controlled from the RB3 output of the EBB. A circuit diagram is available here.
In Inkscape, I made two separate layers - one with some text for drawing, and the other with the outline to cut. The AxiDraw extension can draw layers individually, as described here (that's actually the EggBot documentation, but the AxiDraw extension works in exactly the same way).
It works pretty well - alignment between the pen and the laser is very good, but the laser is so underpowered that it took three passes at the slowest speed (1% in the AxiDraw extensions) to cut through the black paper. Obviously this is proof-of-concept, so a more powerful laser could easily be fitted instead.
Here's some photos of the laser diode and holder, and the finished cut pieces. I'm using a silver UNI Paint Marker (PX-203) on thick black paper.
 Parts for the laser diode holder |
 5mm lens + spring inside brass cap |
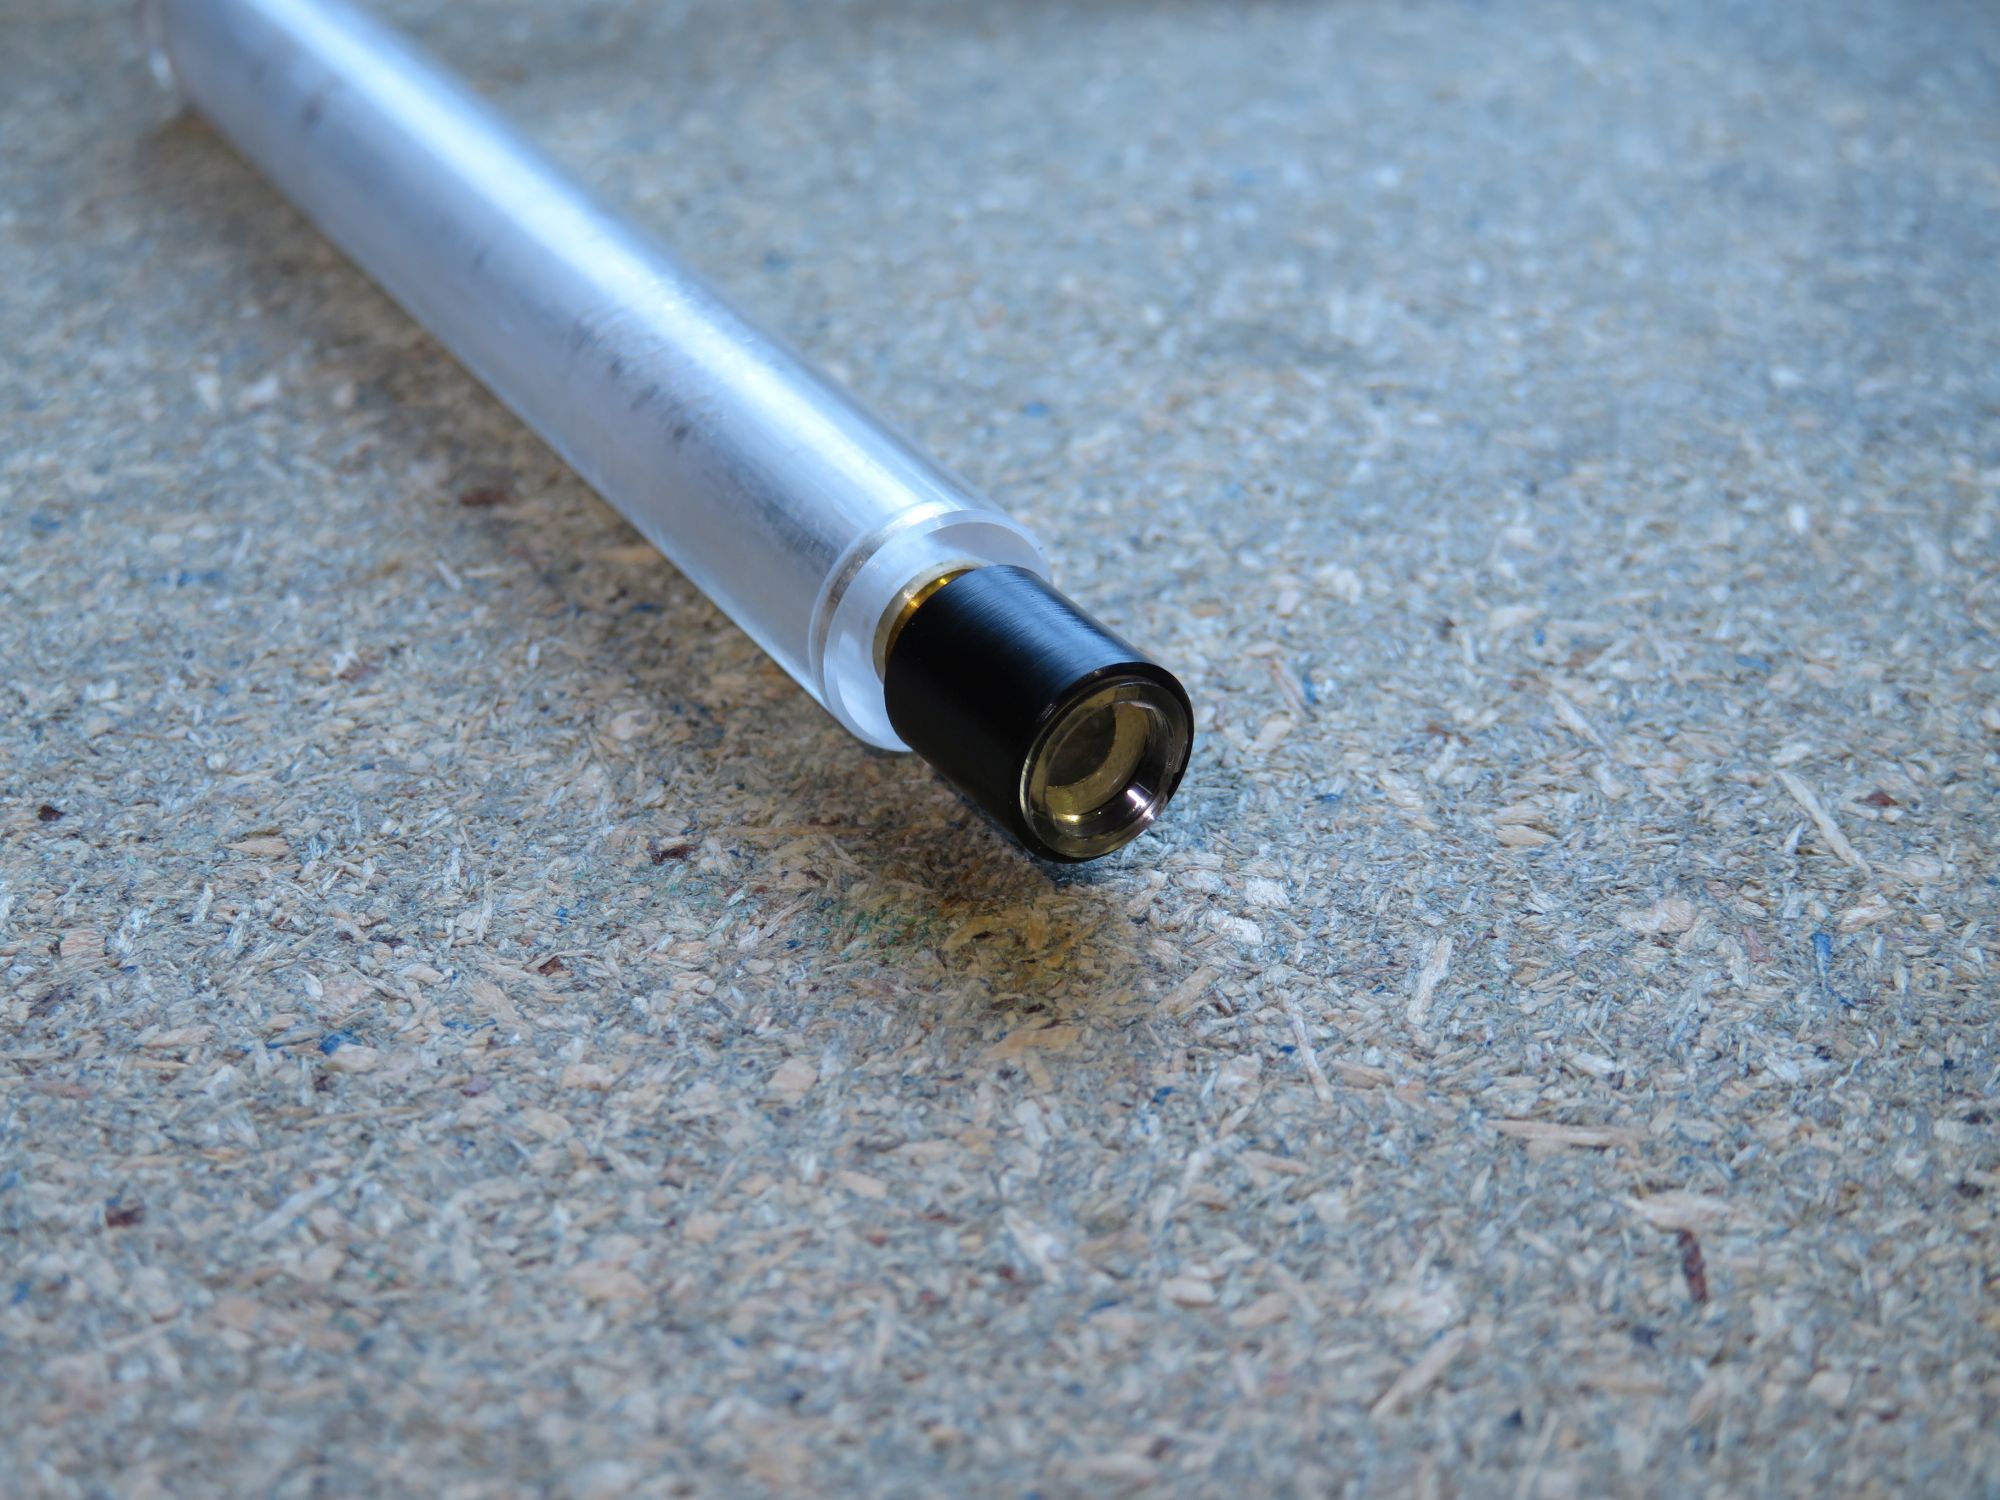 7mm lens mounted on front of cap |
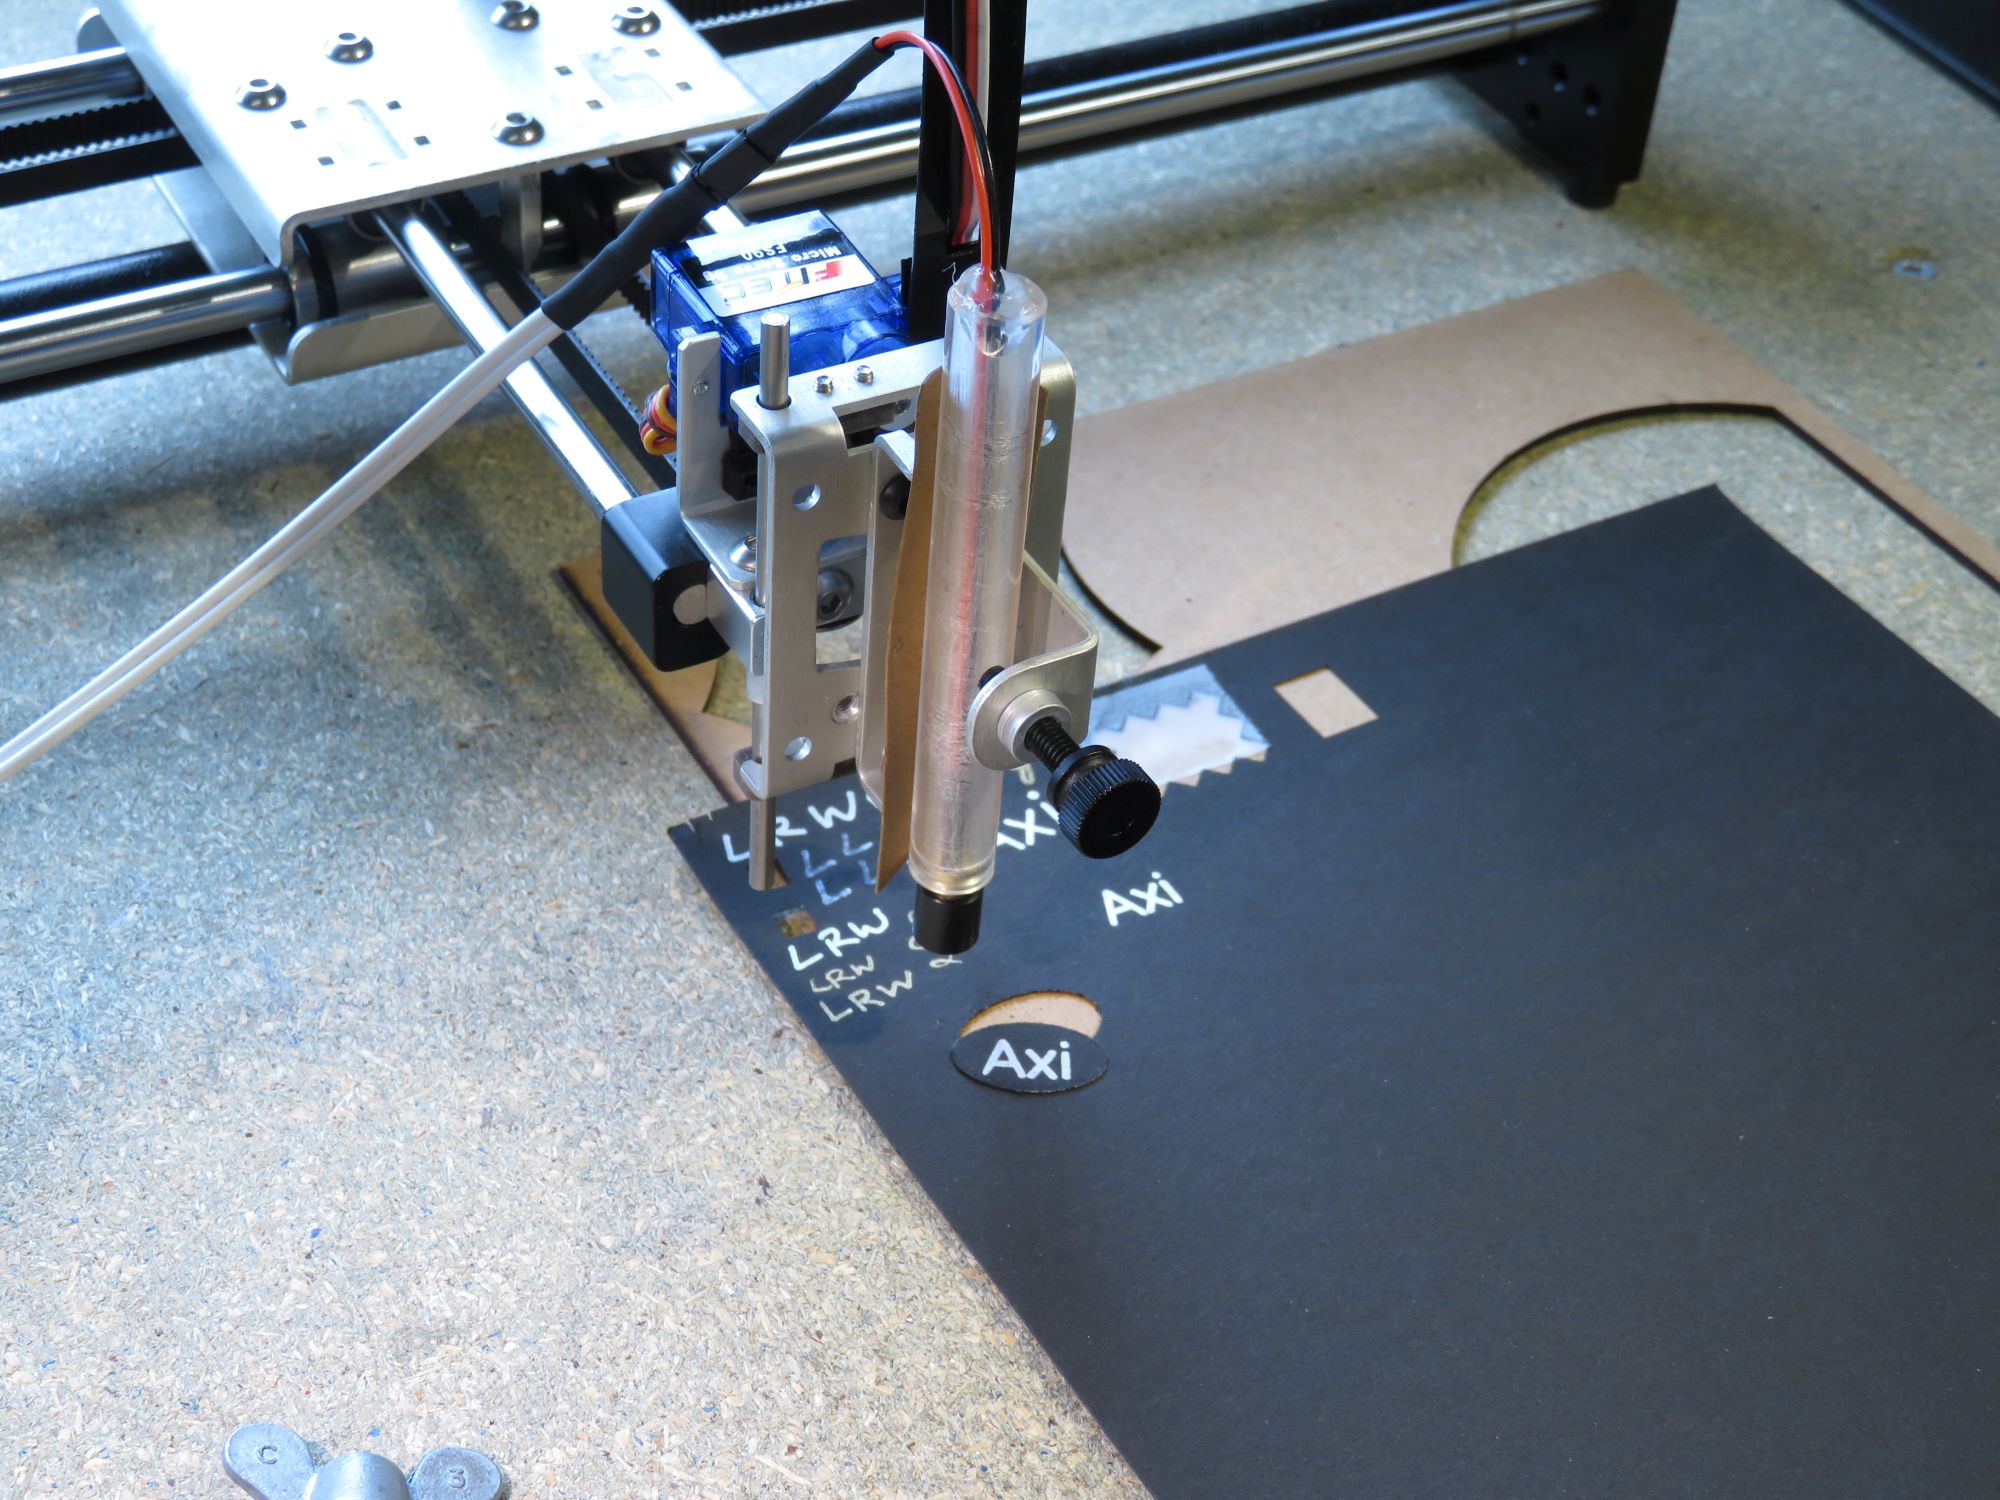 Laser diode mounted on AxiDraw |
 Closeup of a cut shape |
 Some more cuts |
Short video of it cutting:
Next up, and more fun - a UV laser diode.
I had previously made up a module using a 100mW 405nW UV laser diode and I'd built the power supply so it could be operated from the TTL output on my big laser cutter. This has a cylindrical metal housing and a focusable output, so it's ideal for mounting in the AxiDraw's pen holder. I simply used the RB3 output to drive the laser module's TTL input directly, and it worked fine.
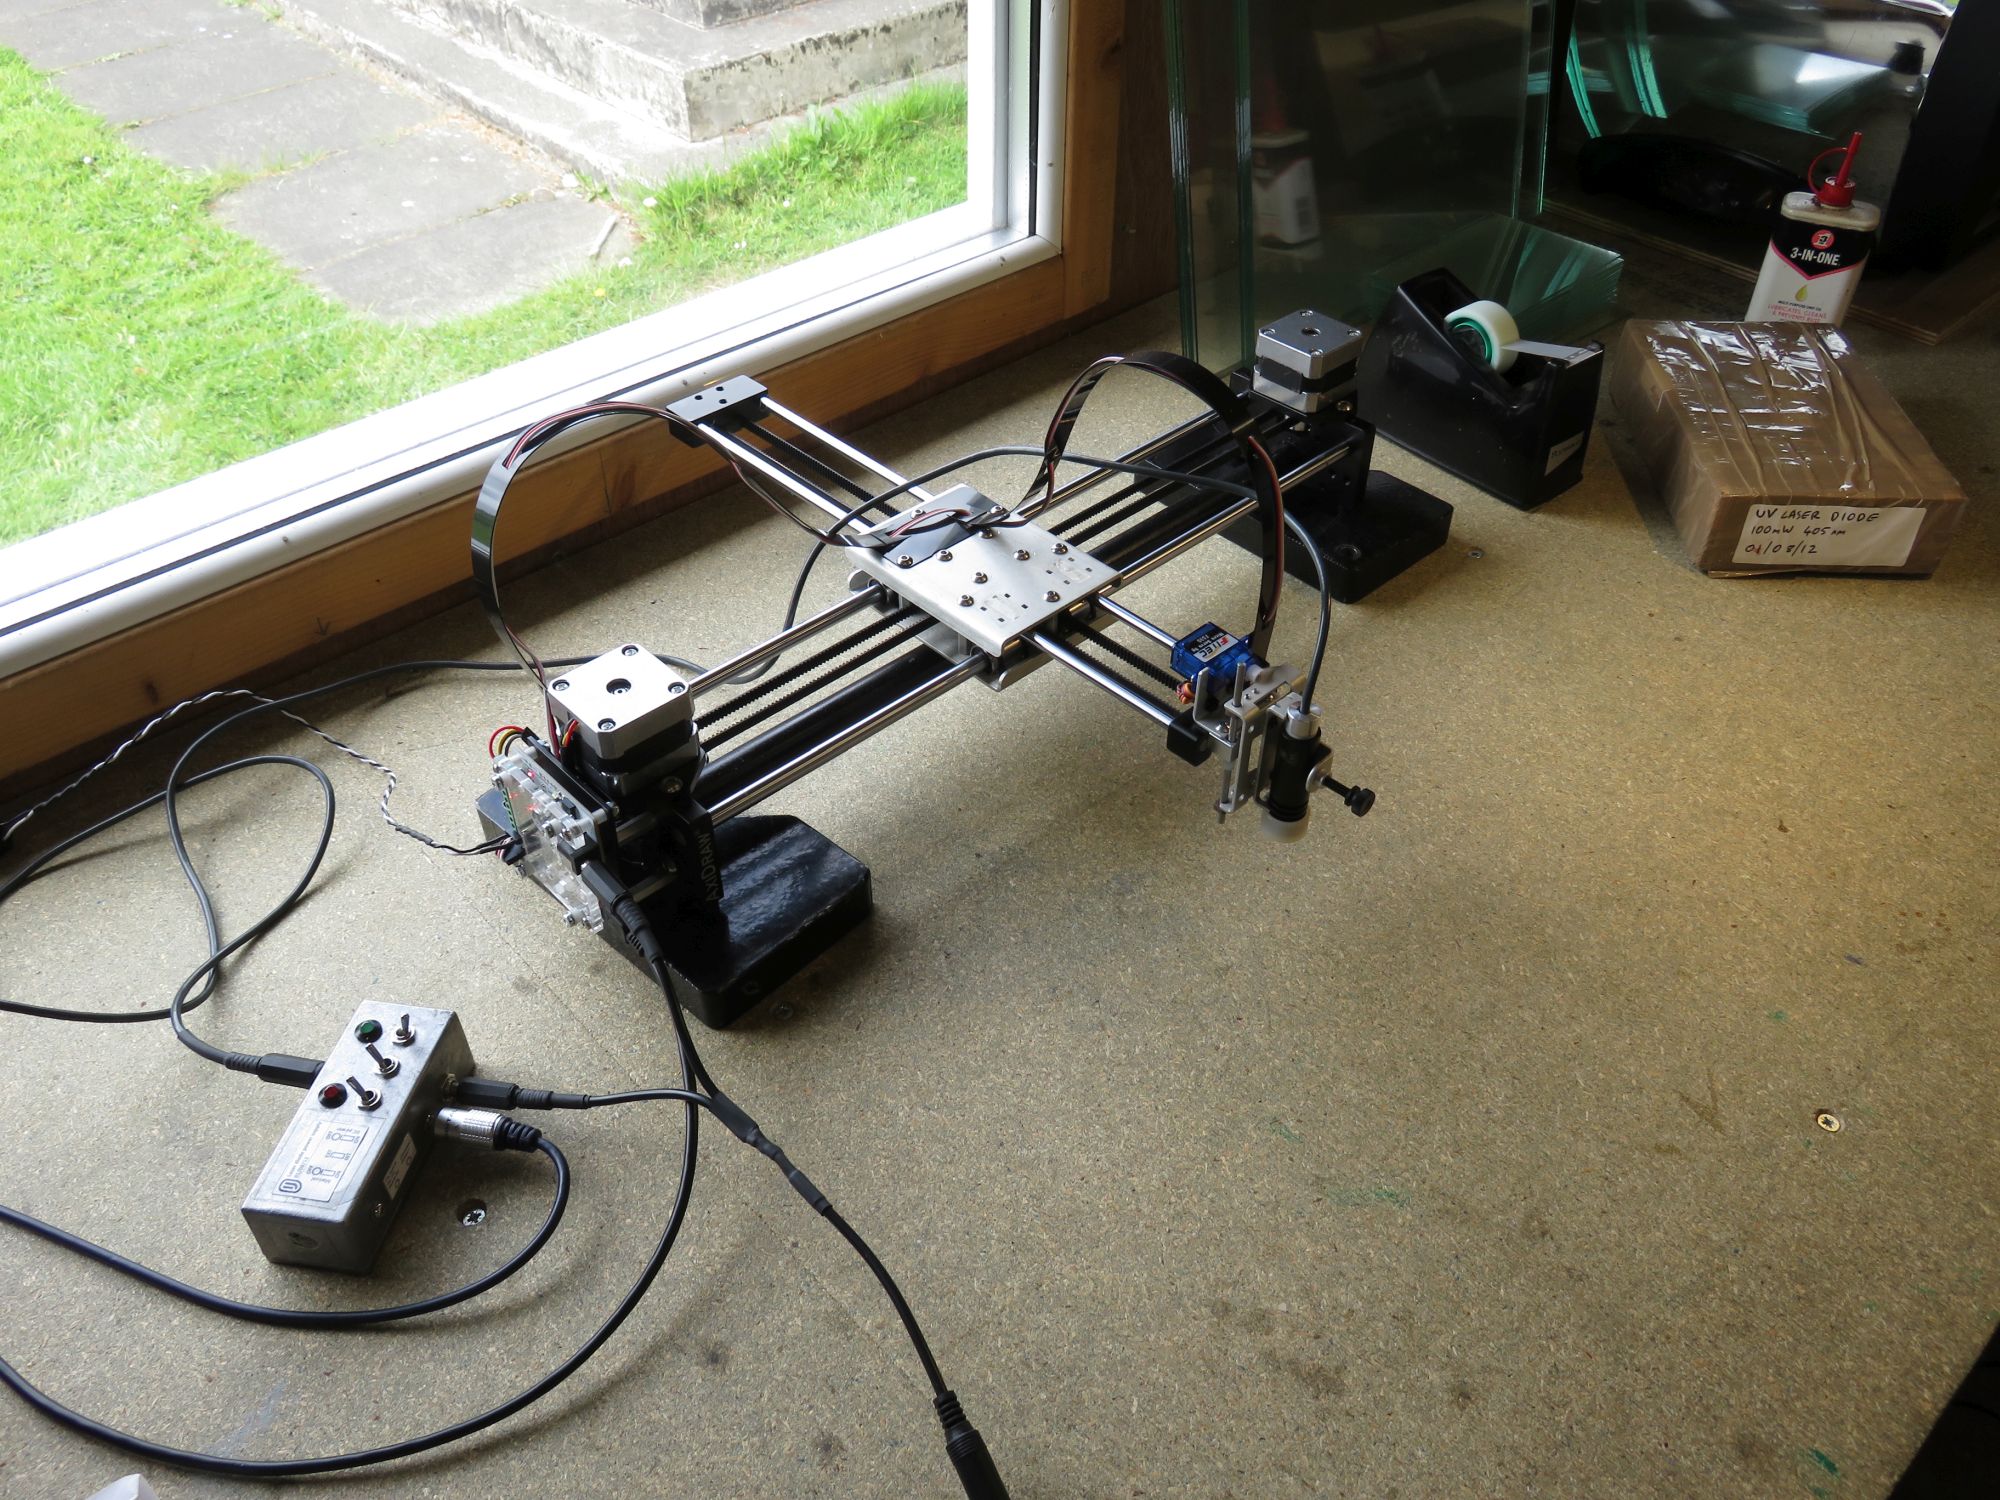 Overall |
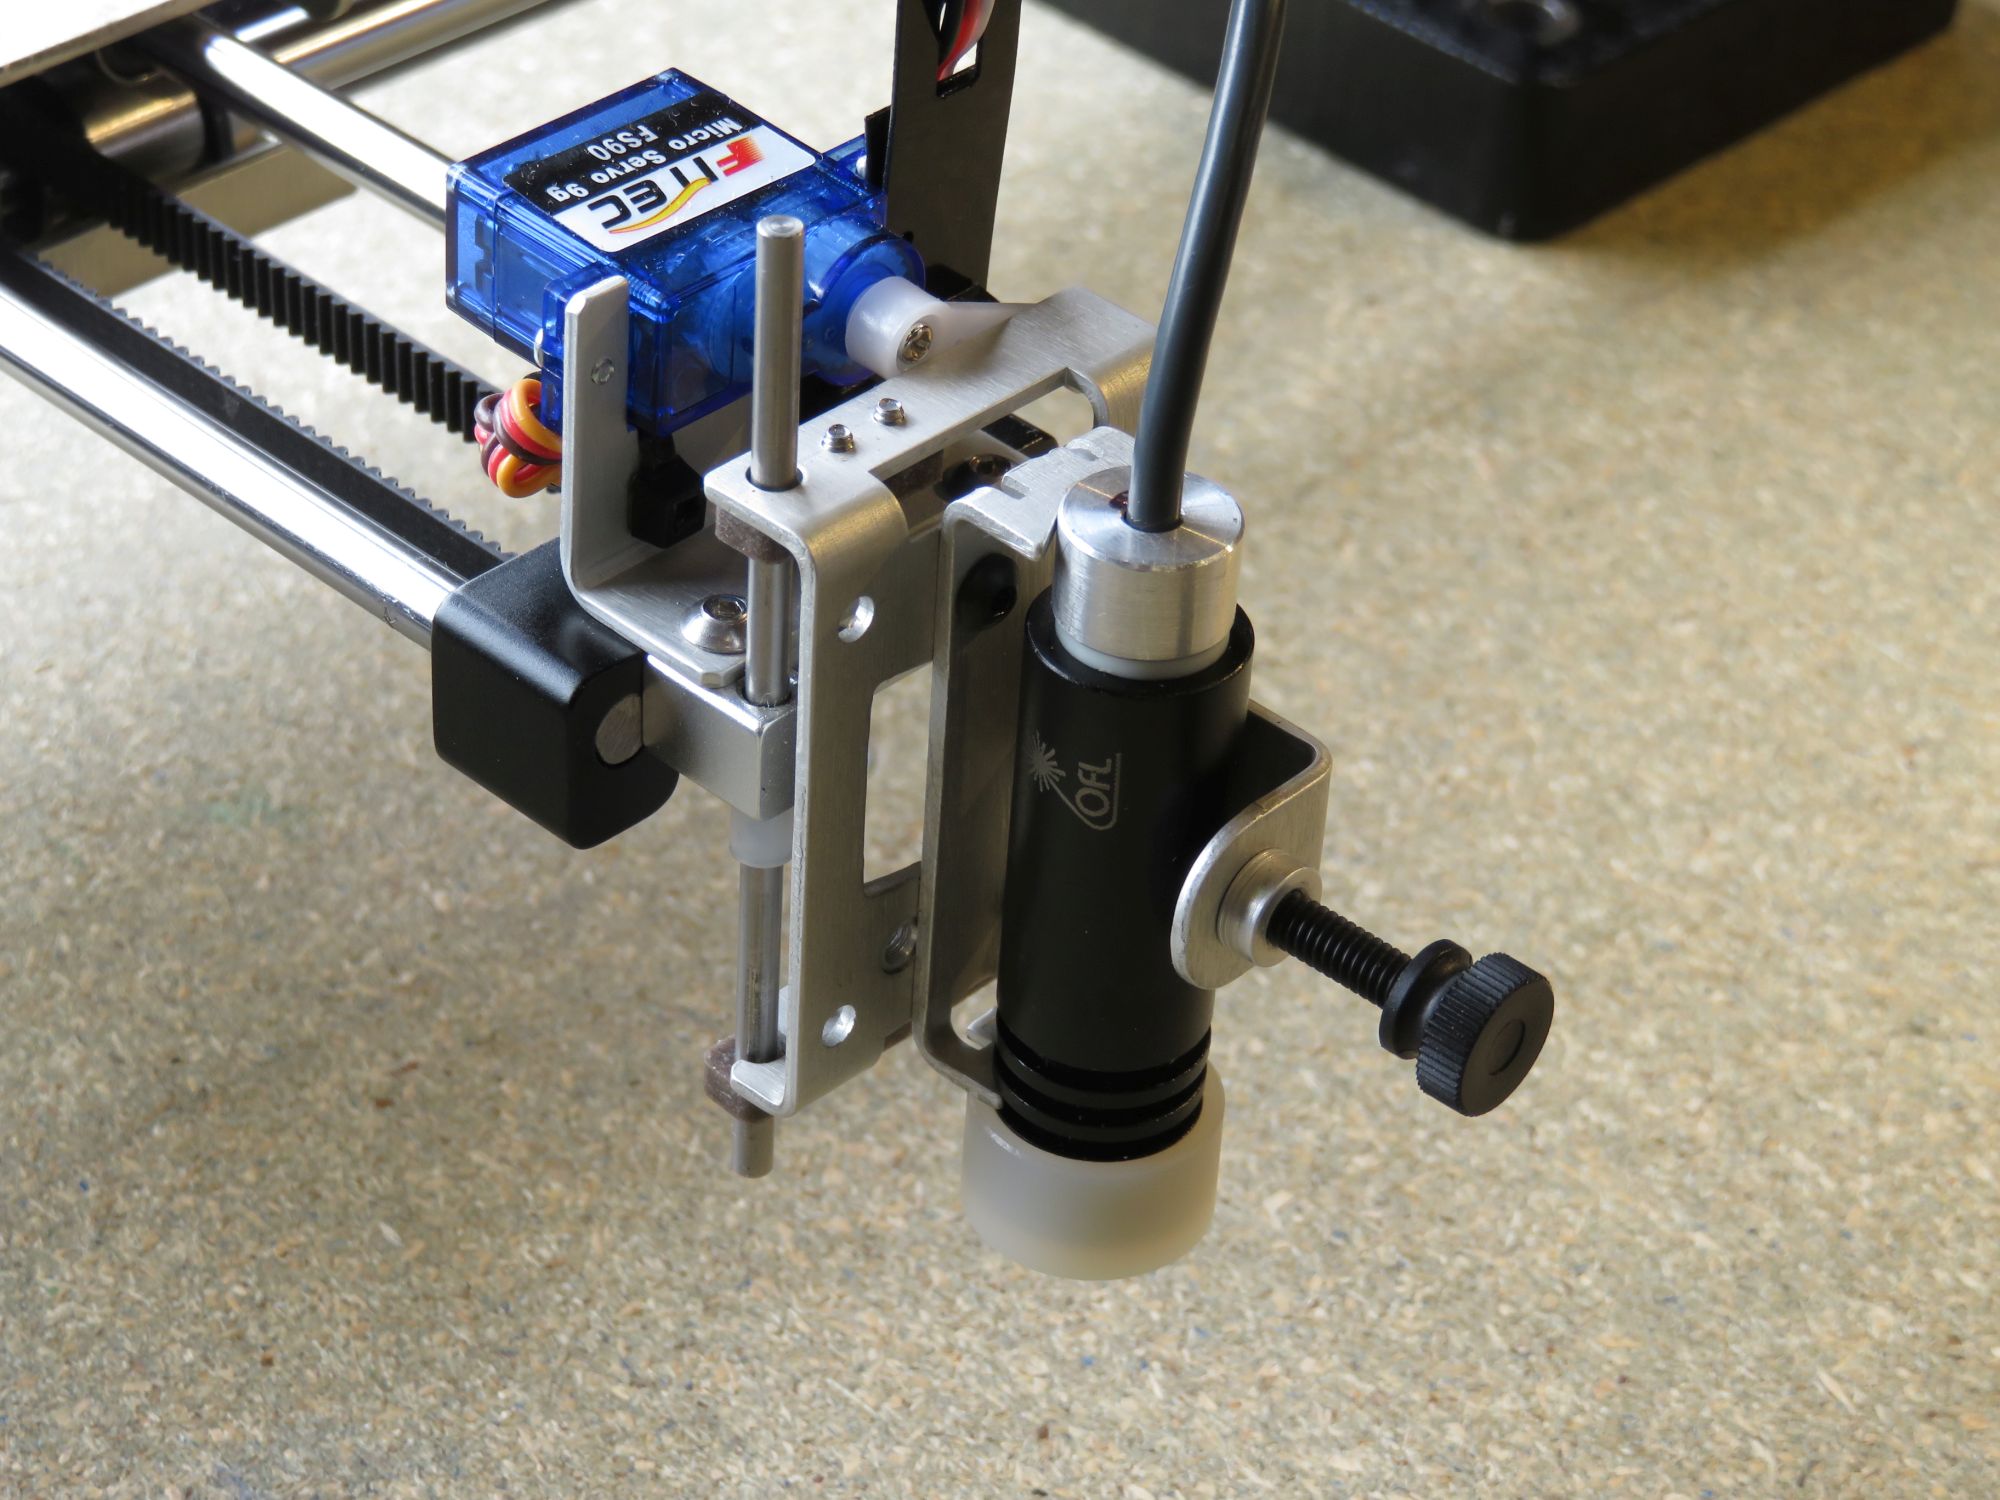 Laser module mounted in the pen holder |
 Power supply with TTL control input |
The first thing I tried was "light painting" - let the machine "draw" with the laser, and capture the entire path with a long-exposure photograph. The results are pretty impressive! I initially used a sheet of white paper to shine the laser on, but that proved too bright for the camera (too much fluorescence), so I then just shone the laser on the wooden benchtop.

(Although this was photographed from the side, I also drew out a square grid pattern which I could use to correct for the distortion.)
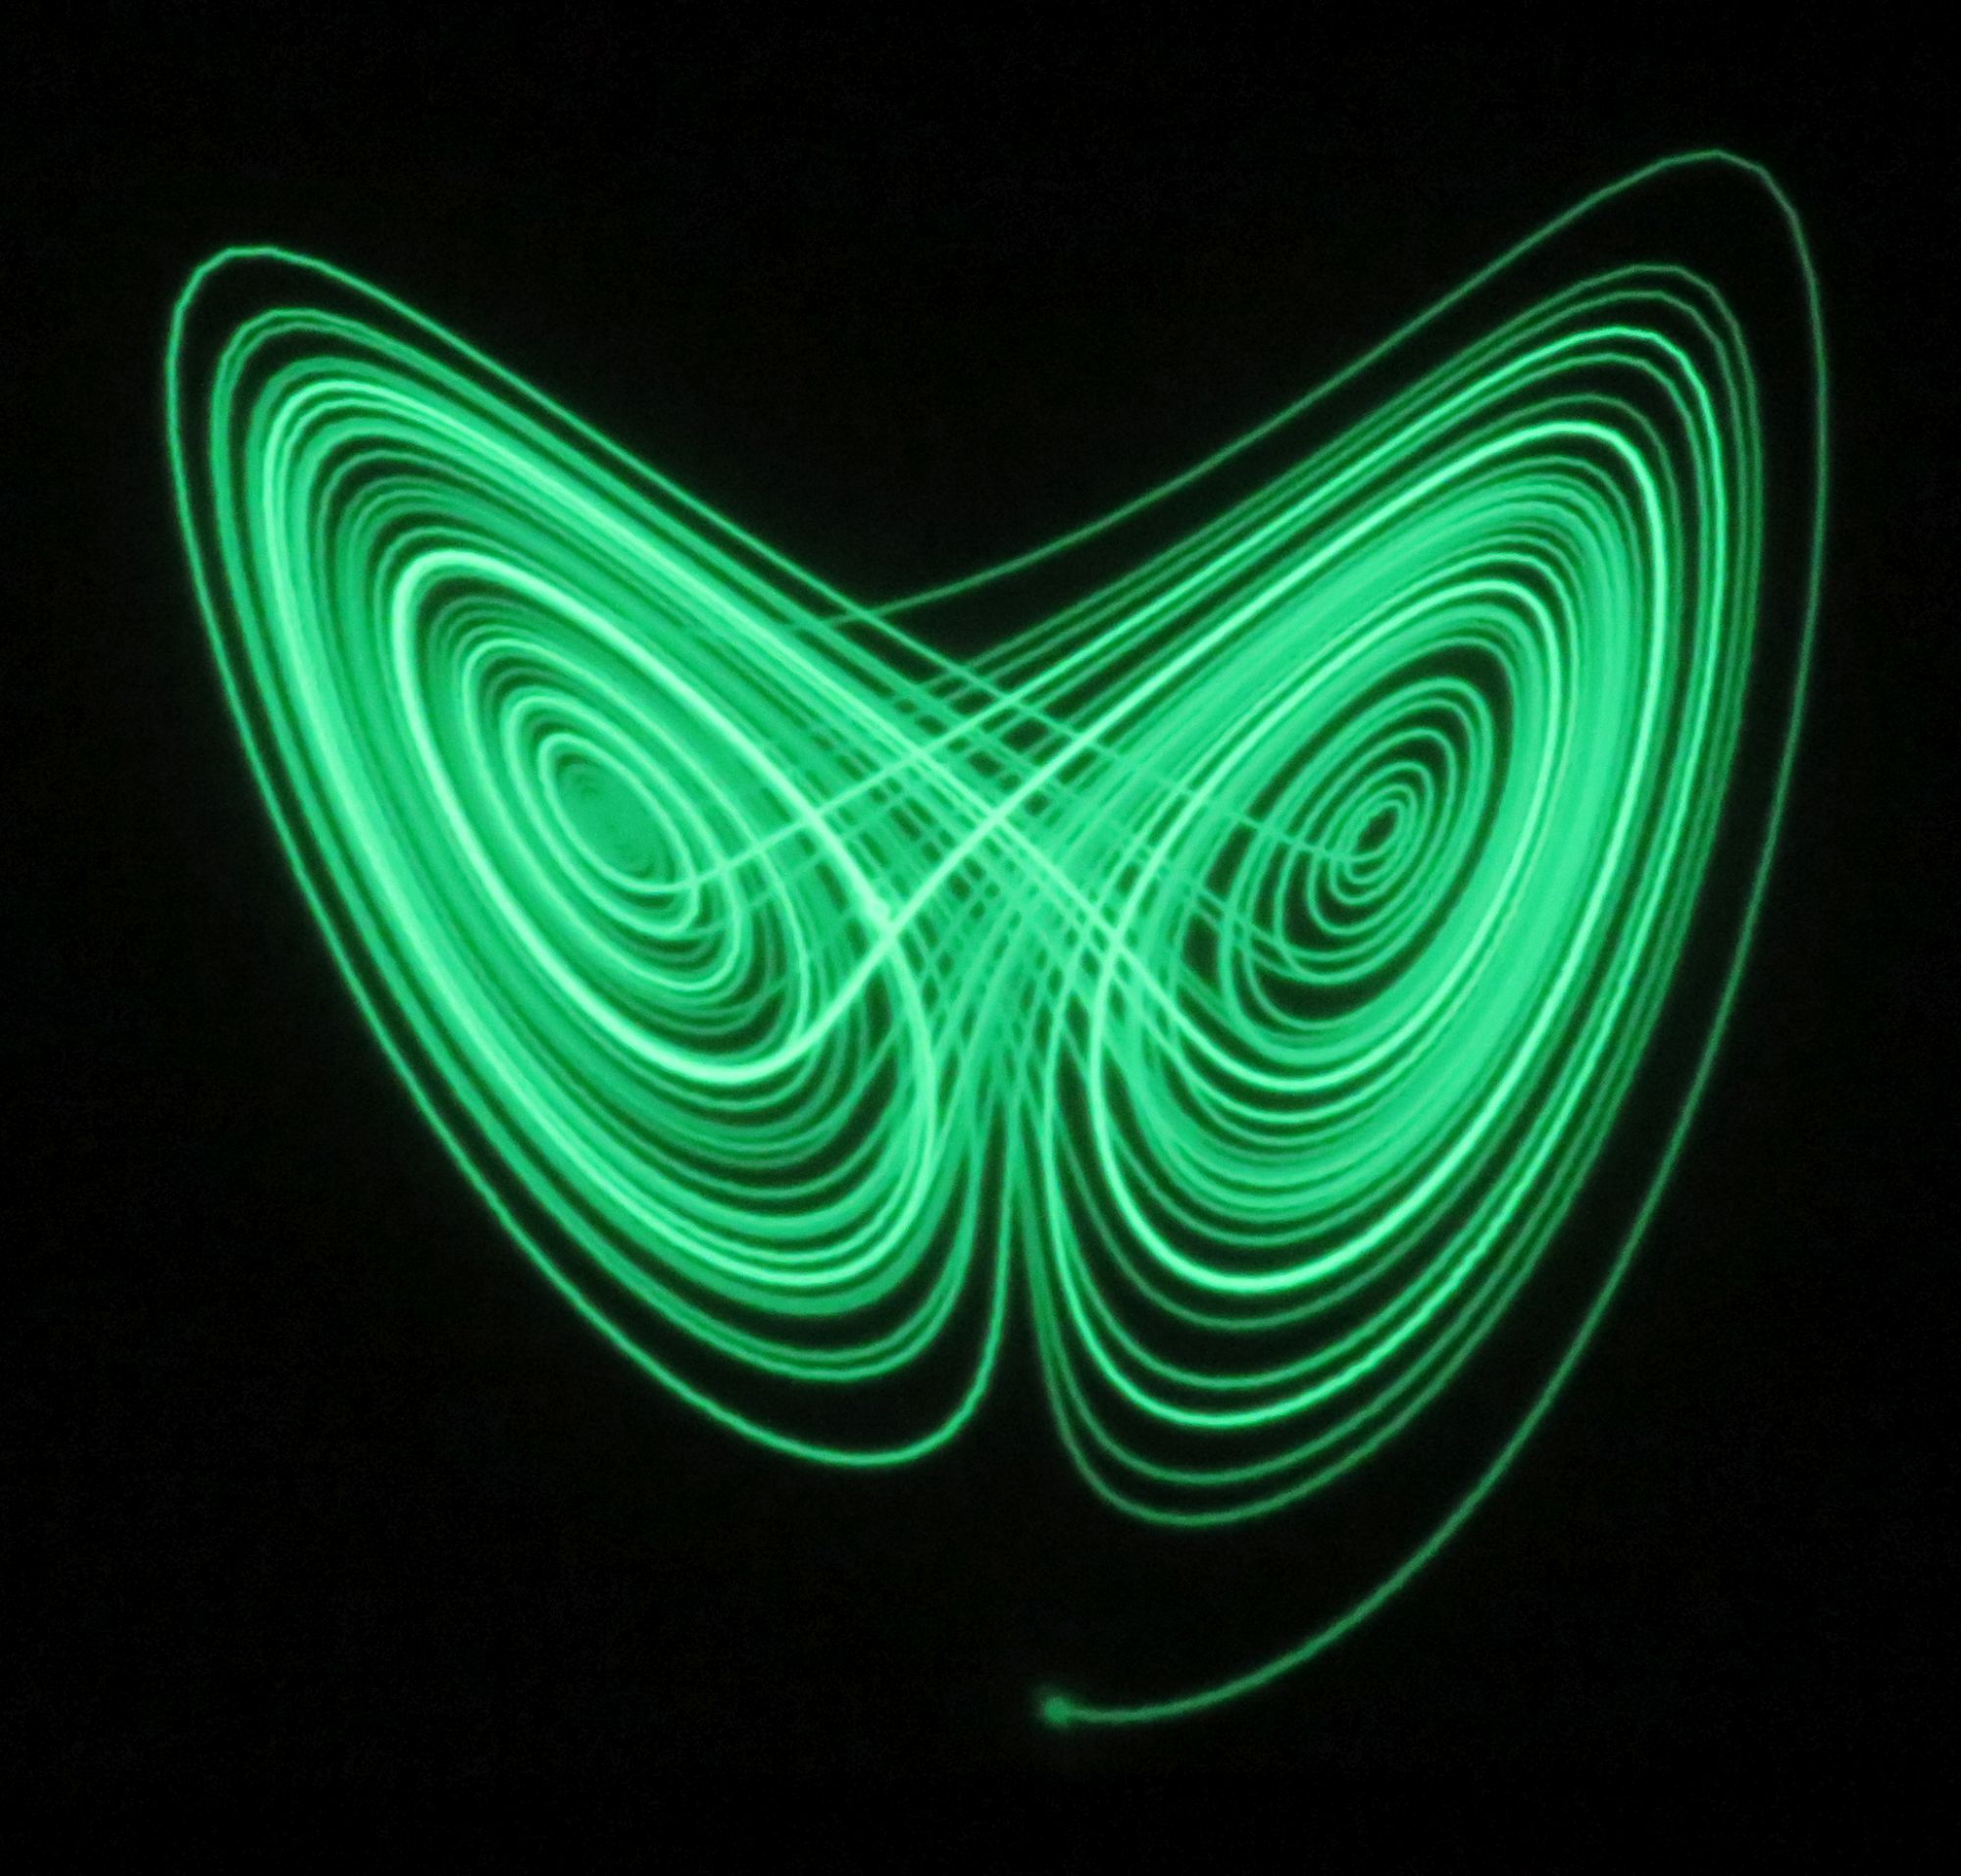
Here's some more examples - the last is the Lorenz attractor, calculated and drawn in realtime with a Python script. I've got a separate page about that, with lots of examples of both pen drawing and light painting.
 Example of the hatch fill pattern in Inkscape |
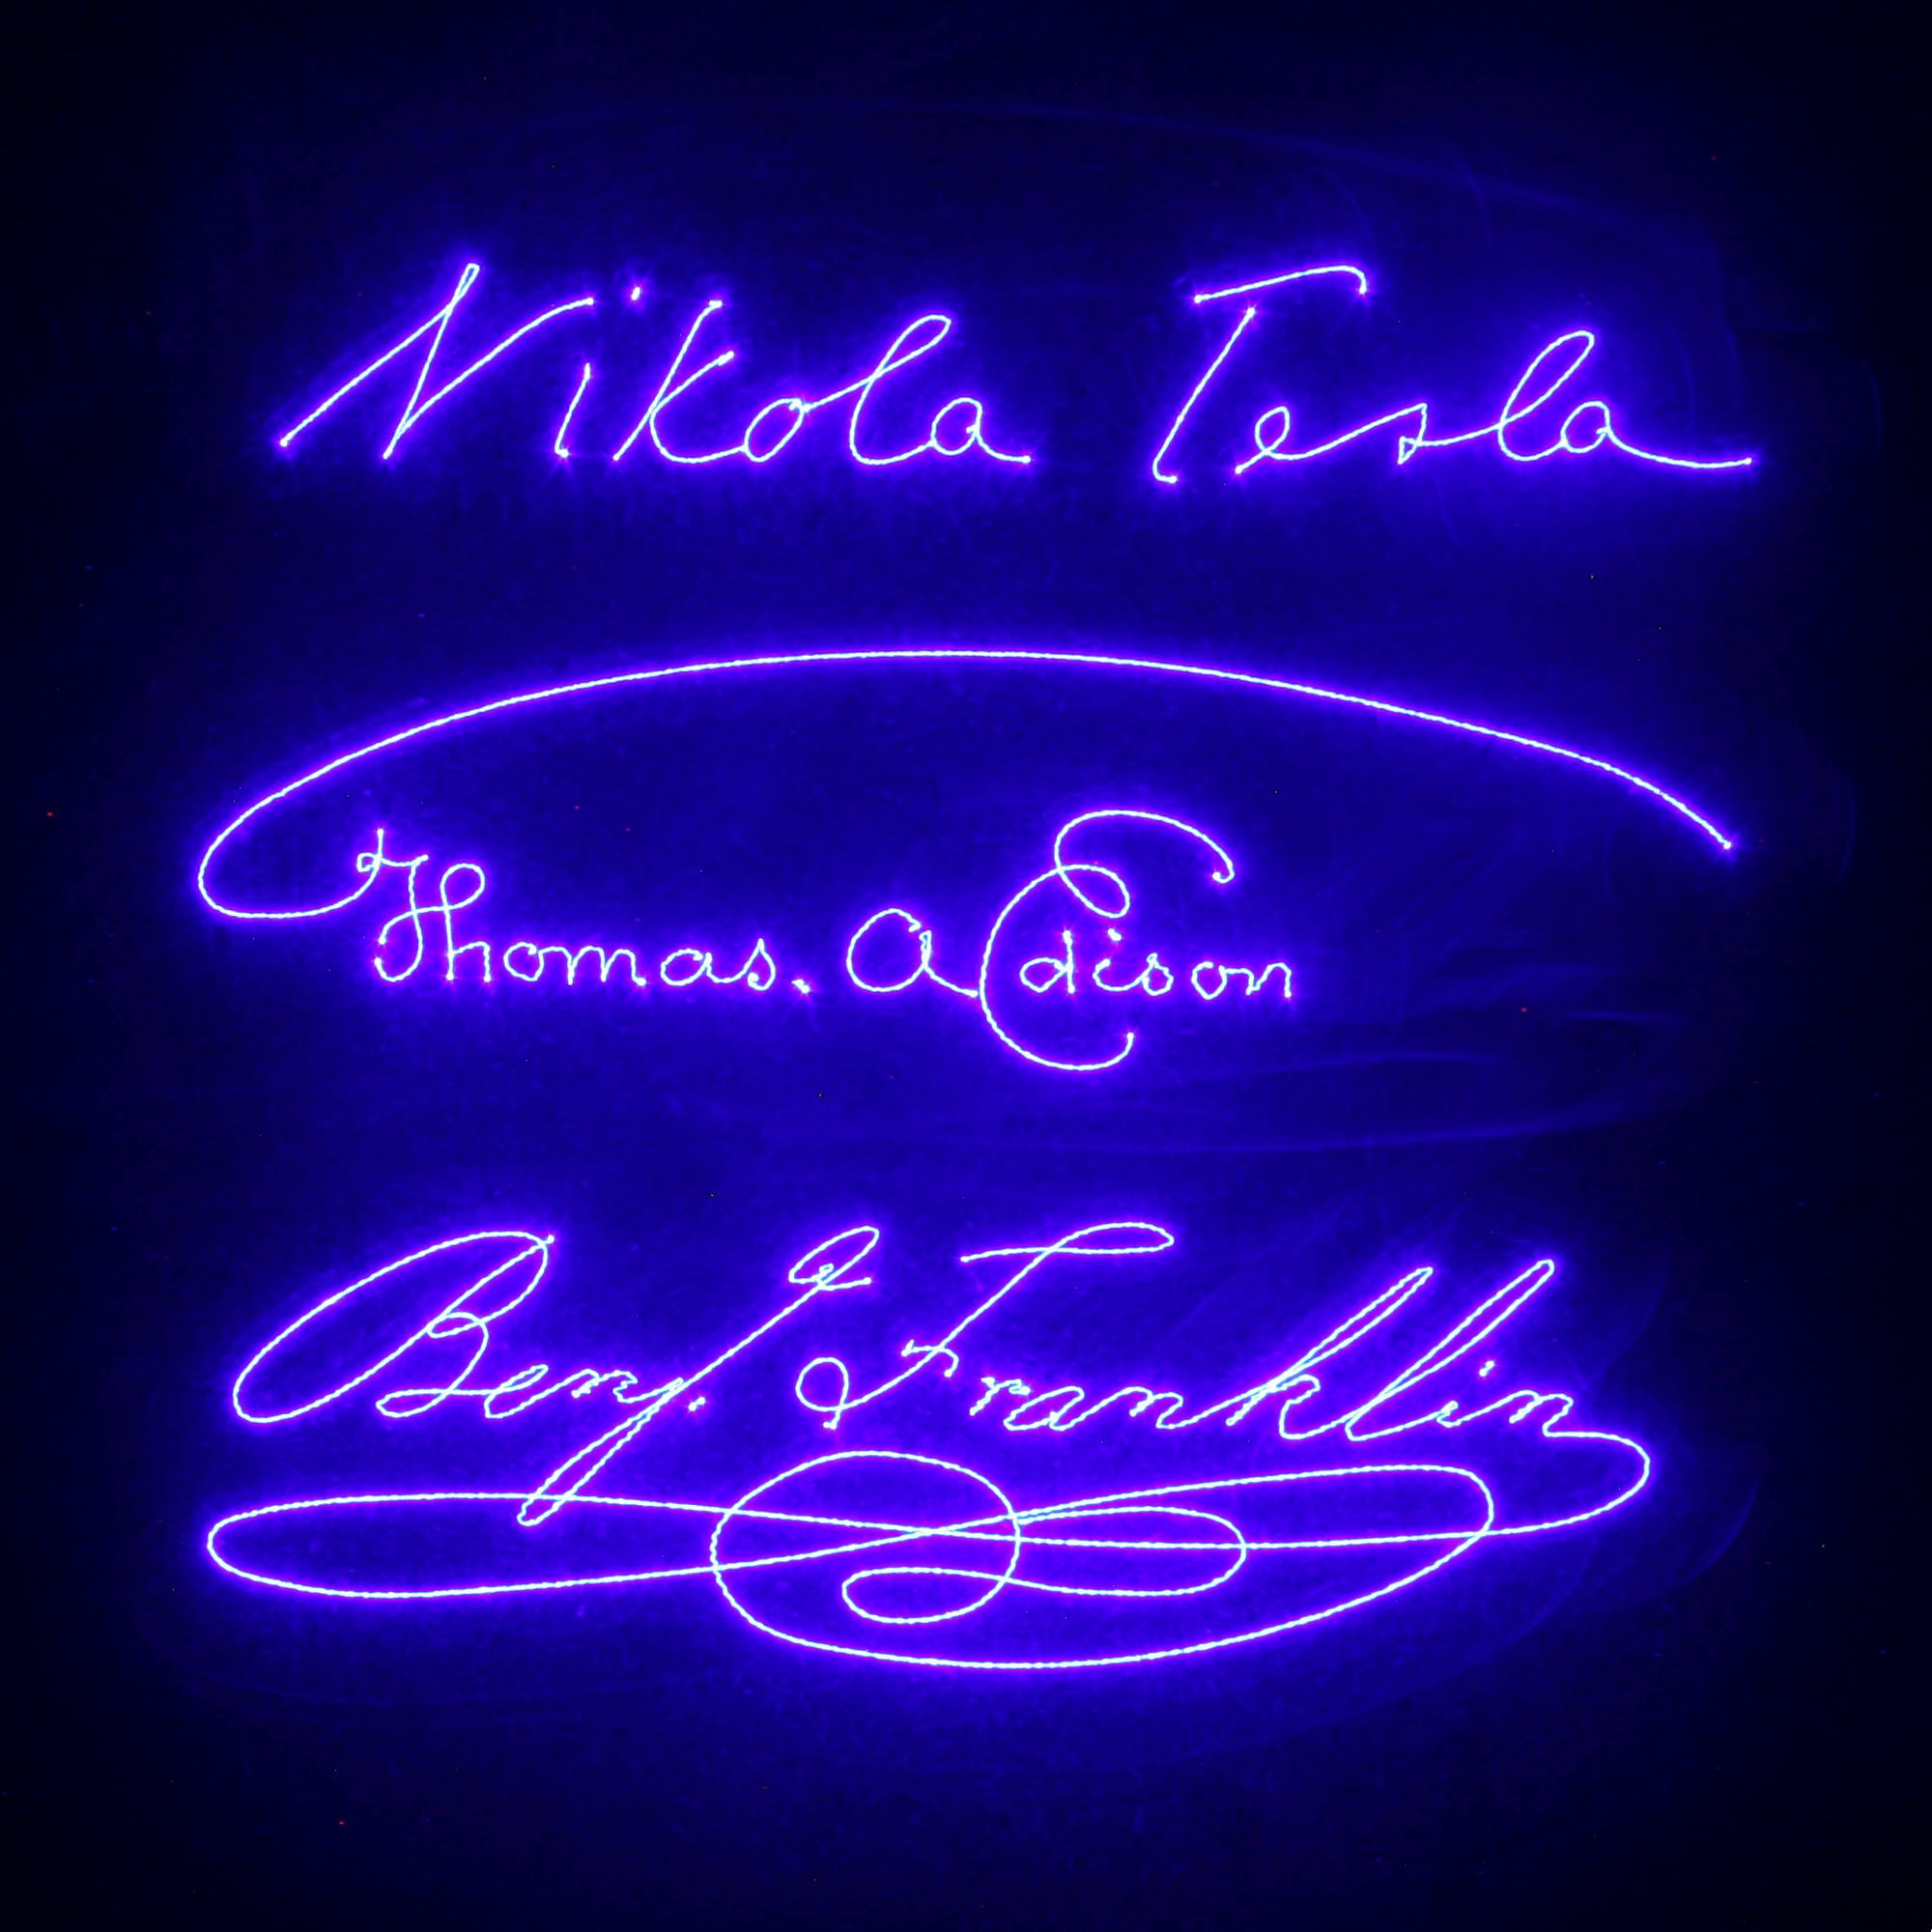 Signatures |
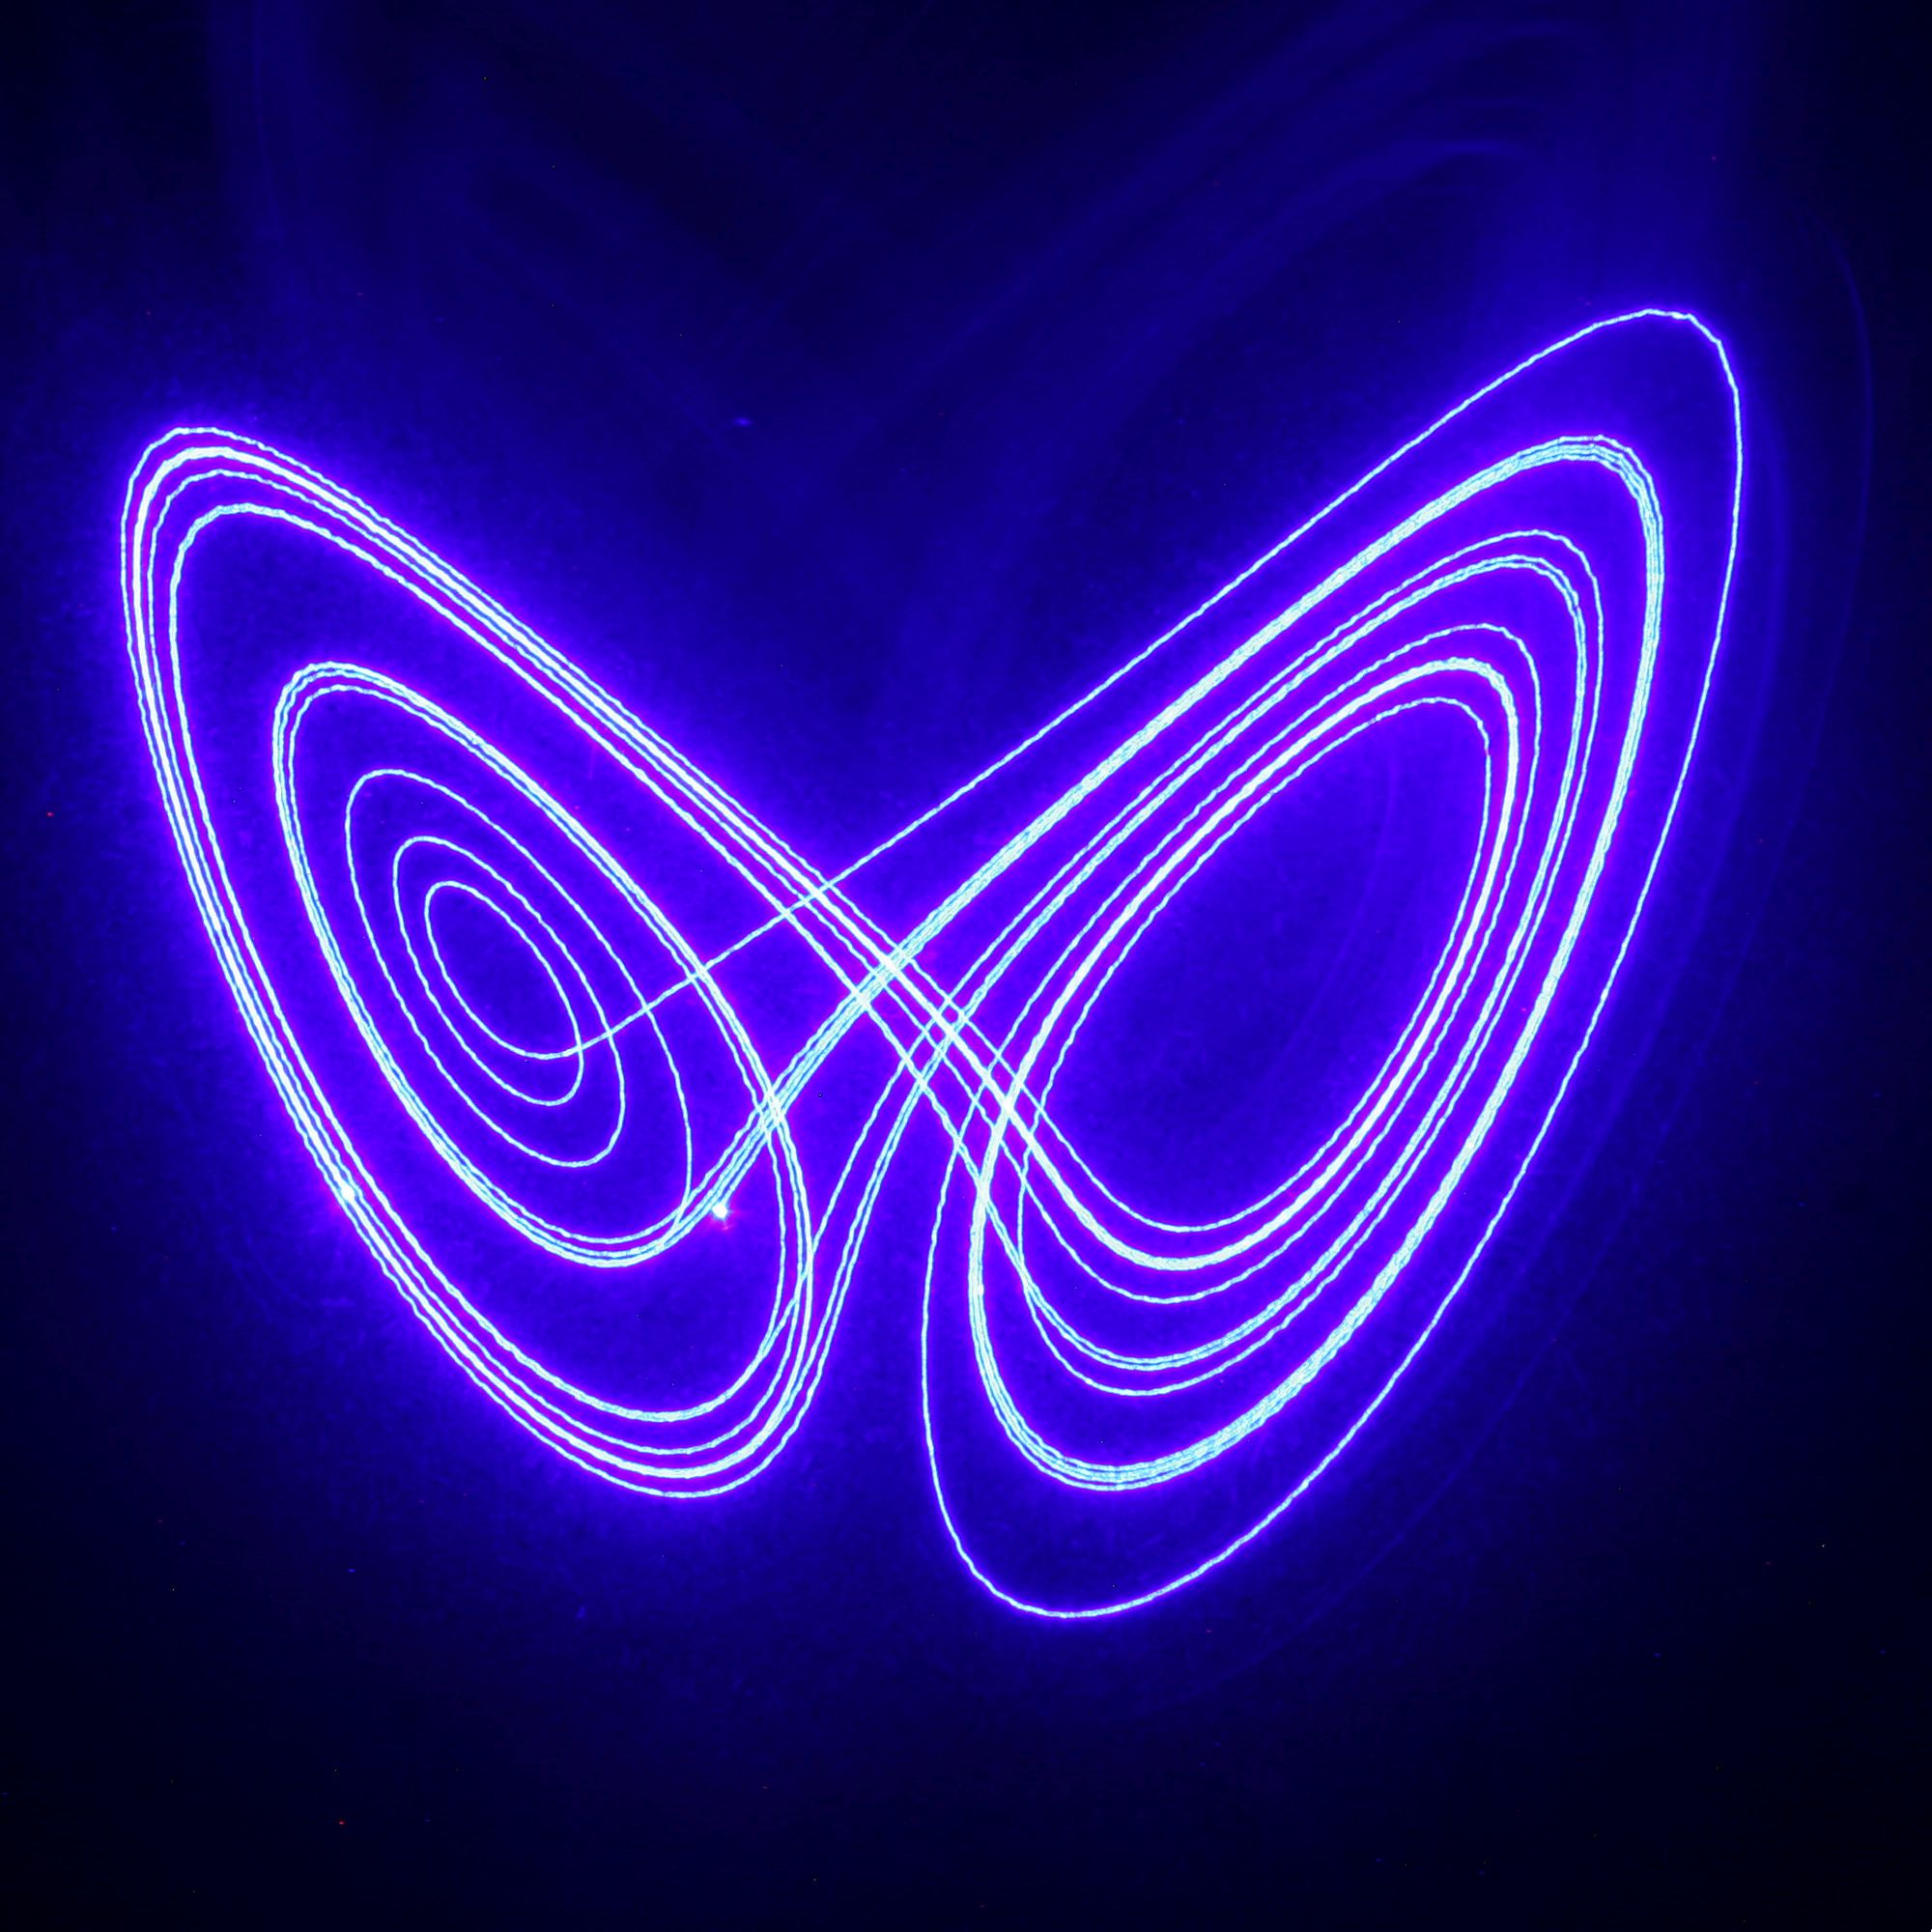 Lorenz attractor (XZ plane) |
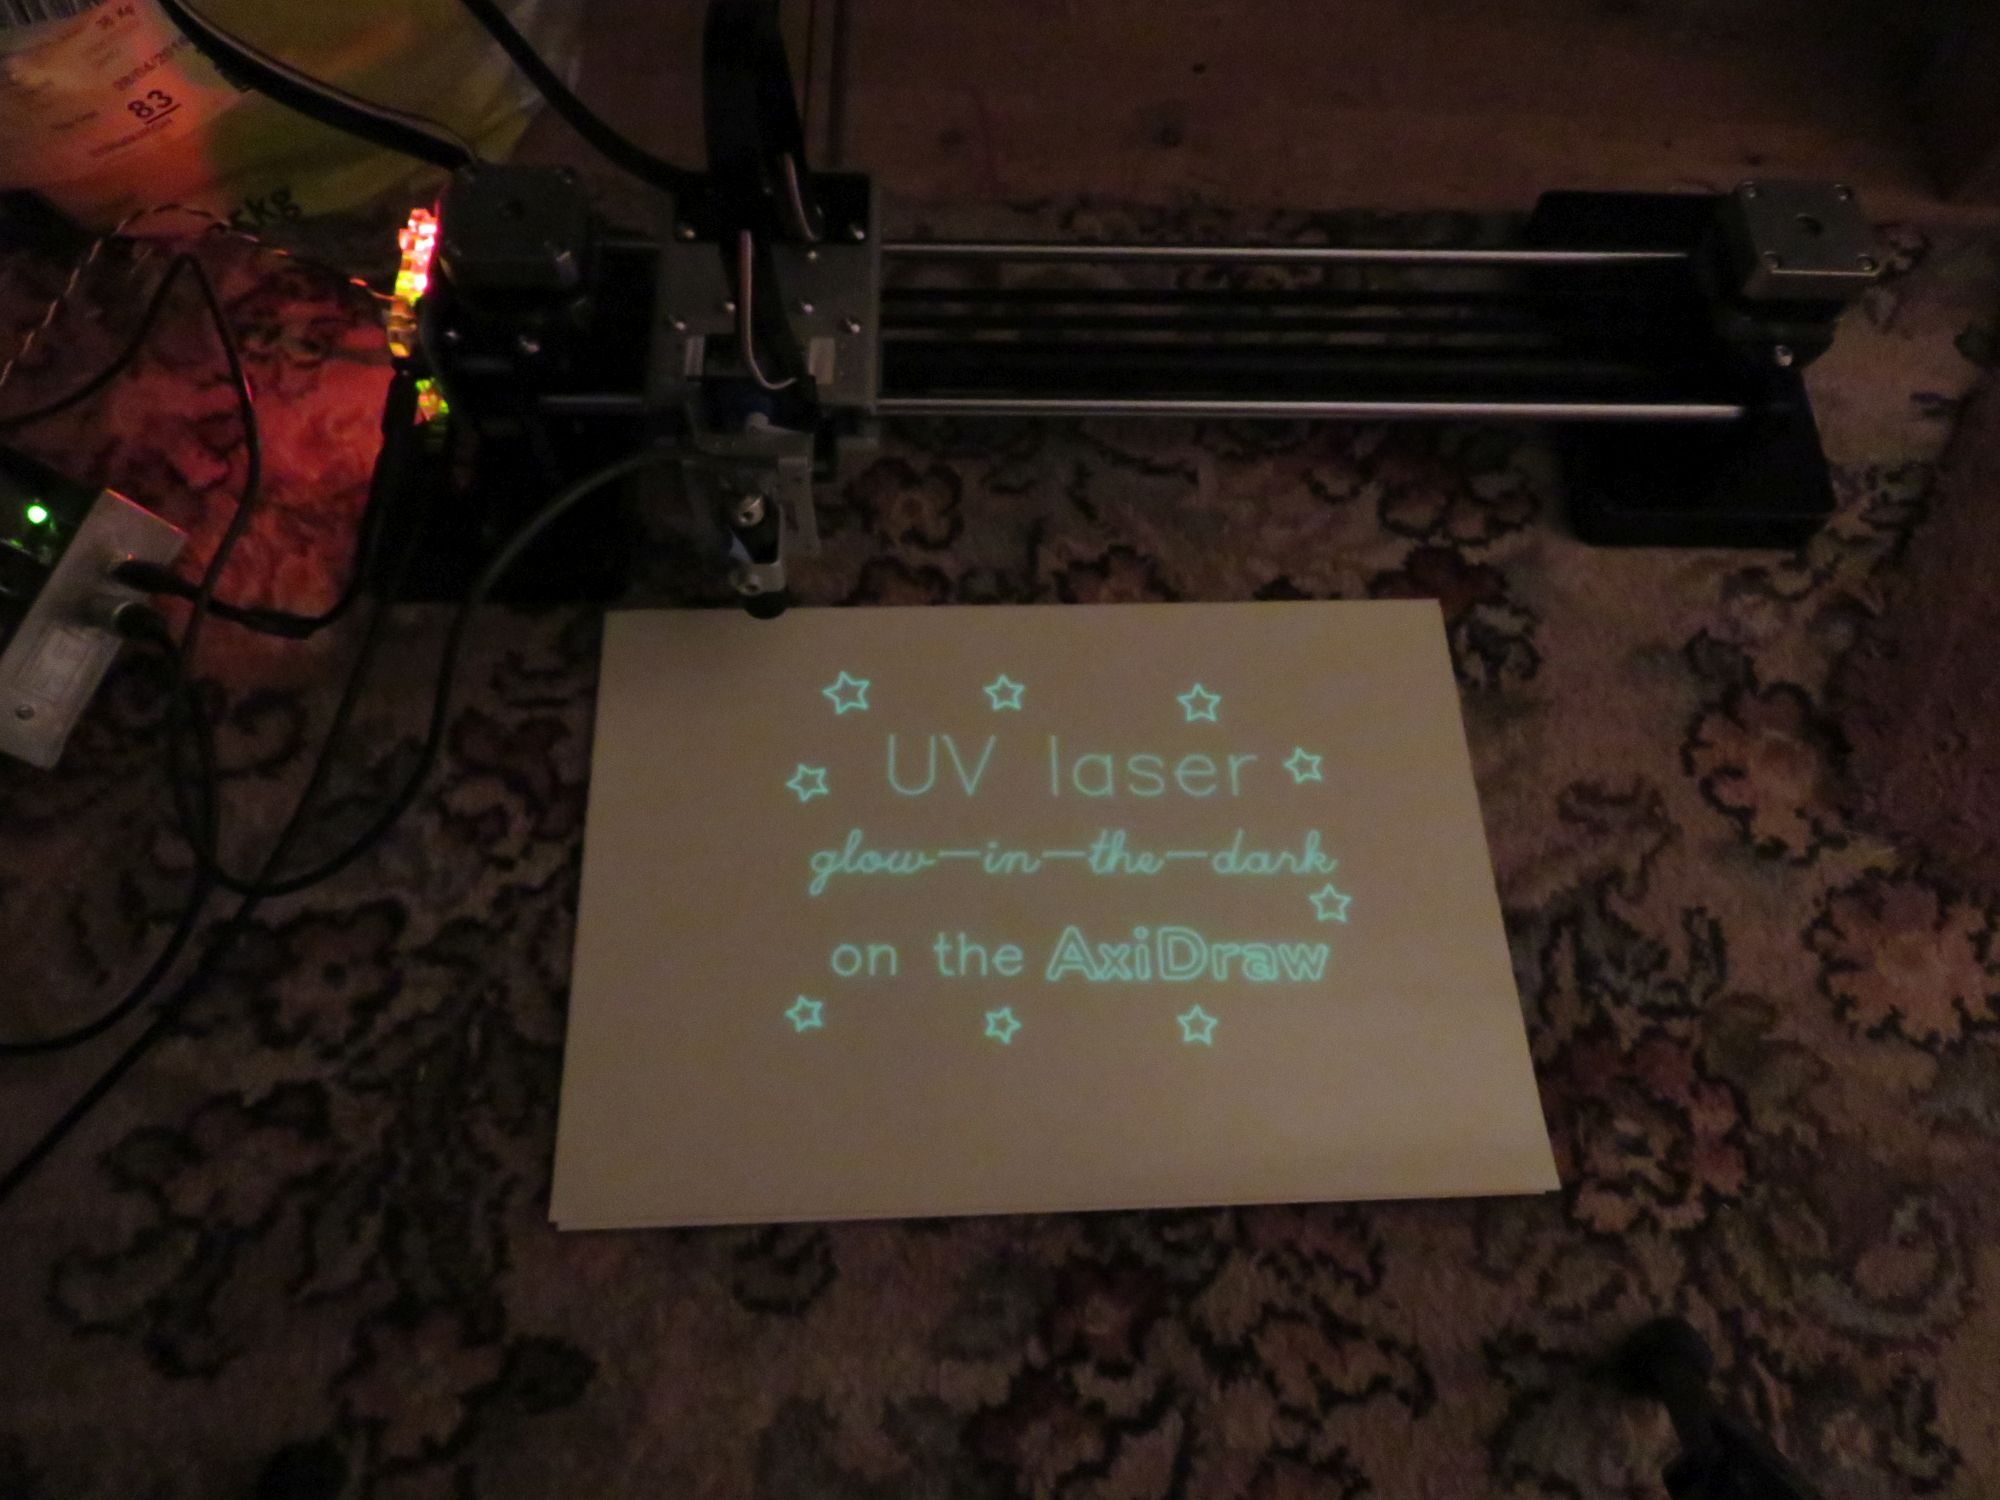
I then tried using the UV laser to "expose" a sheet of phosphorescent/glow in the dark vinyl sticker (search for "glow in the dark sign vinyl" - it's not cheap, but works great). This has a very long persistence and provides an excellent means of visualising the laser path. (This sort of thing has been done before, where the decay was used as a means of representing grayscale intensities. Also see here and here for more examples.)
 |
 |
 |
Here's a video of it in action (5x speed):
Lorenz attractor again (3x speed):
This obviously has endless creative possibilities!
03/06/16: I discovered it was possible to use the UV laser to expose Cyanotype paper - see here for full details.
| ▲ Computer |