
| ▲ Vacuum |
Another old kind of display technology, closely related to the Nixie tube, is the "Panaplex" display. Instead of having an entire electrode for each character (as in the Nixie tube), the Panaplex uses discrete segments, pretty much like in a 7-segment or 14-segment LED display. Each segment is made the cathode and a glow appears around it. As in the Nixie tube, a mesh anode is placed in front of the cathodes.
Below is a rather beautiful example of a Panaplex display (from http://www.decadecounter.com/vta/tubepage.php?item=16&user=0). It's an NEO-5000 display and is around 2.5" high. There are some nice examples of using a similar display in clock at http://tubetime.us/?p=16.
I fancied trying to make one, so here's the results!
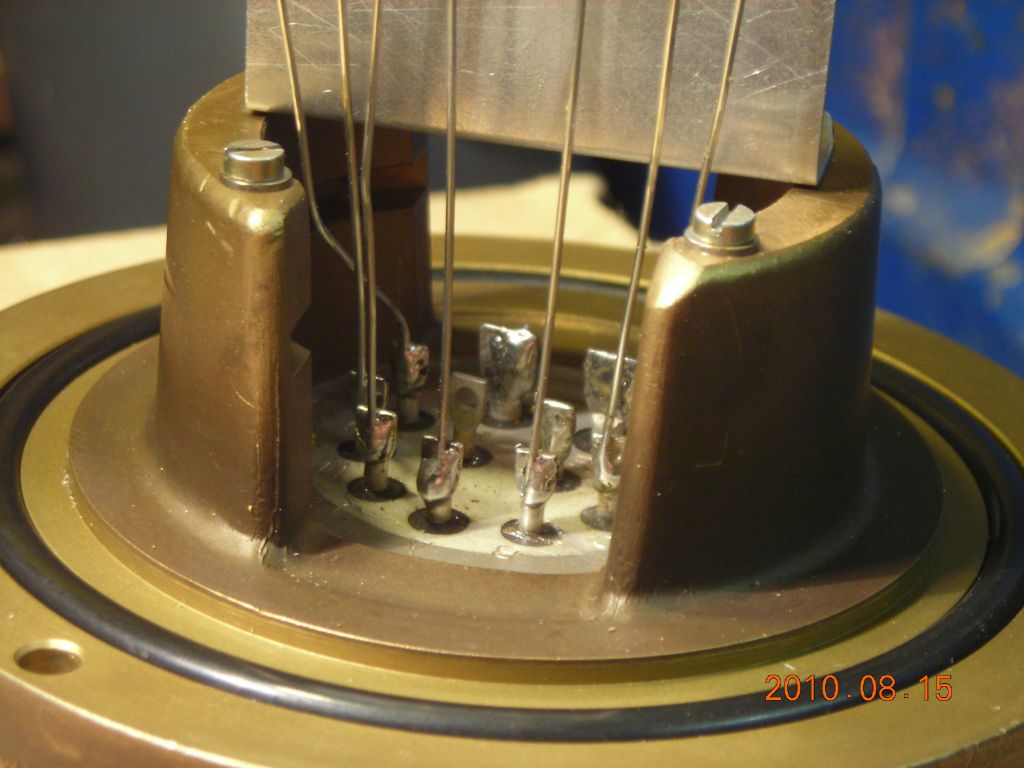
The entire thing is based on using a jam jar as a vacuum chamber. Each of the cathode electrodes is made from a 2cm length of copper wire. A stainless-steel M3 screw is soldered to the middle of the wire. This allows it to be screwed to the support plate, which is made from a piece of ceramic tile. It was very easy to drill the 3mm holes with a diamond drill - the tile is made from sintered ceramic powder and is quite soft. A solder tag is mounted on the back of each cathode screw which allows electrical connection to be made to the respective cathode.
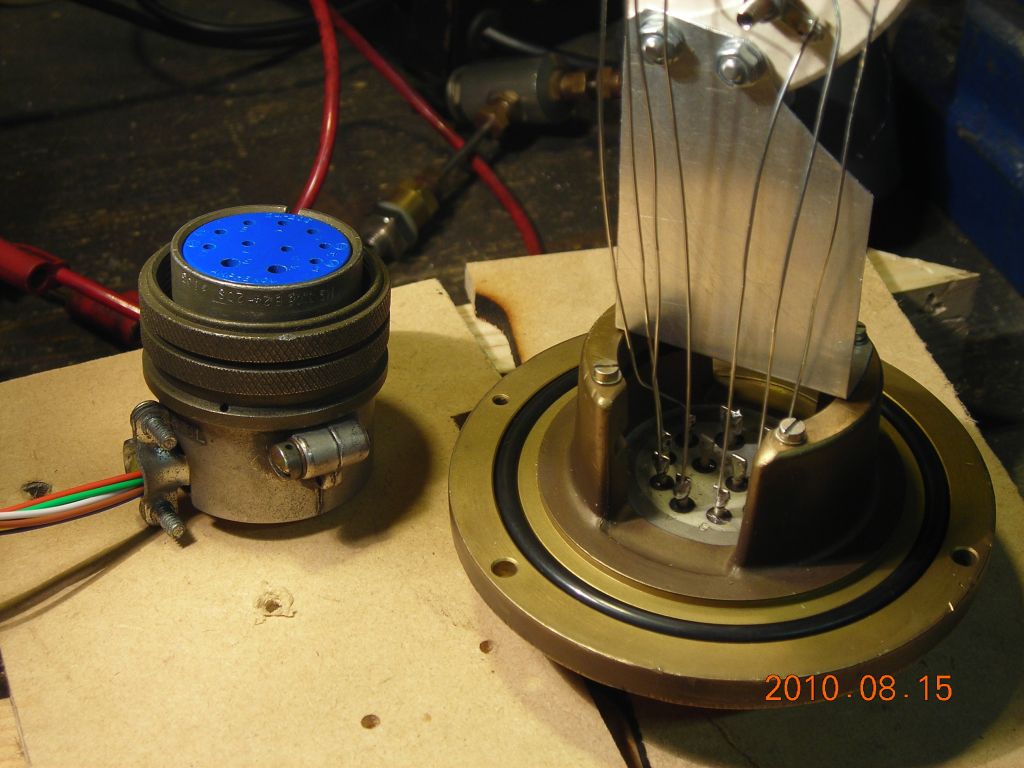
For an electrical feedthrough, I was lucky enough to have two multipin feedthroughs I found in a skip a few years ago. These are quality jobs - circular Amphenol connectors and proper glass/metal hermetic seals around the pins. The support plate with the electrodes is mounted on the main body of the electrical feedthrough.
An insulating collar sits between the feedthrough flange and the jam jar. The anode grid is mounted on this and is made from a piece of aluminium window screen. A gas inlet and vacuum line are also connected to the collar. I made the collar from PVC which is probably the worst material possible for vacuum use, but it did alright.
Finally, the jam jar sits on top of the collar with a piece of inner tube acting as a gasket.
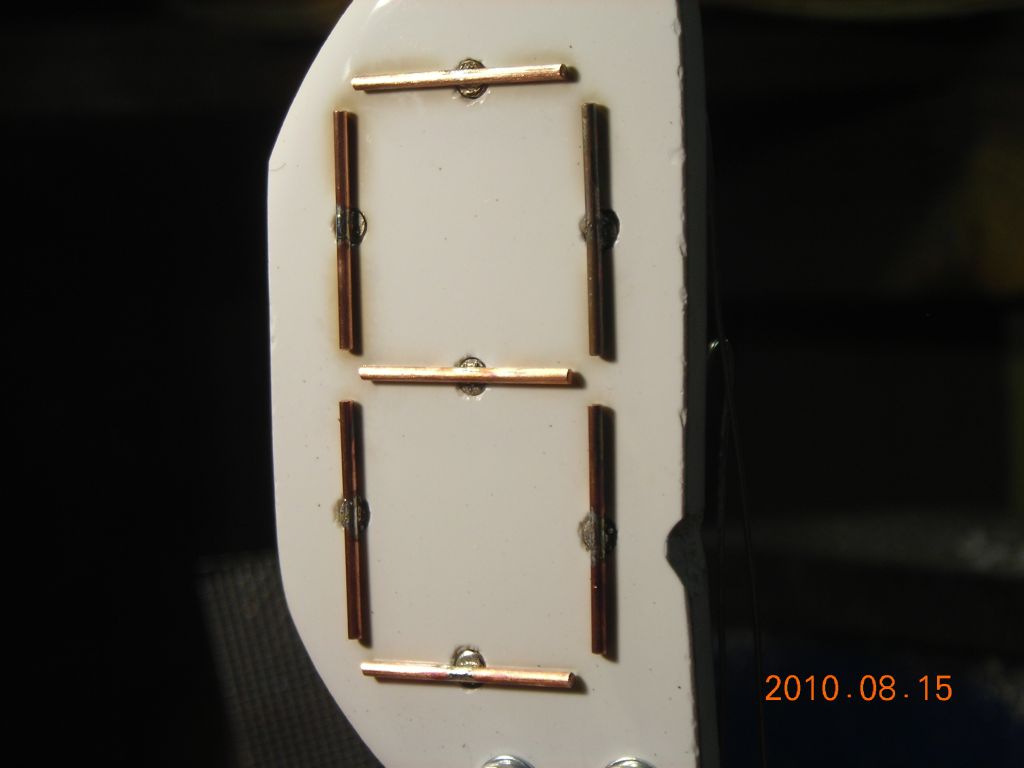 Front view of cathodes |
 Rear view of cathodes showing connections |
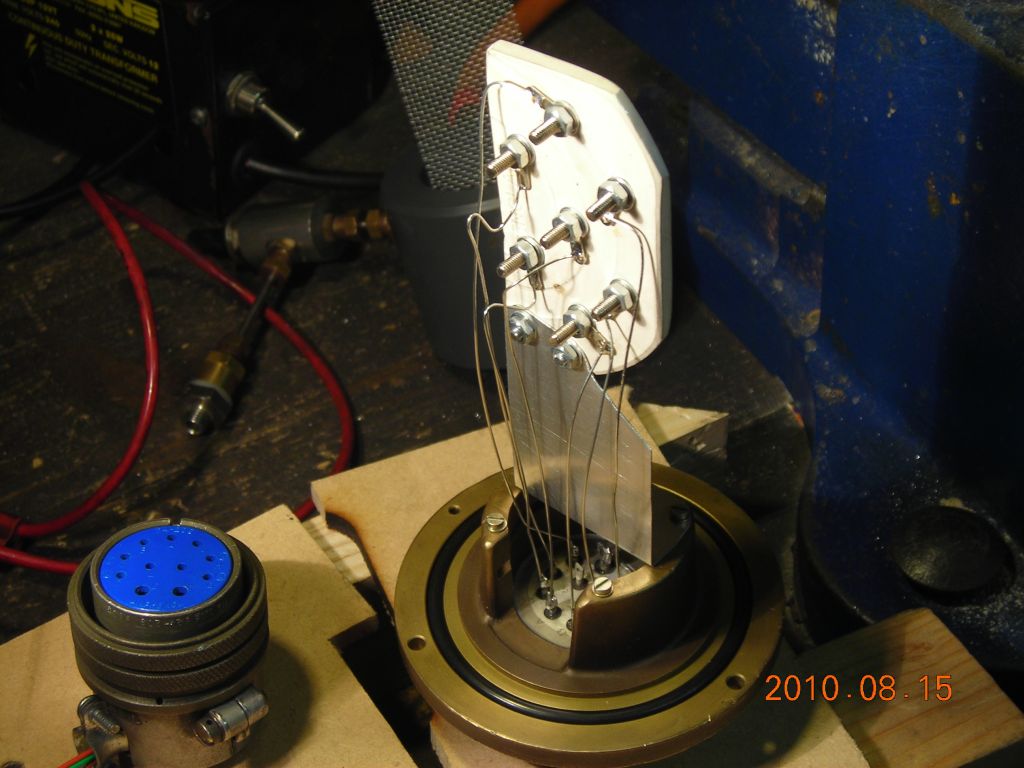 Mounted on feedthrough |
 Feedthrough |
 Closeup of inside of feedthrough |
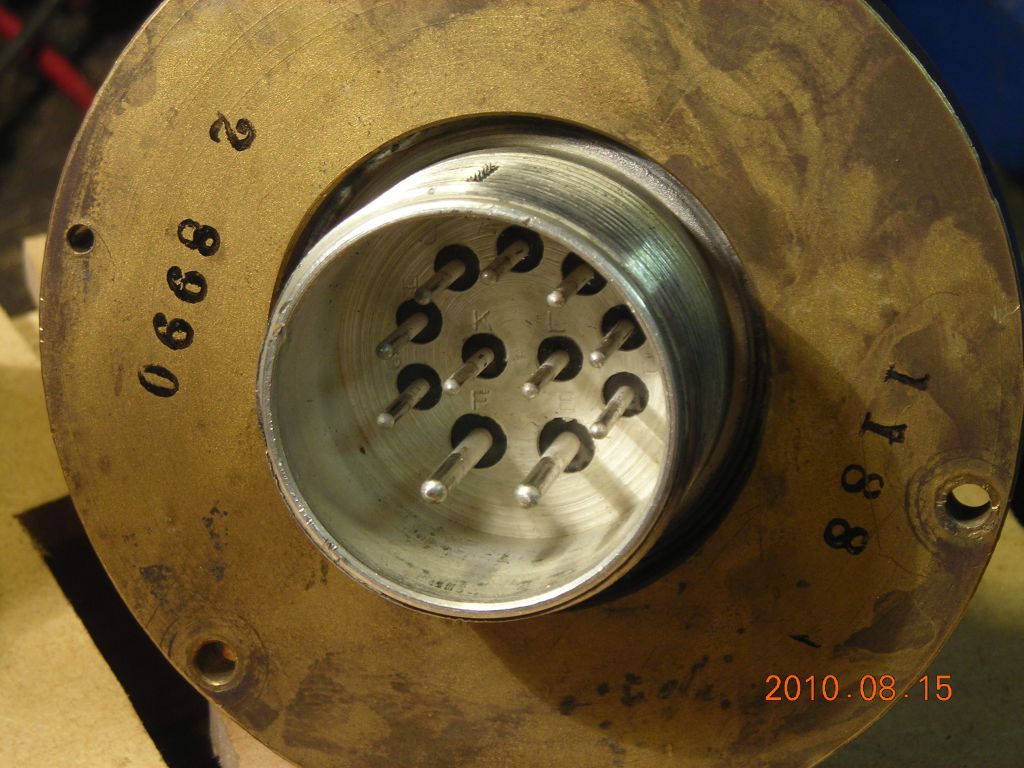 Outside of feedthrough with Amphenol connector |
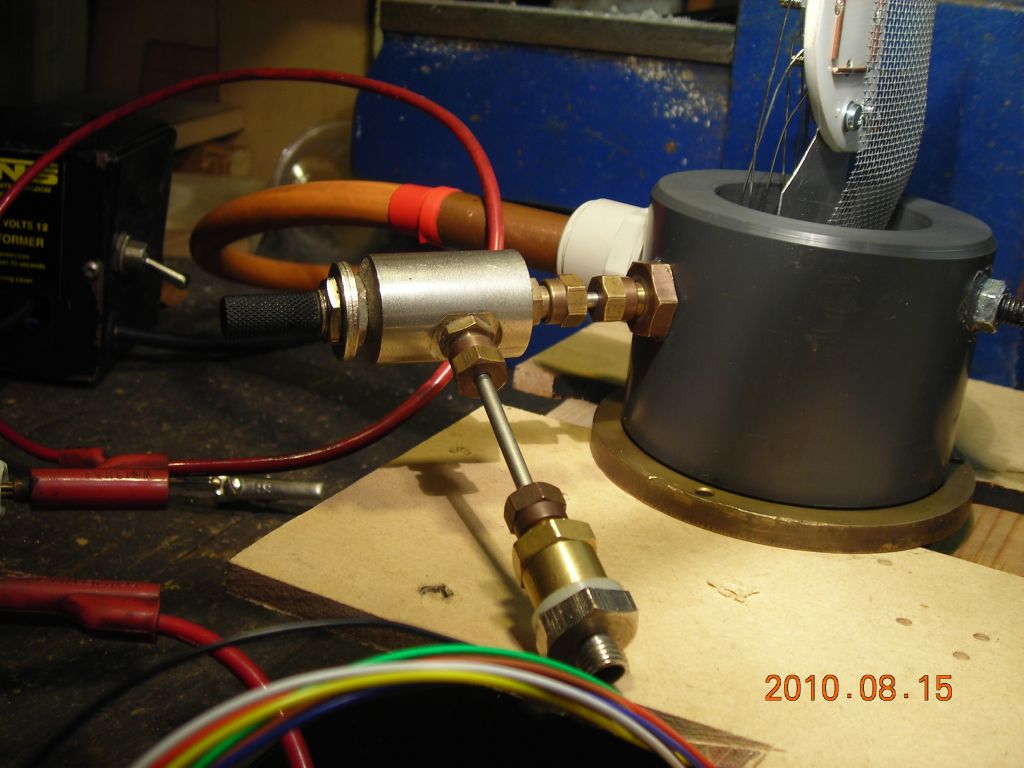 Collar with gas connections |
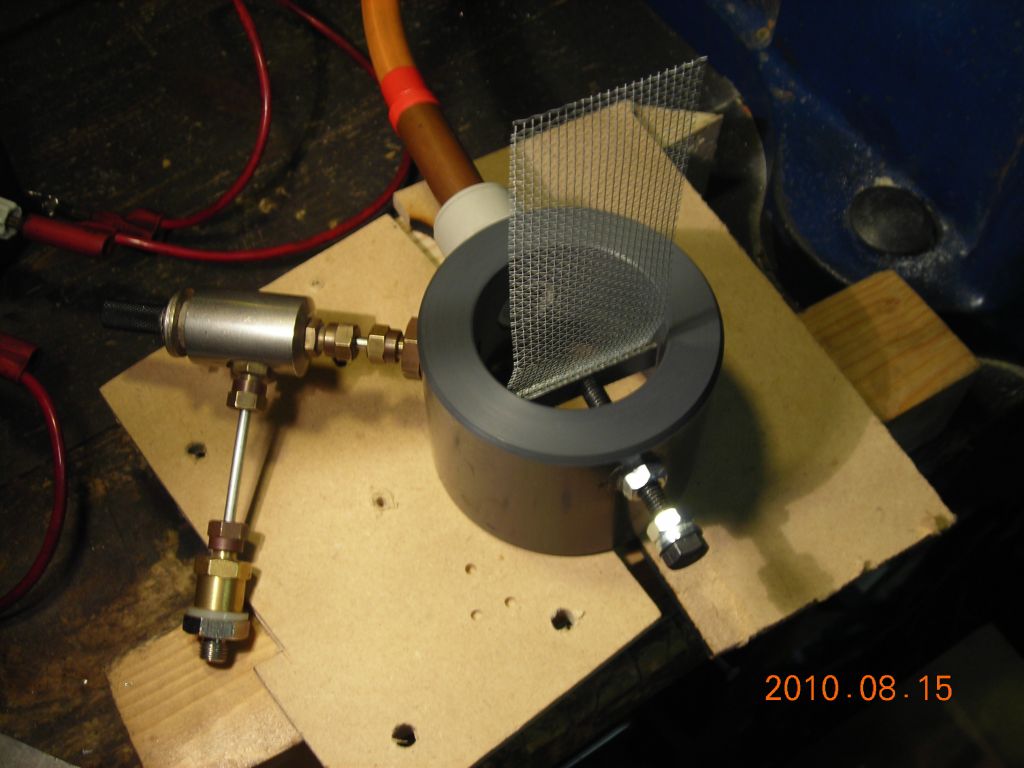 Anode screen mounted on collar |
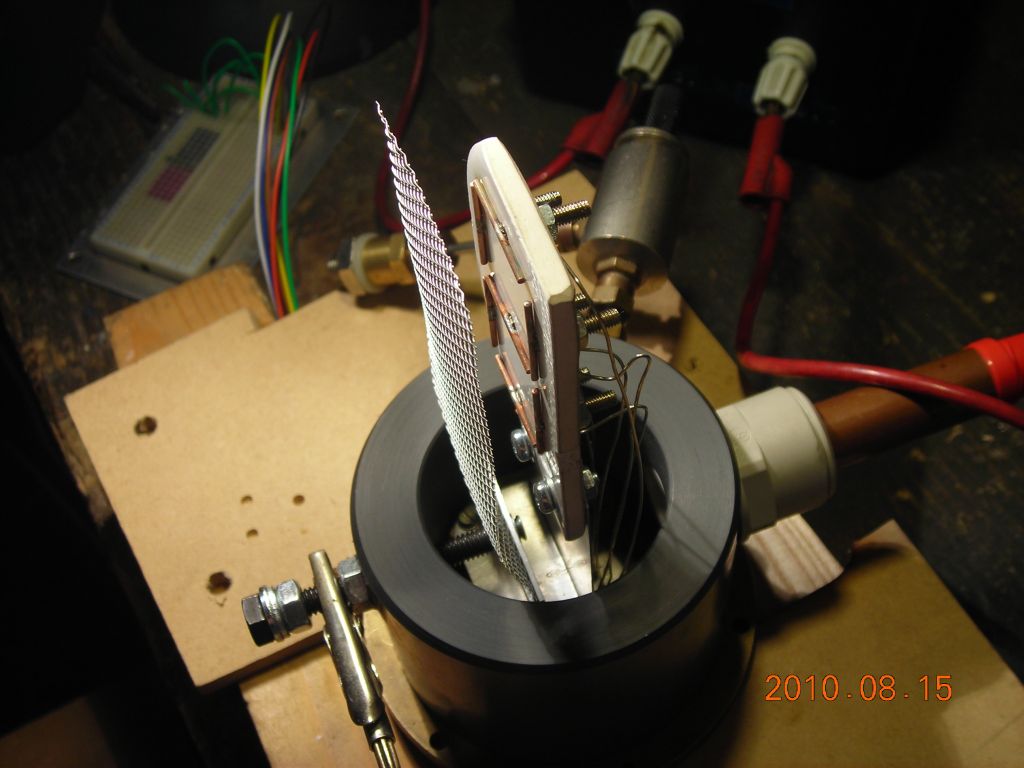 Anode screen in front of the cathodes |
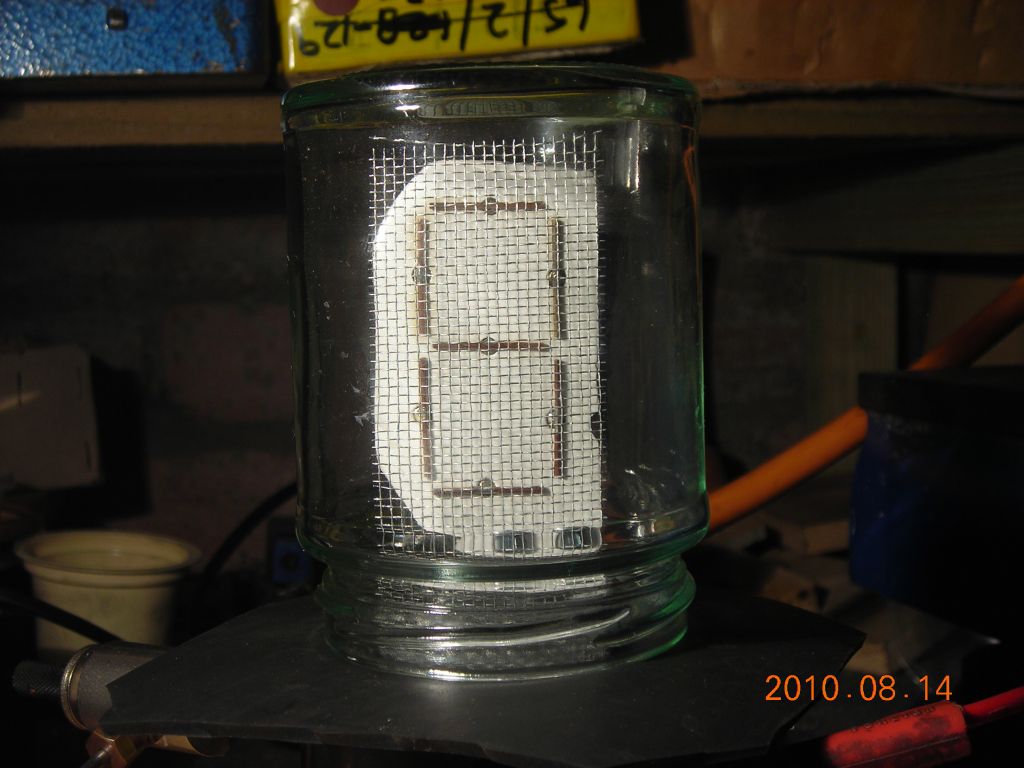 Jam jar placed on top of collar to complete the assembly |
It was crucial to get the spacing between the anode and the cathodes as uniform as possible, otherwise the discharge would jump to a single cathode and stay there. I also found that running the discharge on argon instead of air seemed to provide a more uniform coverage.
Because the gas is air (or argon), a much higher voltage is required to run the discharge. I ended up using my trusty 30kV flyback supply to power it. To achieve each display pattern, I manually connected together the various cathodes, since it's not possible to use any semiconductor switches at these voltages.
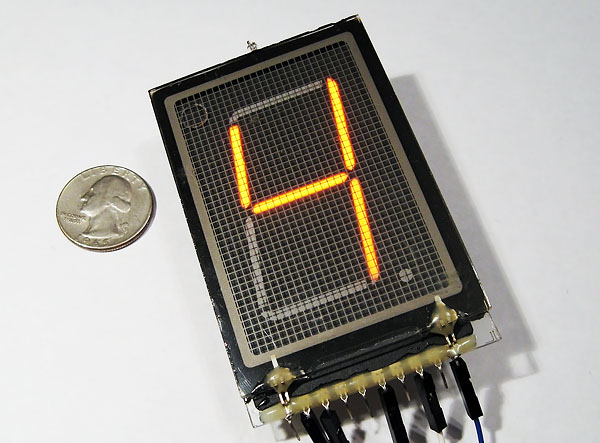
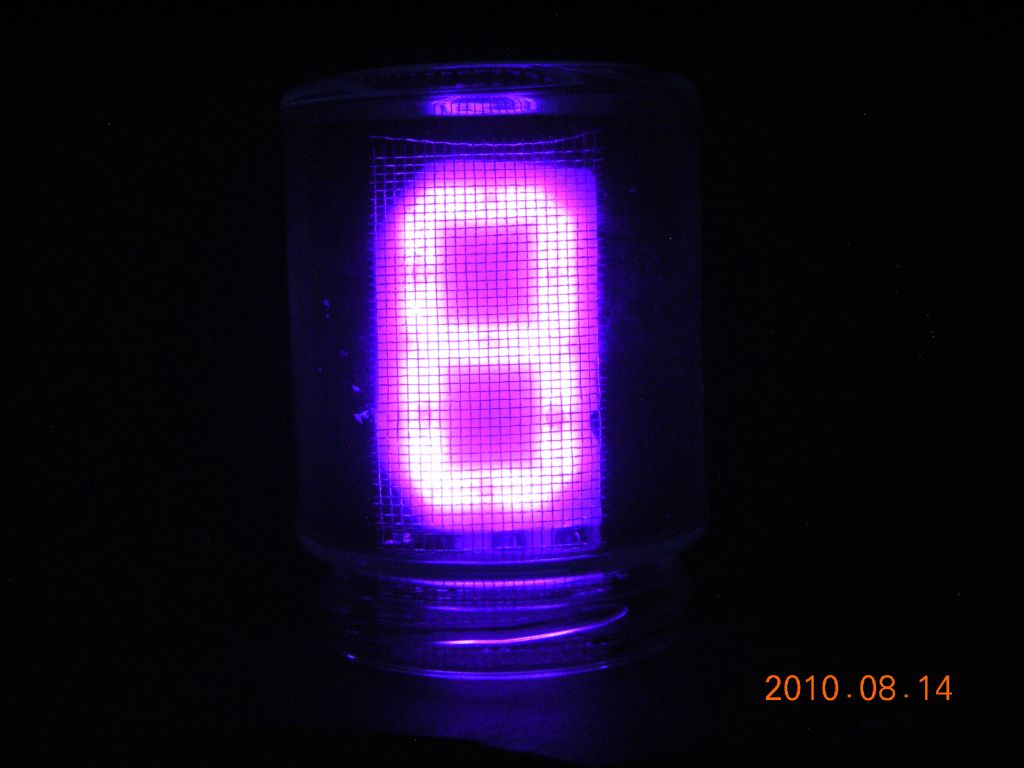
It worked pretty reliably, after running the discharge for 1/2 hour or so to clean up the cathodes. Here's photos of all the numbers and the letters of "HELLO".
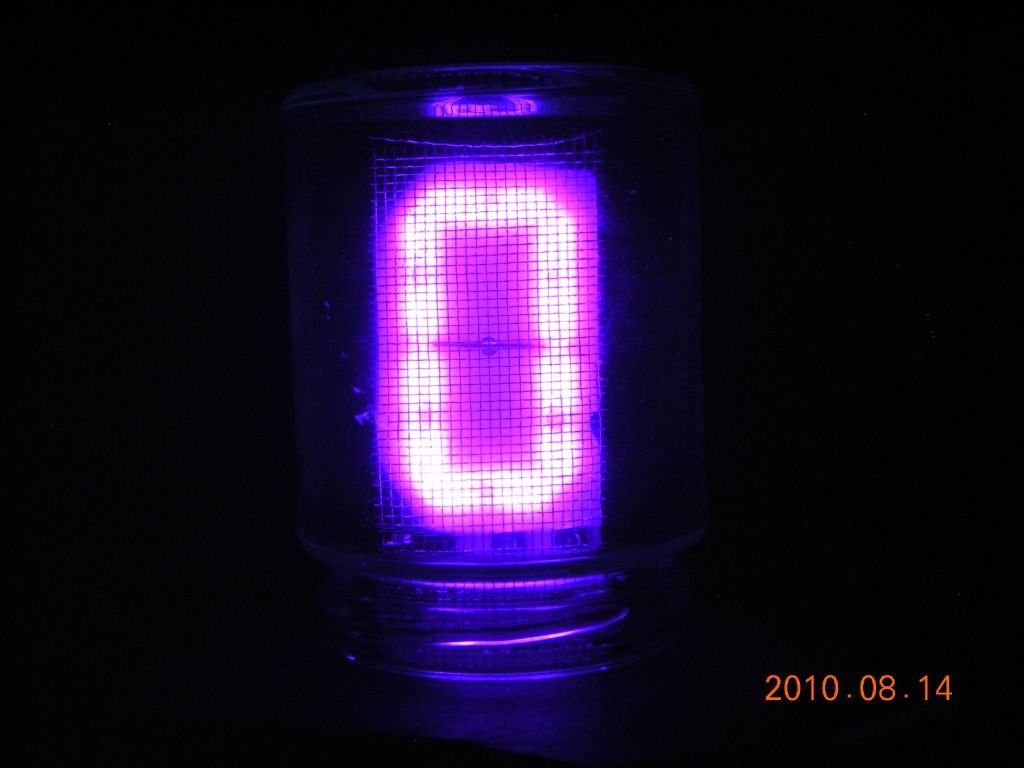 Number "0" |
 Number "1" |
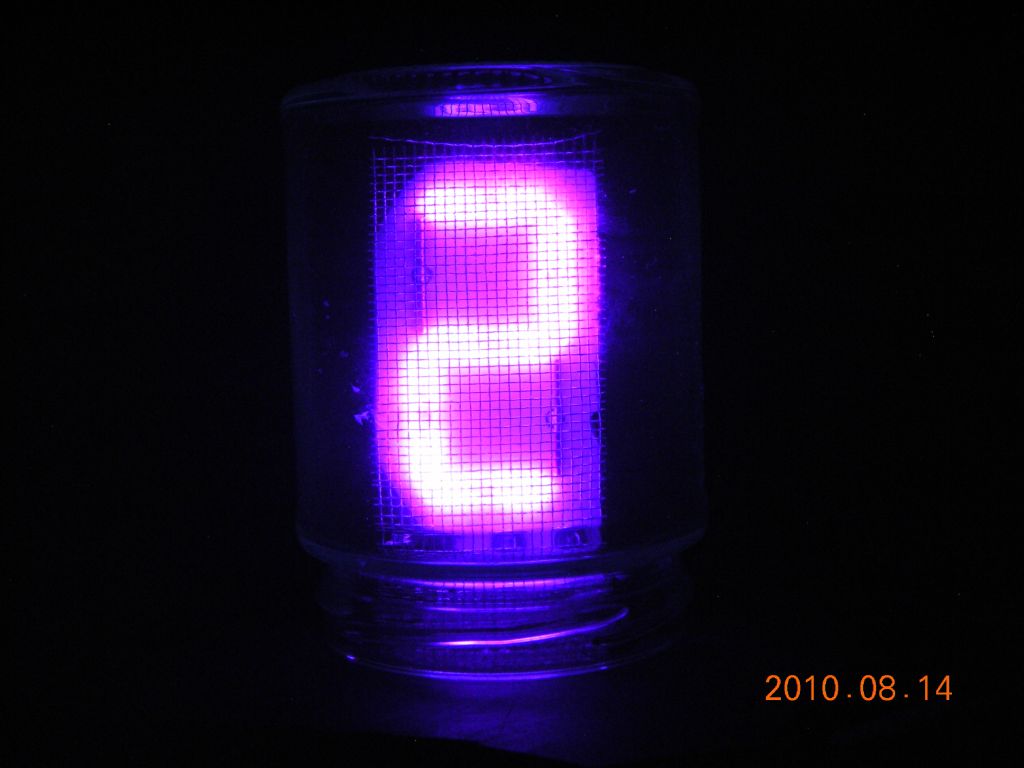 Number "2" |
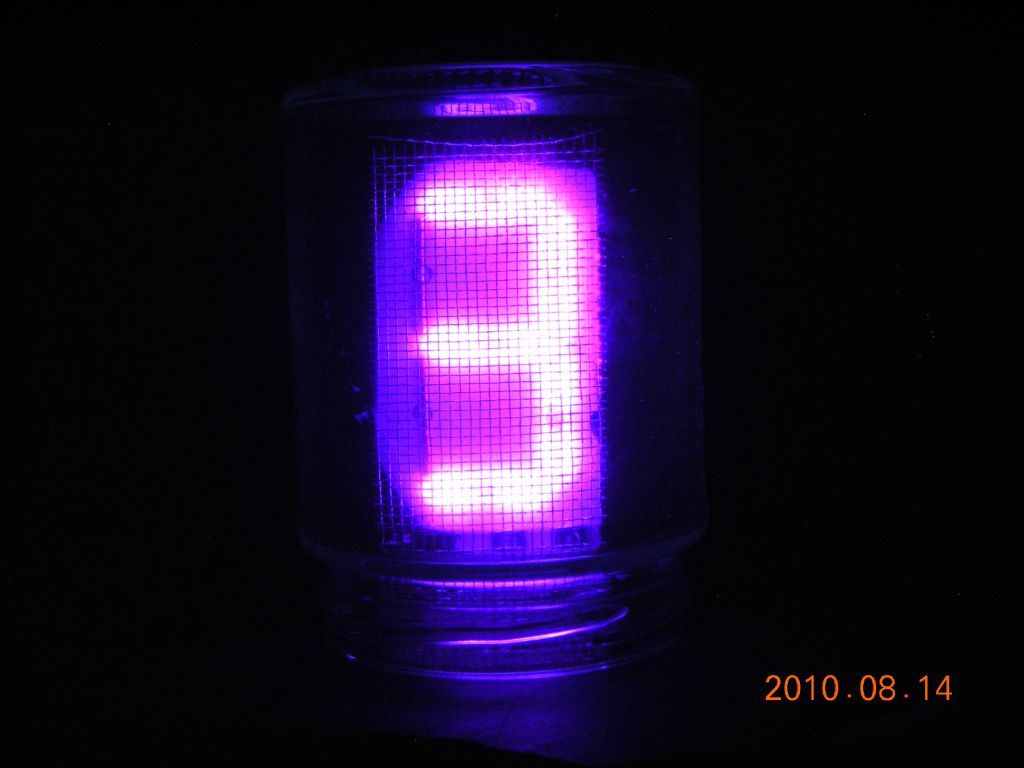 Number "3" |
 Number "4" |
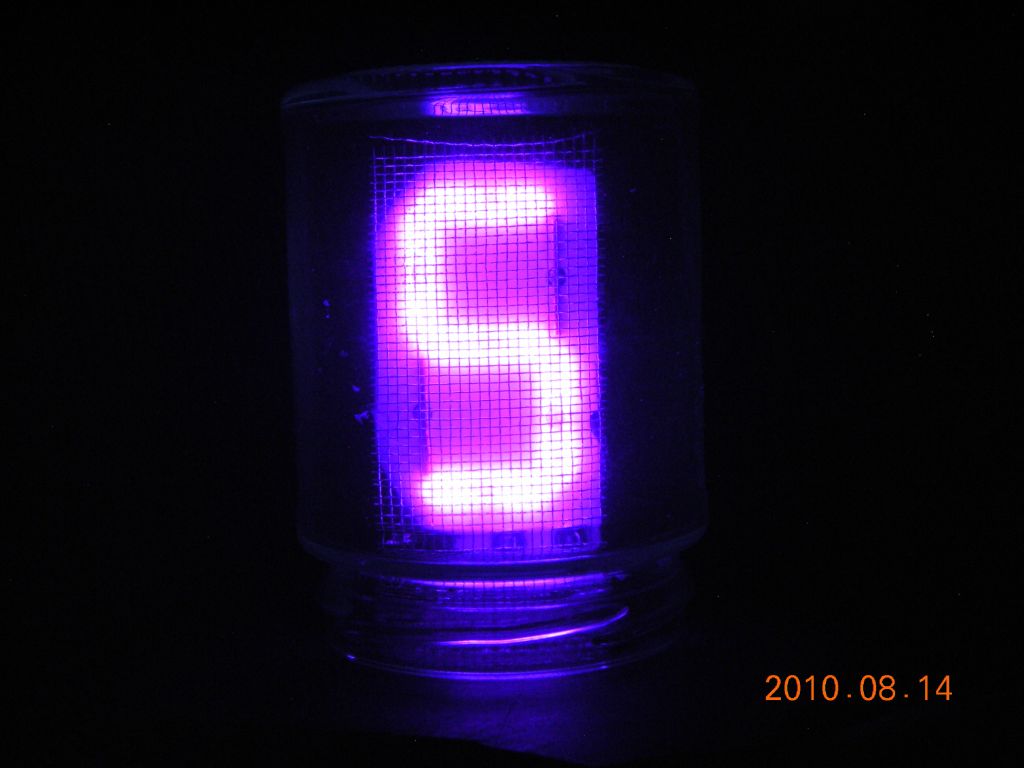 Number "5" |
 Number "6" |
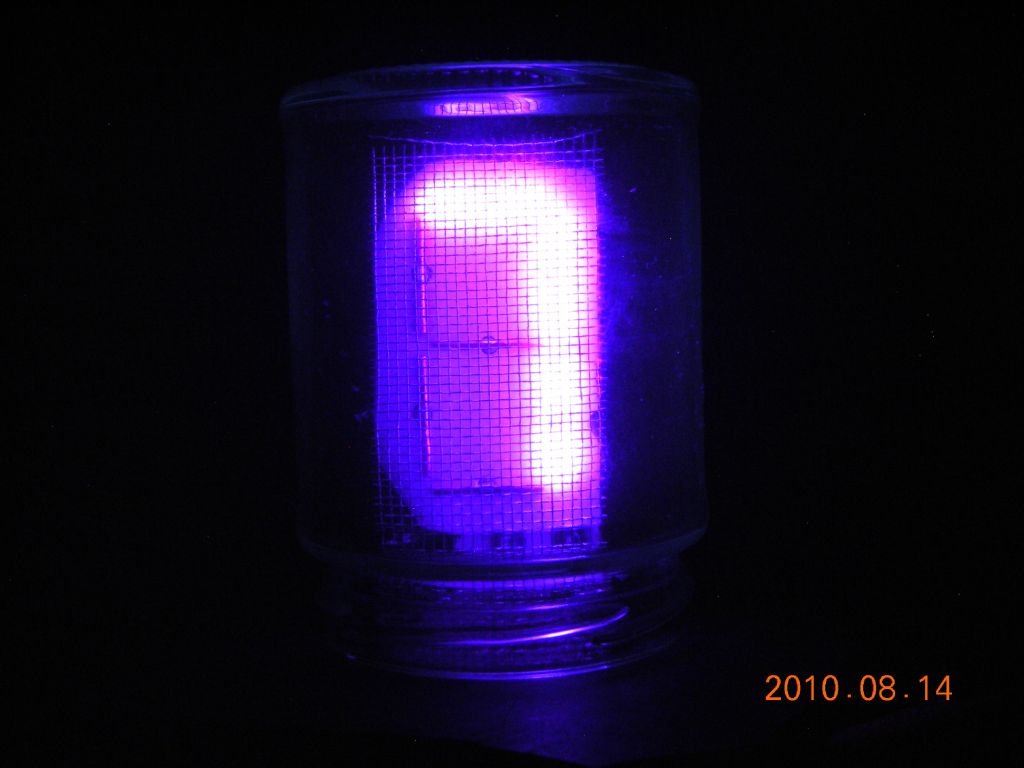 Number "7" |
 Number "8" |
 Number "9" |
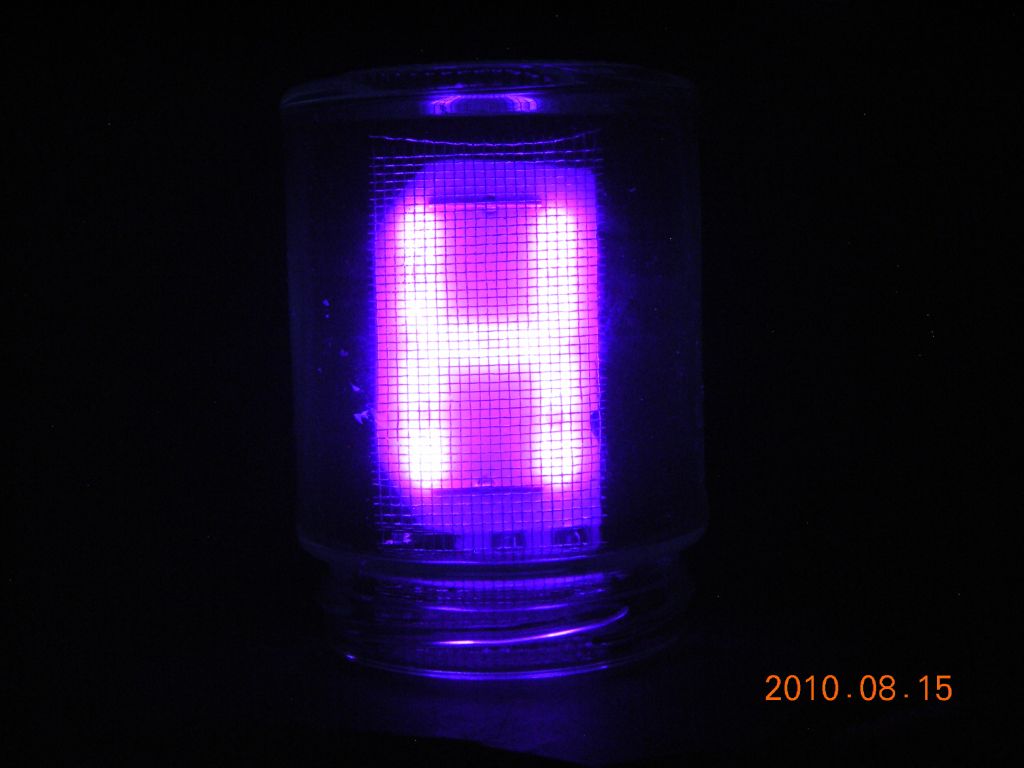 Letter "H" |
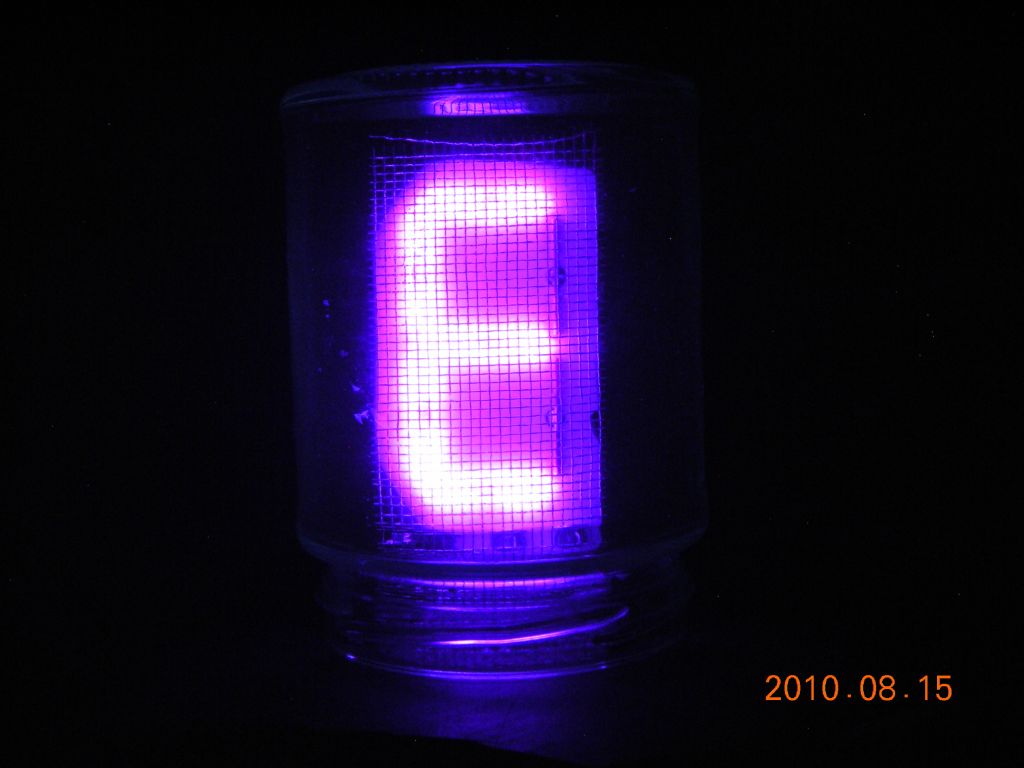 Letter "E" |
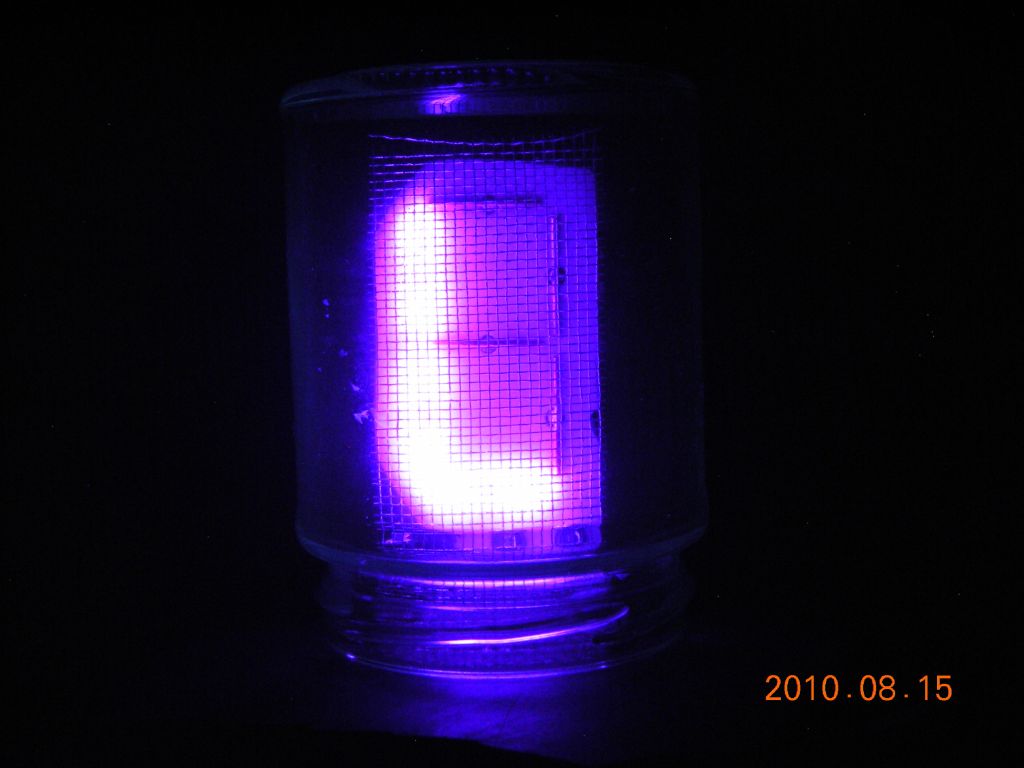 Letter "L" |
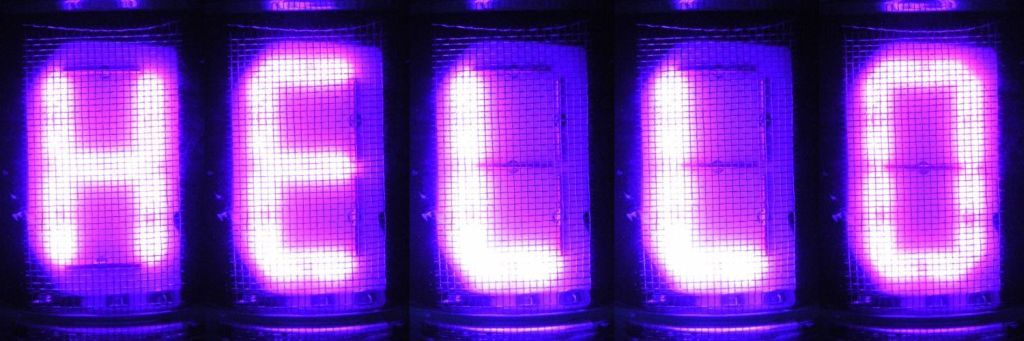 Combined to form "HELLO" |
Perhaps not quite as pretty as the one at the top of the page, but it demonstrates the principle!
21/10/10: This Panaplex display has been mentioned in the Make Magazine blog!
25/11/10: Check out the second Panaplex display, based on a commercial device.
16/11/11: The photos of this display (and some of my Nixie clock) were used in the countdown clock at the Nerd New Year event in Redwood City, CA. For more info, see http://www.phantomgalleries.com/SJ/2011/11/carter_needs_your_numbers.html and http://nerdnewyear.com/.
| ▲ Vacuum |